Menus & Views
Getting Around
Each workflow section on the Bridge focuses on a different subset of the operations that can create and manipulate Story Elements.
The larger your series grows, the more important getting around the app efficiently becomes. Hopping between forms and views, massaging your ideas into stories - that should involve as little friction as possible.
Menu Types and Locations
Once you're familiar with where everything is and navigation becomes second nature, you'll be able to reach a flow state where moving between big-picture thinking and the minutiae of scenes and beats is natural and swift.
Menu Types and Locations
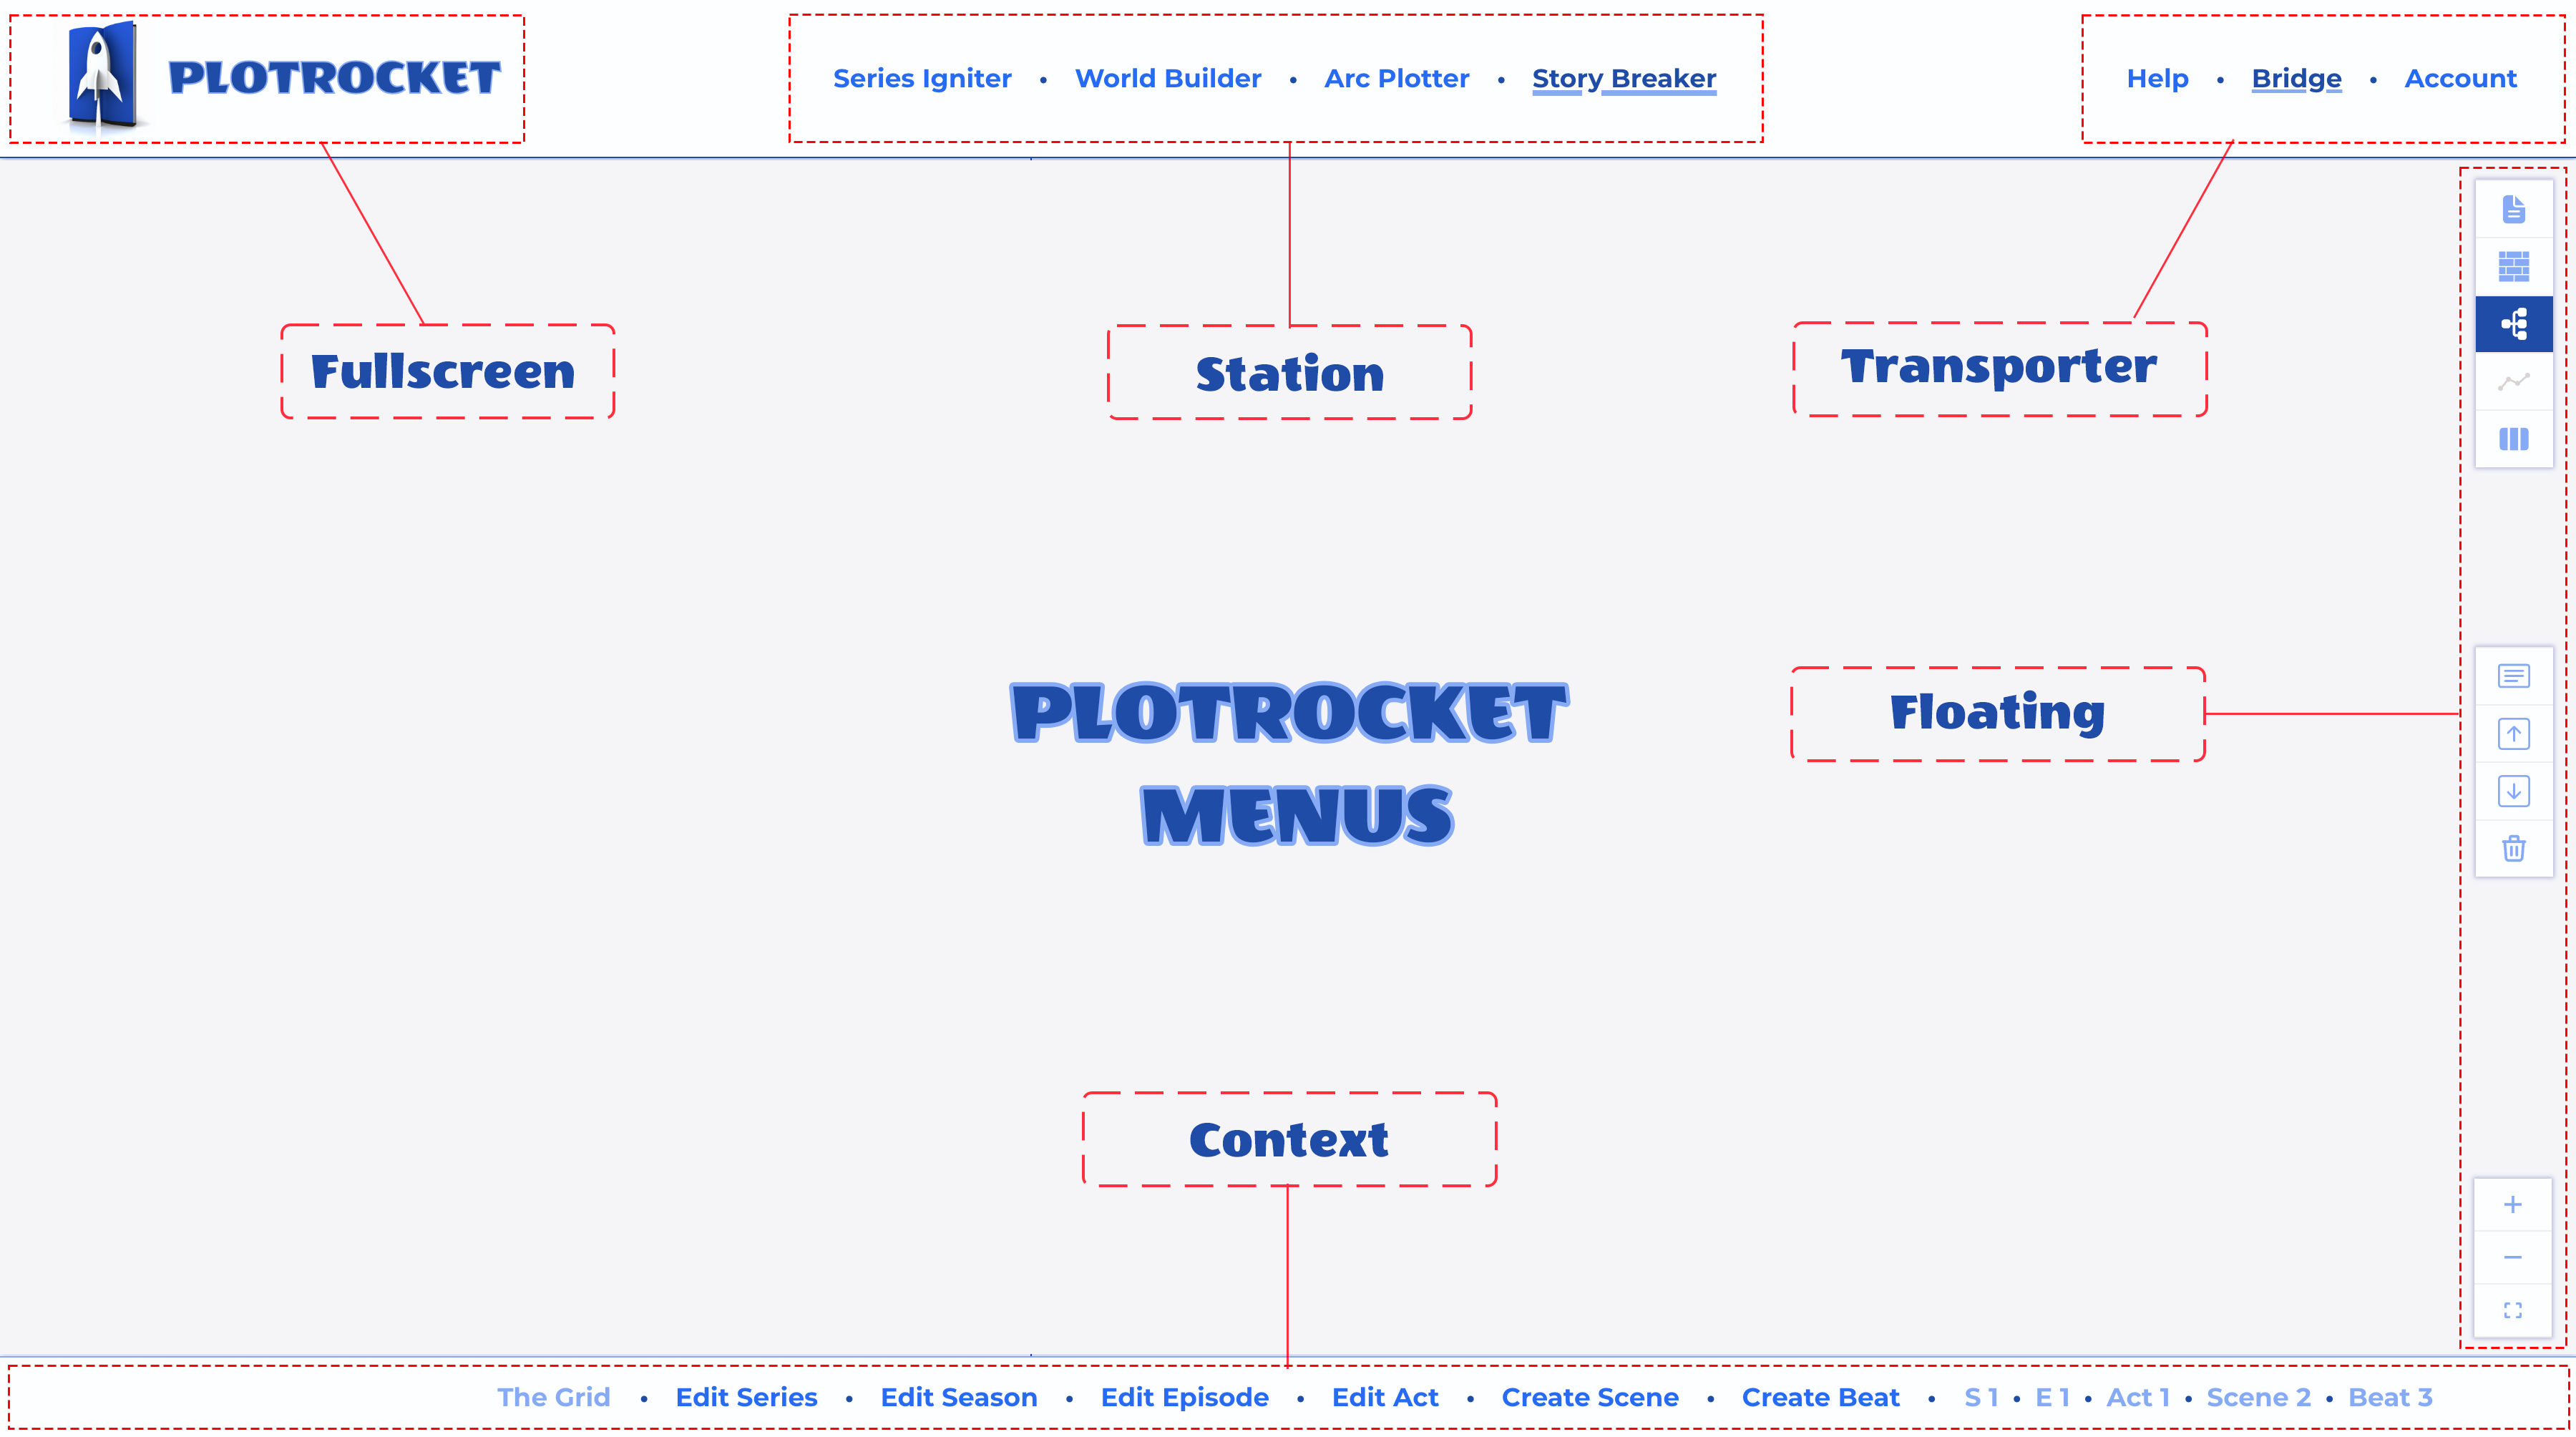
Menus appear at the top of the page, bottom of the page, and floating on the right hand side of the page. Throughout the app, they operate the same way and are highly sensitive to your current context.
Fullscreen Toggle
Located in the upper left position, click the PlotRocket logo to enter or exit fullscreen mode.

Fullscreen Toggle
Transporter Menu
Located in the upper right position, the Transporter menu switches you between the stations of the app:
- Manual - This documentation, presented in-app
- Bridge - Where the magic happens. Workflow sections.
- Account - Authentication, plan & billing, and app settings.

Transporter Menu
Station Menu
Located in the upper middle position, the Station menu contents depend upon what station is selected on Transporter menu:
- Manual topics when Manual is selected
- Workflow sections when Bridge is selected
- Account details when Account is selected

Station Menu - Manual

Station Menu - Bridge

Station Menu - Account
Context Menu
Located on the bottom of the page, the Context menu is present only when Bridge is selected in the Transporter menu.
It contains management links and selection hints for the story elements managed by the workflow section of the Bridge that you happen to be in.
Series Igniter
- Create Series link
- Displays selected series title and precinct name

Context Menu - Series Igniter
World Builder
- Edit Series link
- Links for managing precinct, characters, settings, and lore
- Displays selected series title and precinct name

Context Menu - World Builder
Arc Plotter
- Edit Series link
- Links for managing arcs and beats
- Displays selected arc and beat

Context Menu - Arc Plotter
Story Breaker
- Edit Series link
- Links for managing seasons, episodes, plotlines, acts, scenes, and beats
- Displays selected structural elements

Context Menu - Story Breaker
Floating Menu
Located on the right side of the page when a series is selected, the floating menu contains icons that take you to other views, or operate on items in the view you are in.
The topmost section of this menu is static, with buttons for each of the views, which are enabled or disabled based on your current context.
For instance, Blend View is only available if you have an episode selected, and the Graph View is only available when you have an arc selected.
- - Doc View: Preview and print series bible or episode outlines
- - Tile View: Visually work with characters, settings, and lore
- - Map View: Navigate the structural elements of your series
- - Graph View: Plot story arcs across seasons, episodes, and acts
- - Blend View: Interleave plotline beats across acts and scenes
The floating menu items that appear below this set will be described along with the the associated view, as they are always view-related.
Big Picture Work
While cards and forms let you manage the minute textual details of your story, each workflow section also offers one or more views that help you navigate and manipulate story elements in a visual way.
While each view belongs to a particular workflow section, you don't have to click the section's link on the Station Menu in order to reach the view. The icons on the Floating Menu make the views available, whatever section you are in.
Doc View
The ultimate big picture is your series bible and outline. They're what you're constantly working toward with every new story element.
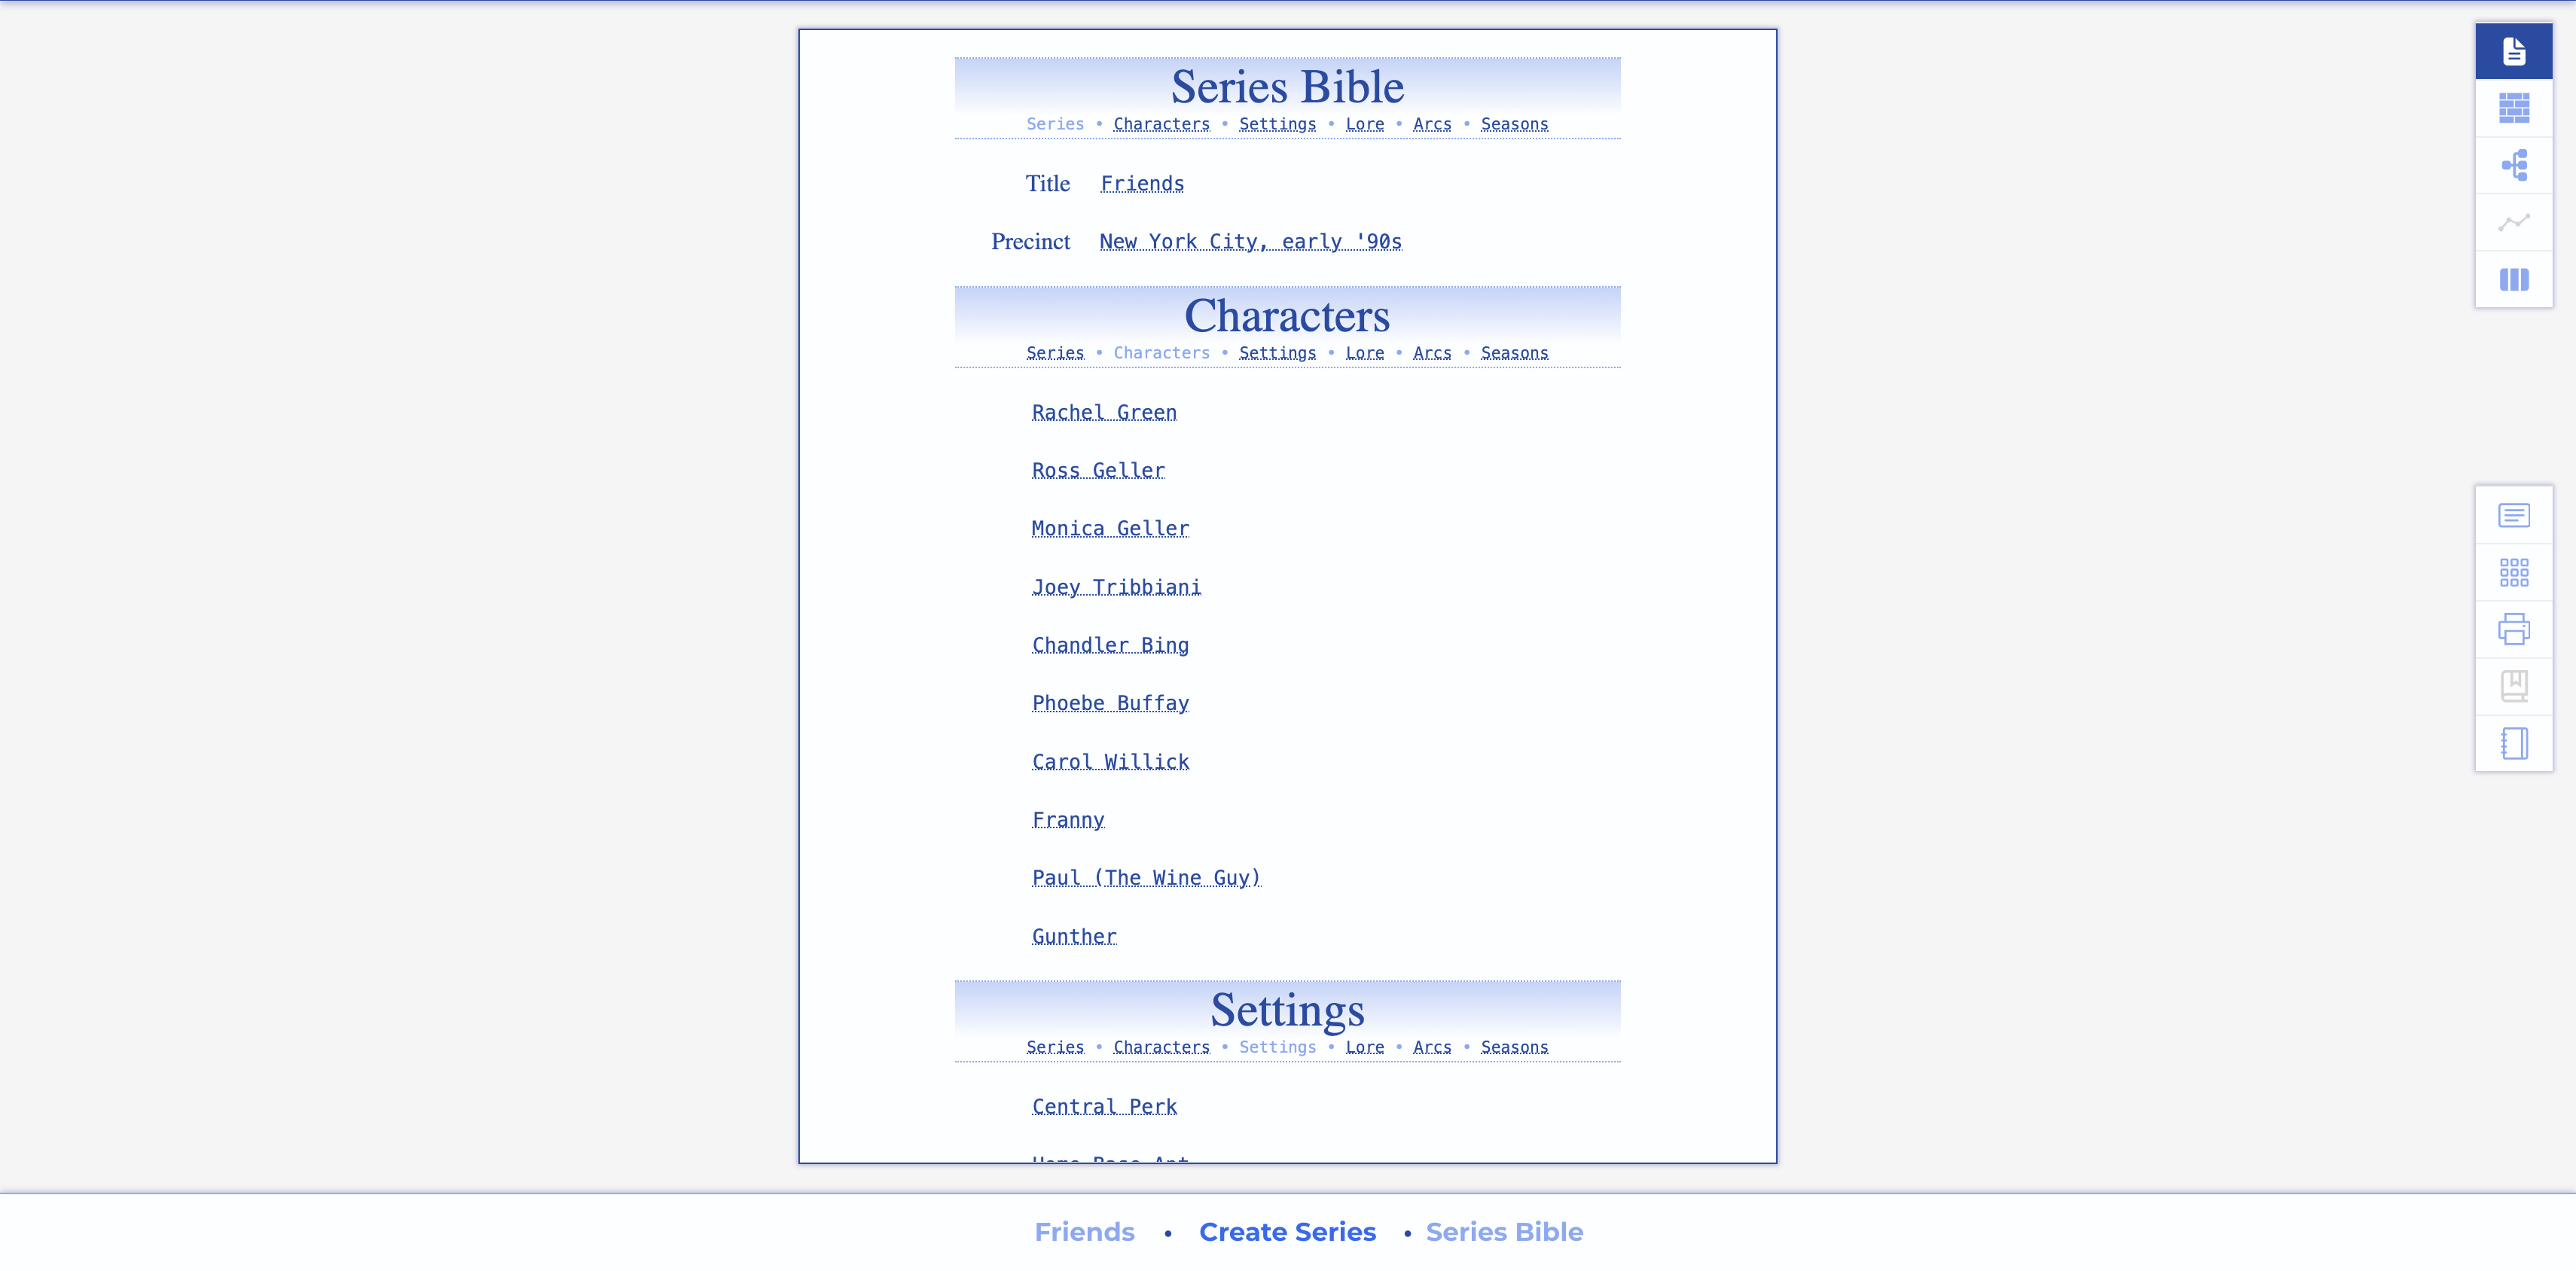
Doc View - Series Igniter
Document Options
When you are in the Doc View, the floating menu offers the following view-specific options:
- - Edit Series: Open the form for the selected series
- - Card List: View the series card list
- - Print to PDF: Generate and download the selected document
- - Preview Series Bible: an un-paginated preview of the series bible
- - Preview Episode Outline: an un-paginated preview of the outline
If no episode is selected, the Preview buttons will be disabled, and the view will show the series bible.
Tile View
Like turning over the pieces to a puzzle, this view lets you create, combine, and rearrange characters, settings, and lore in a drag and drop environment.
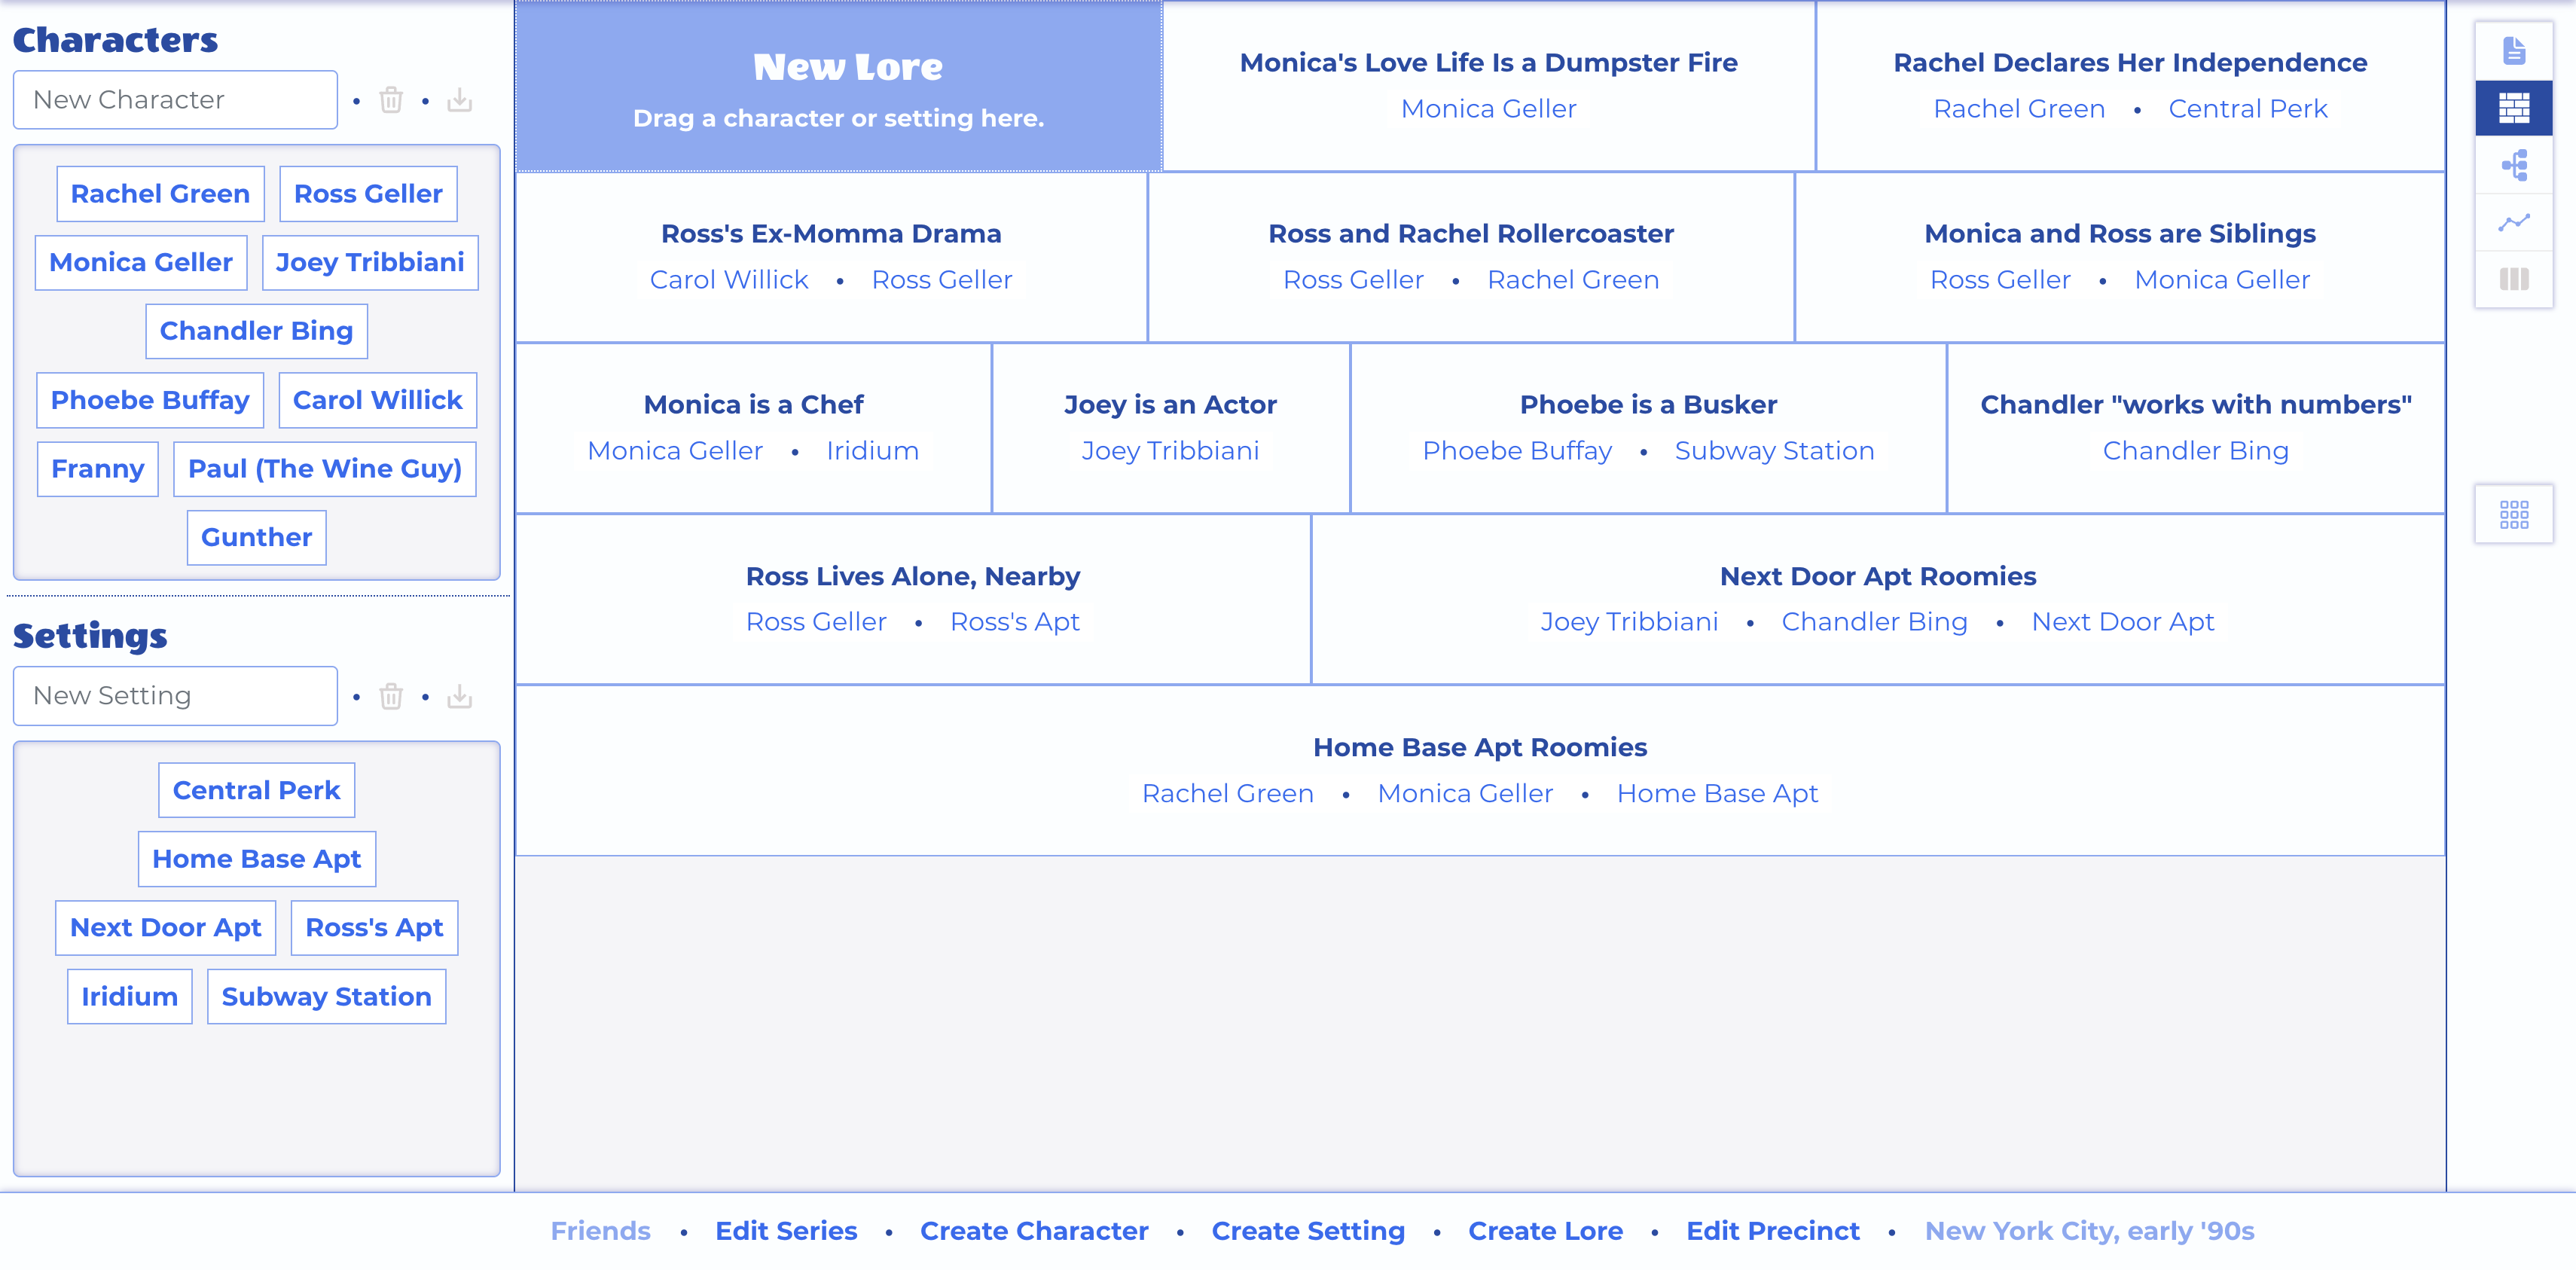
Tile View - World Builder
Tile Options
When you are in the Tile View, the floating menu offers the following view-specific options:
- - Card Lists: View the Character, Setting, and Lore card lists
Character Chips
Type a name into the New Character field and click the Save () button. A new character chip will appear in the tray below.
Drag and drop the character chips within the tray to rearrange. Their order will be reflected in the character card list.
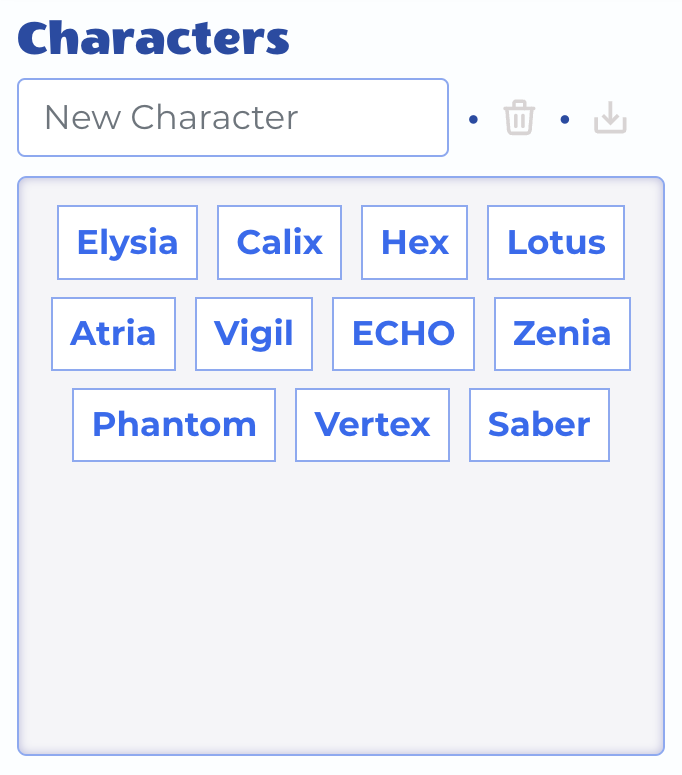
Tile View - Character Chip Tray
Setting Chips
Type a name into the New Setting field and click the Save () button. A new setting chip will appear in the tray below.
Drag and drop the setting chips within the tray to rearrange. Their order will be reflected in the setting card list.
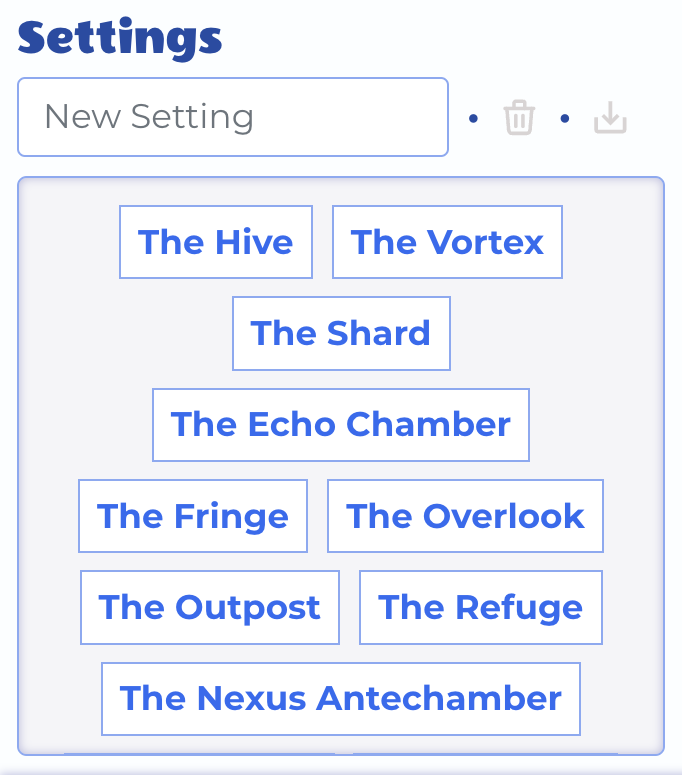
Tile View - Setting Chip Tray
Create Lore
Lore can be just an idea, or it can represent a relationship between some combination of characters and settings.
To get started, click the link on the New Lore tile, or drag and drop a character or setting onto it.

Tile View - New Lore Tile
A small form will be shown.
Enter a name for the lore entry and click the Save () button. A new lore tile will be added to the right of this form.

Tile View - Editing New Lore
Lore Tile
The lore name and any associated characters and settings are all links that take you to their respective forms for further editing.

Tile View - Lore Tile
Tile Wall
Drag and drop lore tiles on each other to rearrange. Their order will also be reflected in the lore card list.
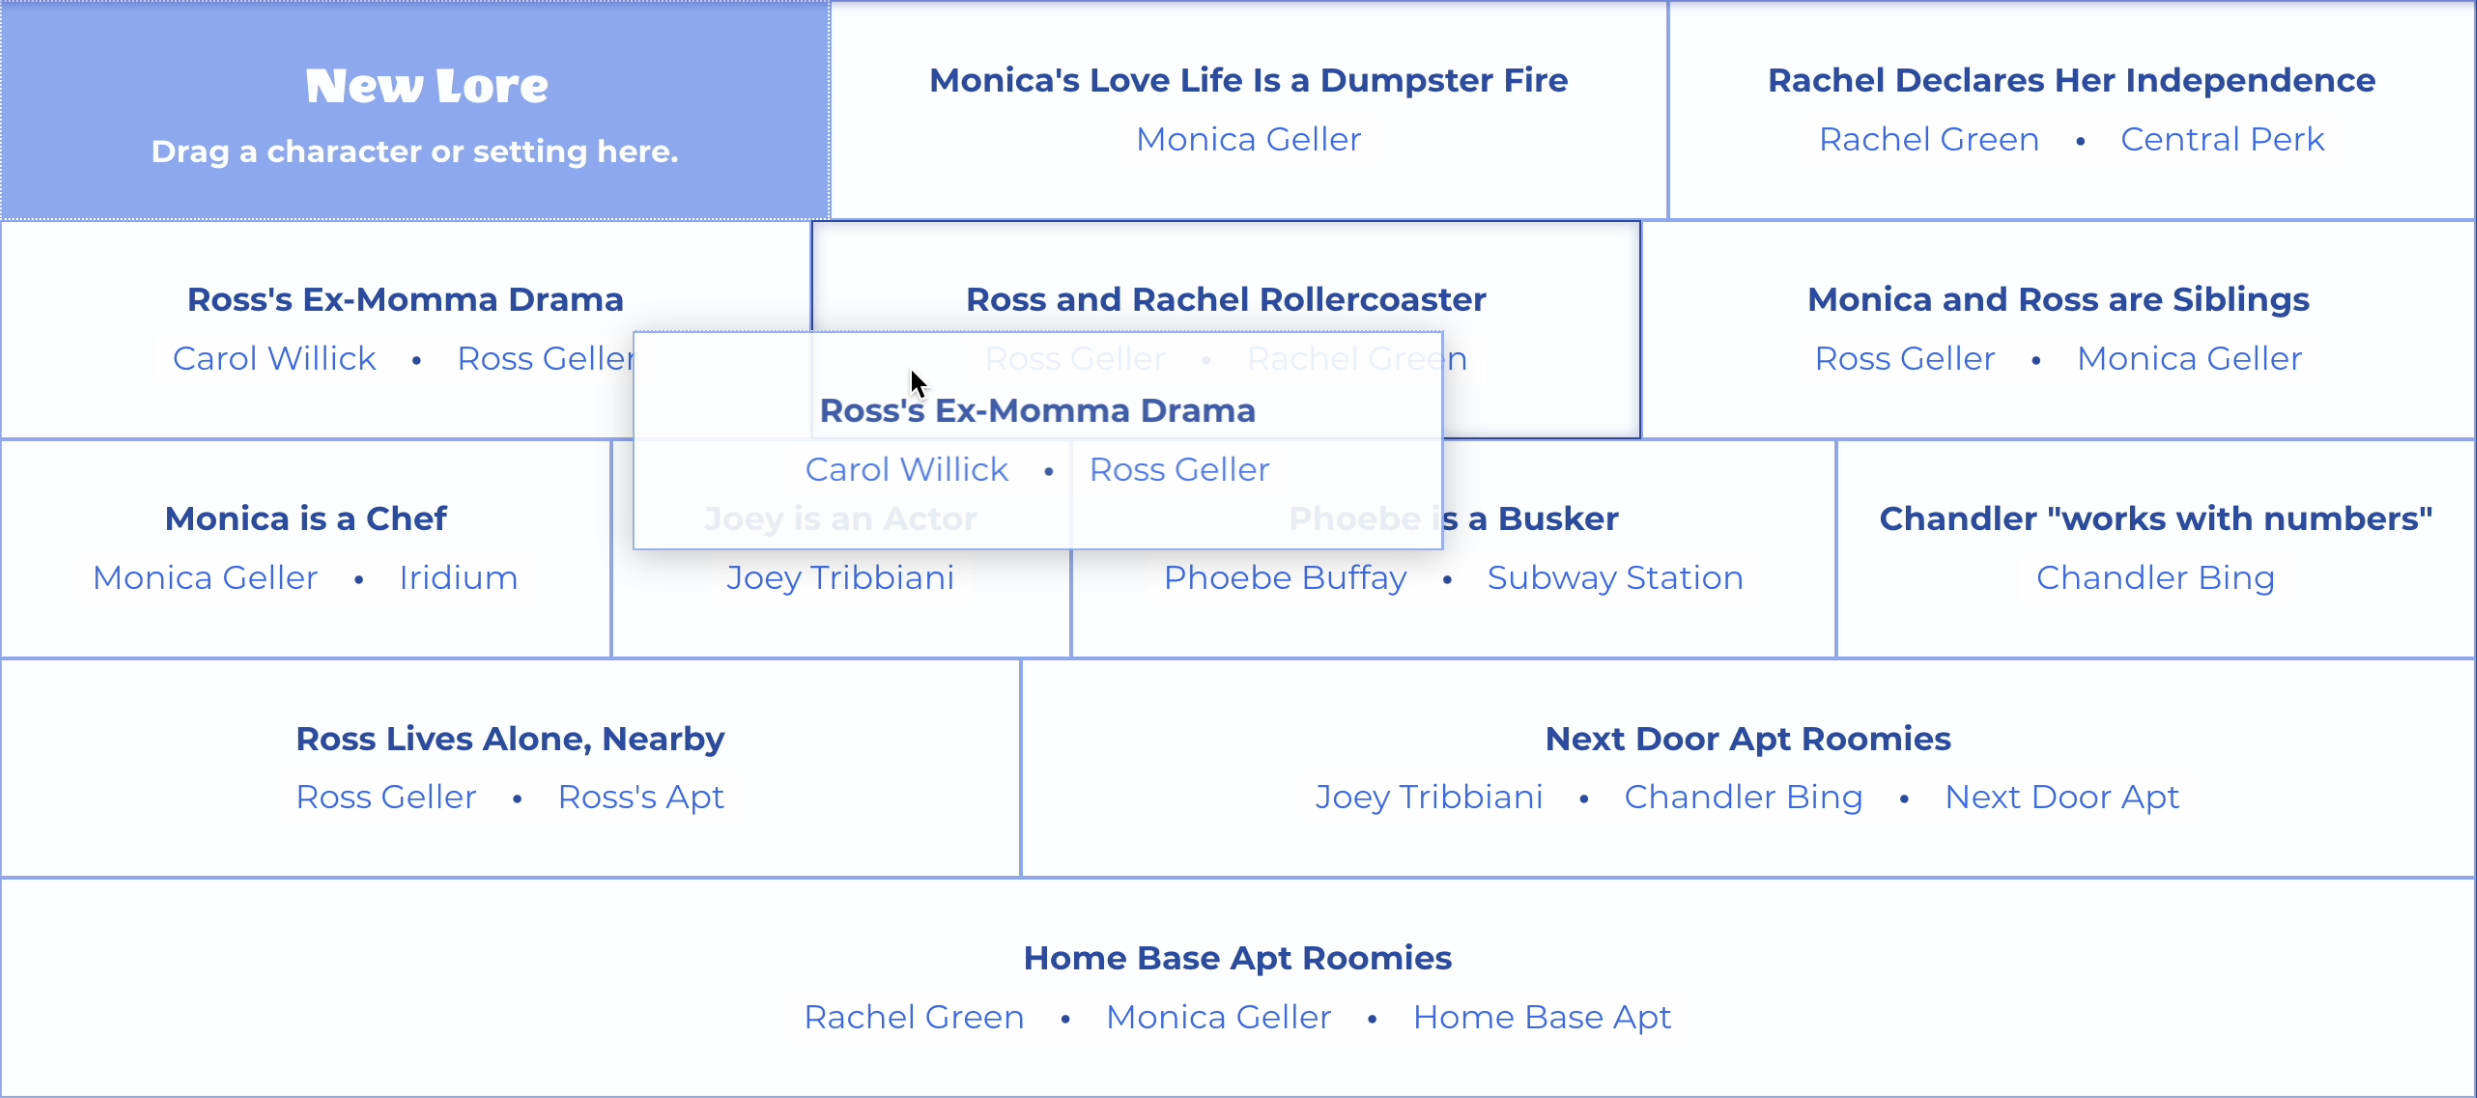
Tile View - Rearranging the Tile Wall
The tile wall scrolls when there are more lore entries than can be displayed.
Newly created tiles are pushed onto the top of the stack. Of course you can arrange lore entries in any order you like, but there is a good argument for this approach.
At the beginning of a series, many of the ideas you capture as lore entries will be foundational to the show. As time goes on, new themes will be explored, new characters and relationships introduced. You're more likely to be revising a new bit of lore than a foundational one that has been honored for several seasons.
Like the fossil record, new lore tiles are found at the top, with the oldest buried far below (where you have to scroll to reach).
Graph View
You may think of an arc as "My character is broke at the beginning, but rich at the end."
But that's a straight line with only two points. It does nothing to represent the ups and downs the character must go through to actually make it from point A to point B. Even when you add some points in between to tell the story, it is still a straight line until you consider the dimension of fortune.
Plotting an Arc
Every beat of an arc, when placed on the graph, has a value for two dimensions:
- Span ~ Horizontal Axis: Story time, in increments of season, episode or act.
- Fortune ~ Vertical Axis: Relative values running from +10 to -10.
- Fortune values below zero are represented in red, above zero in green.
For instance, an arc based on a timeline of Ross & Rachel's Relationship on the show Friends reveals what a roller coaster their relationship really was.
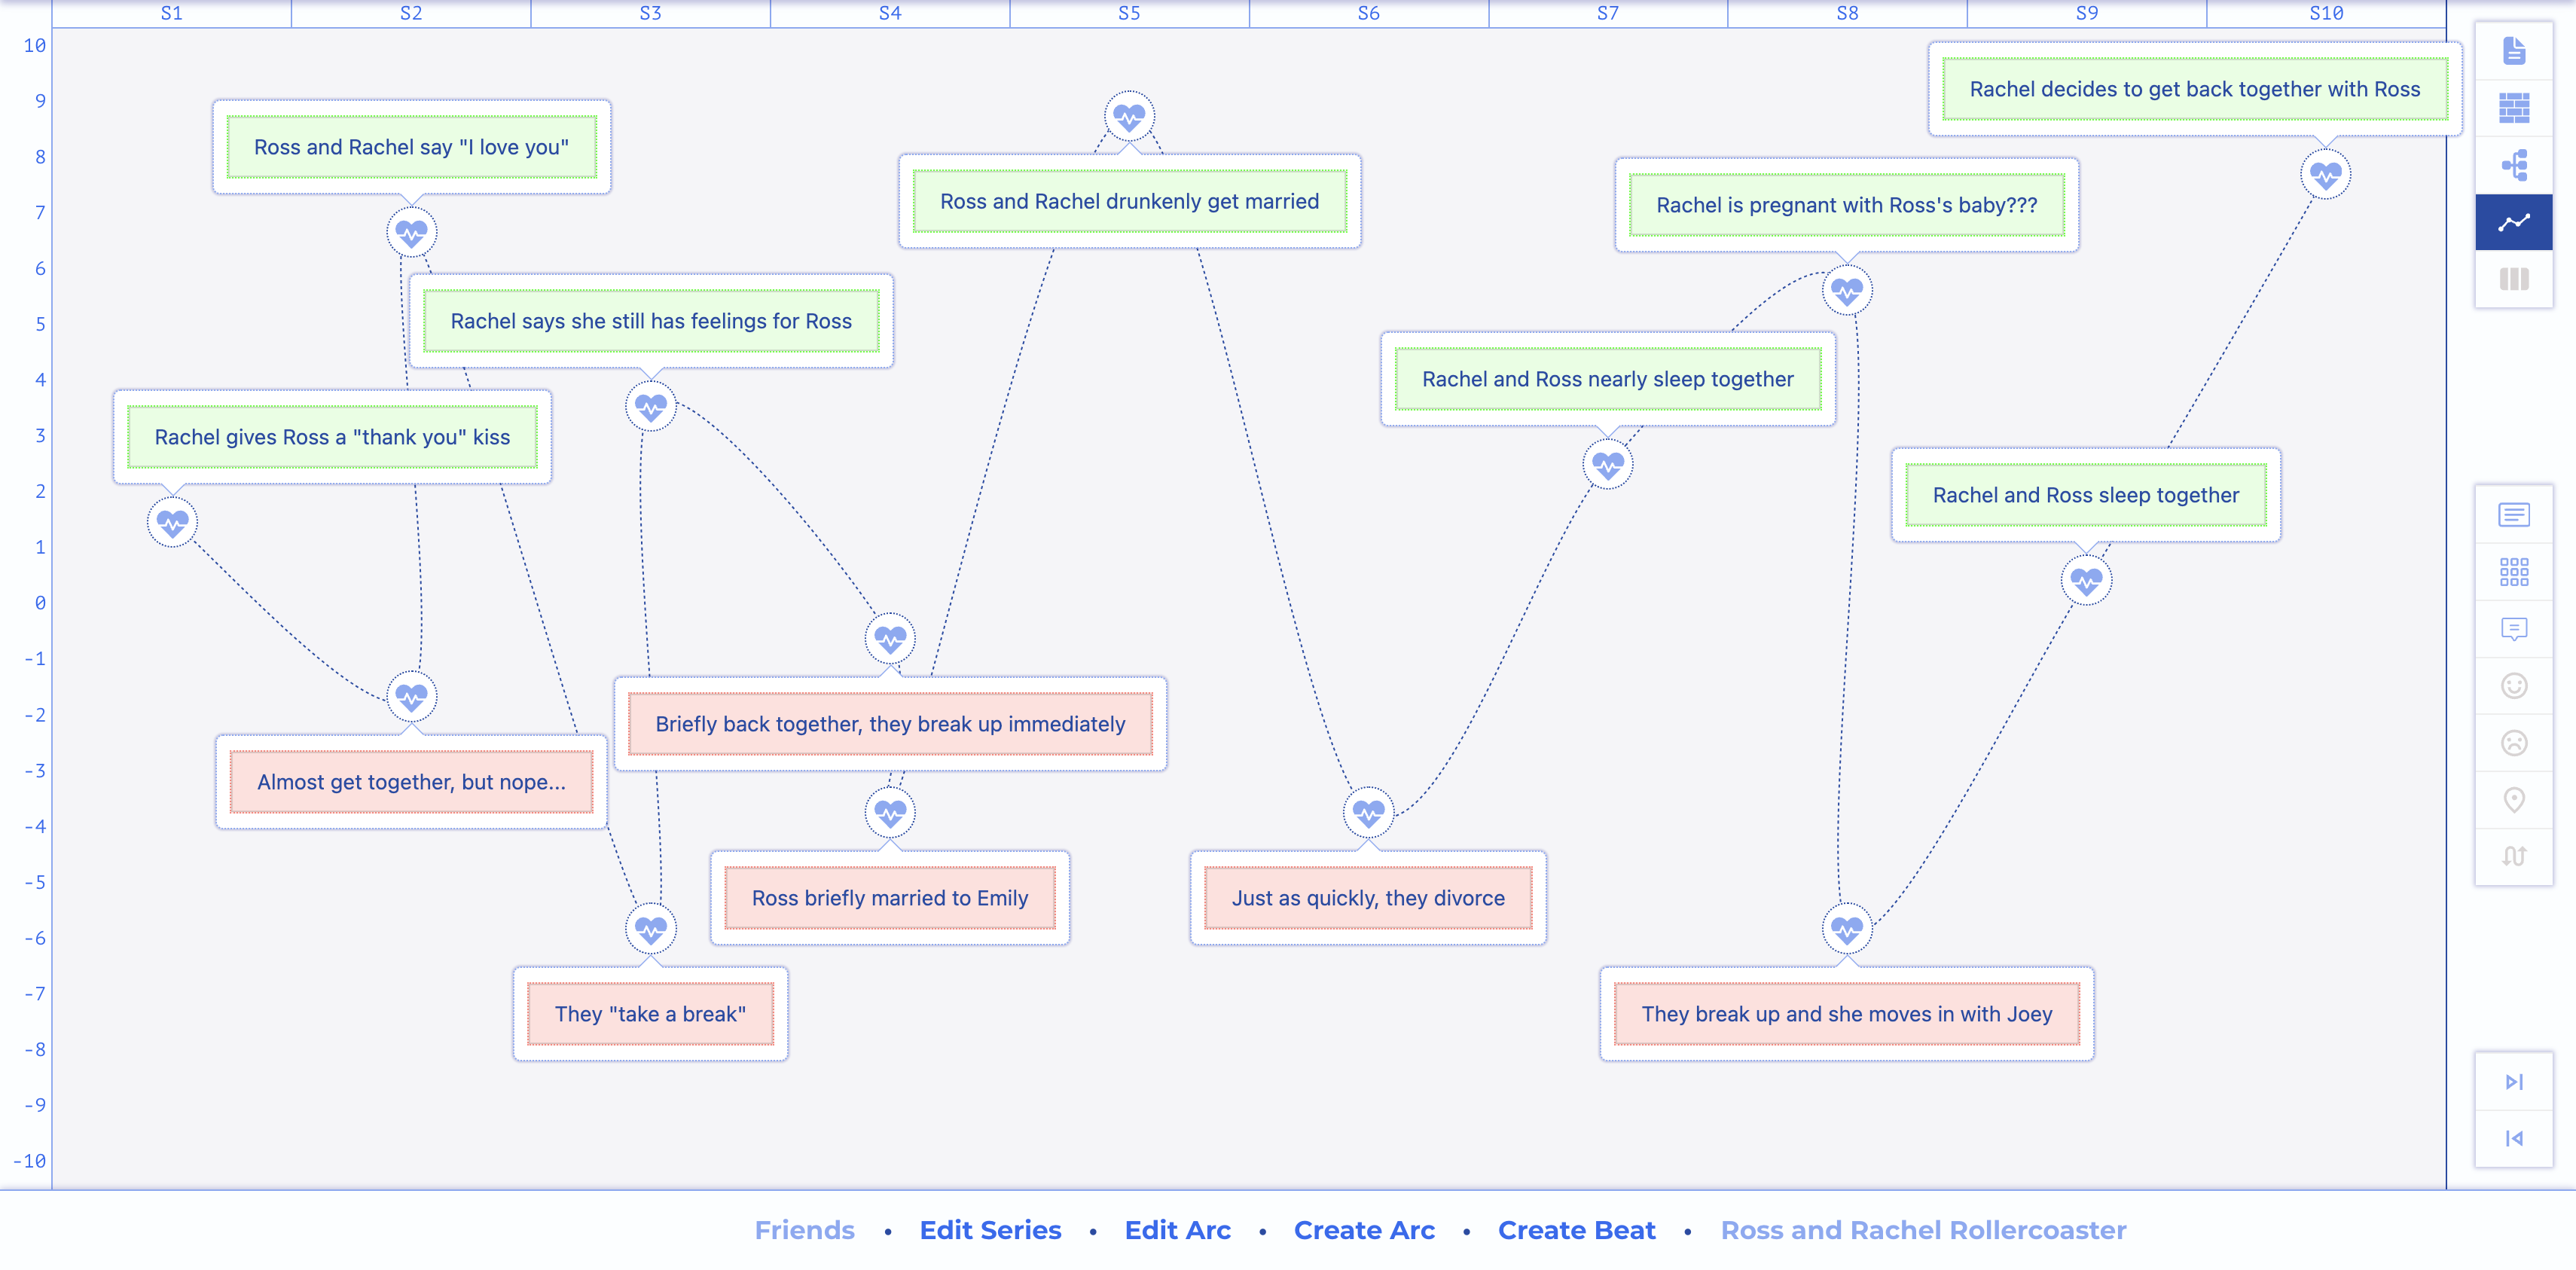
Graph View - Arc Plotter
Graph Options
When you are in the Graph View, the floating menu offers the following view-specific options:
- - Edit Arc: Open the form for the selected arc
- - Card List: View the selected arc's beat card list
- - Toggle Tooltips: Show or hide the beat excerpts on the graph
- - Increase Fortune: Move the selected beat up on the fortune axis
- - Decrease Fortune: Move the selected beat down on the fortune axis
- - Place Beat: Click on the graph to add or relocate the selected beat
- - Reflow Arc Line: Reorder the line connections for a column
- - Previous Arc: View the previous arc in the list
- - Next Arc: View the next arc in the list
Dragging Beats
When you want to move a beat ( ) to another location on the arc, you can just drag and drop it.
Note that the tooltips will disappear when you do this, as they can get in the way of your intended drop target. You can turn tooltips back on with the Tooltip Toggle ( ) button on the secondary floating menu.

Graph View - Dragging a Beat
Reflow Arc Line
When beats are placed onto an arc, their span and fortune axis values are set, but then a line must be drawn from left to right through the beats. This is straightforward except in the case where multiple beats exist in the same column.
In that case, the line coming from a beat in a previous column or leading to a beat in the next column has multiple possible connections in the column.
Consider a situation where we want a sequence of "How about a nice walk?", "Beautiful nature", "Scary sound", "Running now".
The middle two beats are in a column, so there are two ways this line can be drawn.
First, the wrong way, and the reason the Reflow button exists:
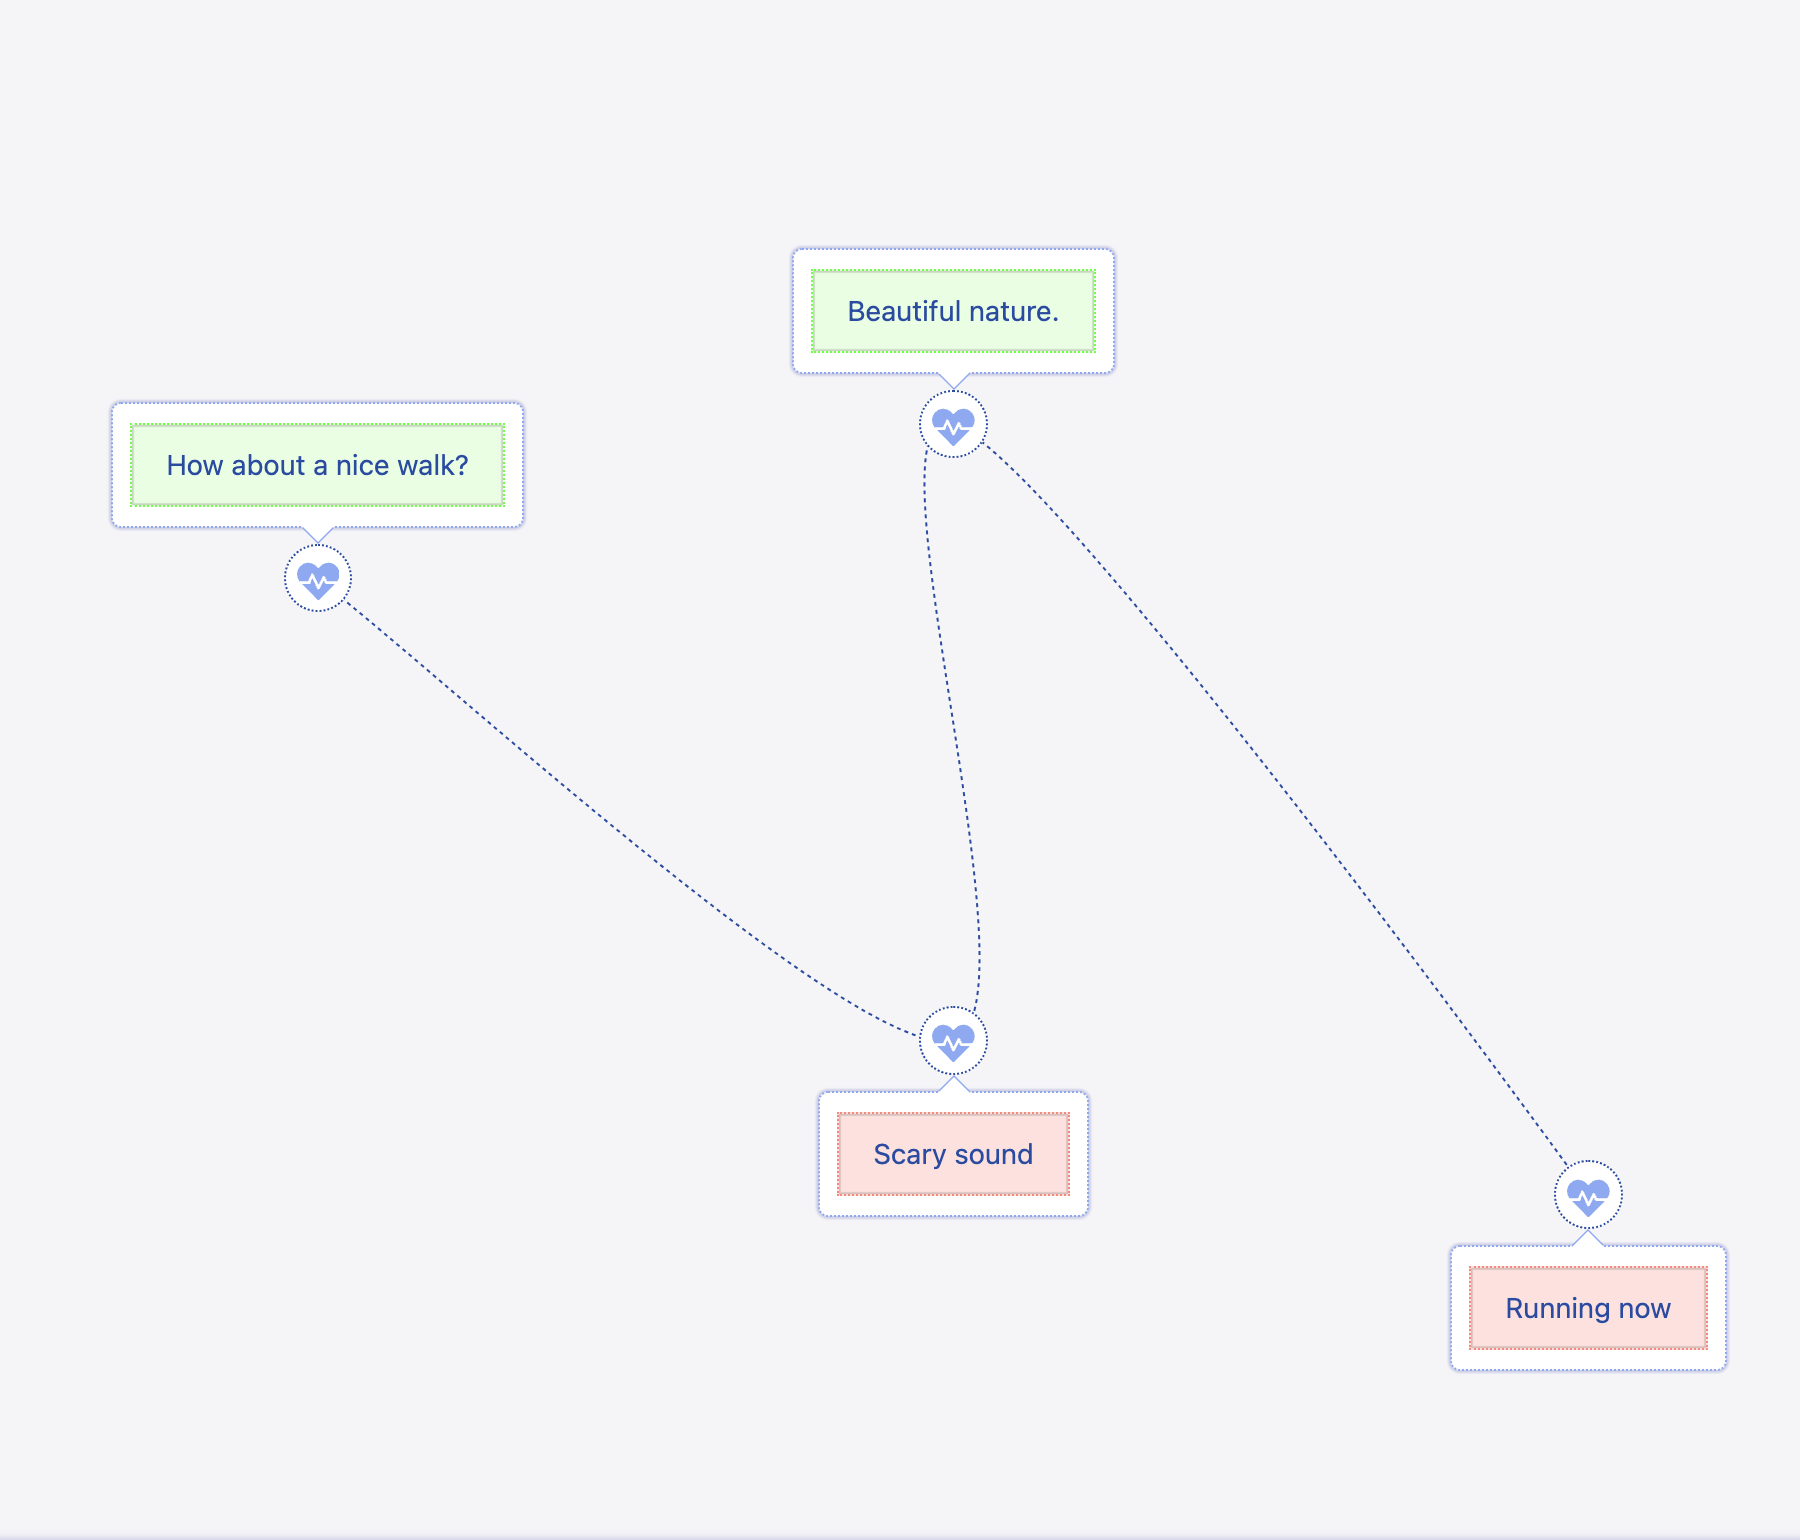
Graph View - Line Needs Reflow
Selecting either beat in that column and clicking the Reflow () button fixes it.
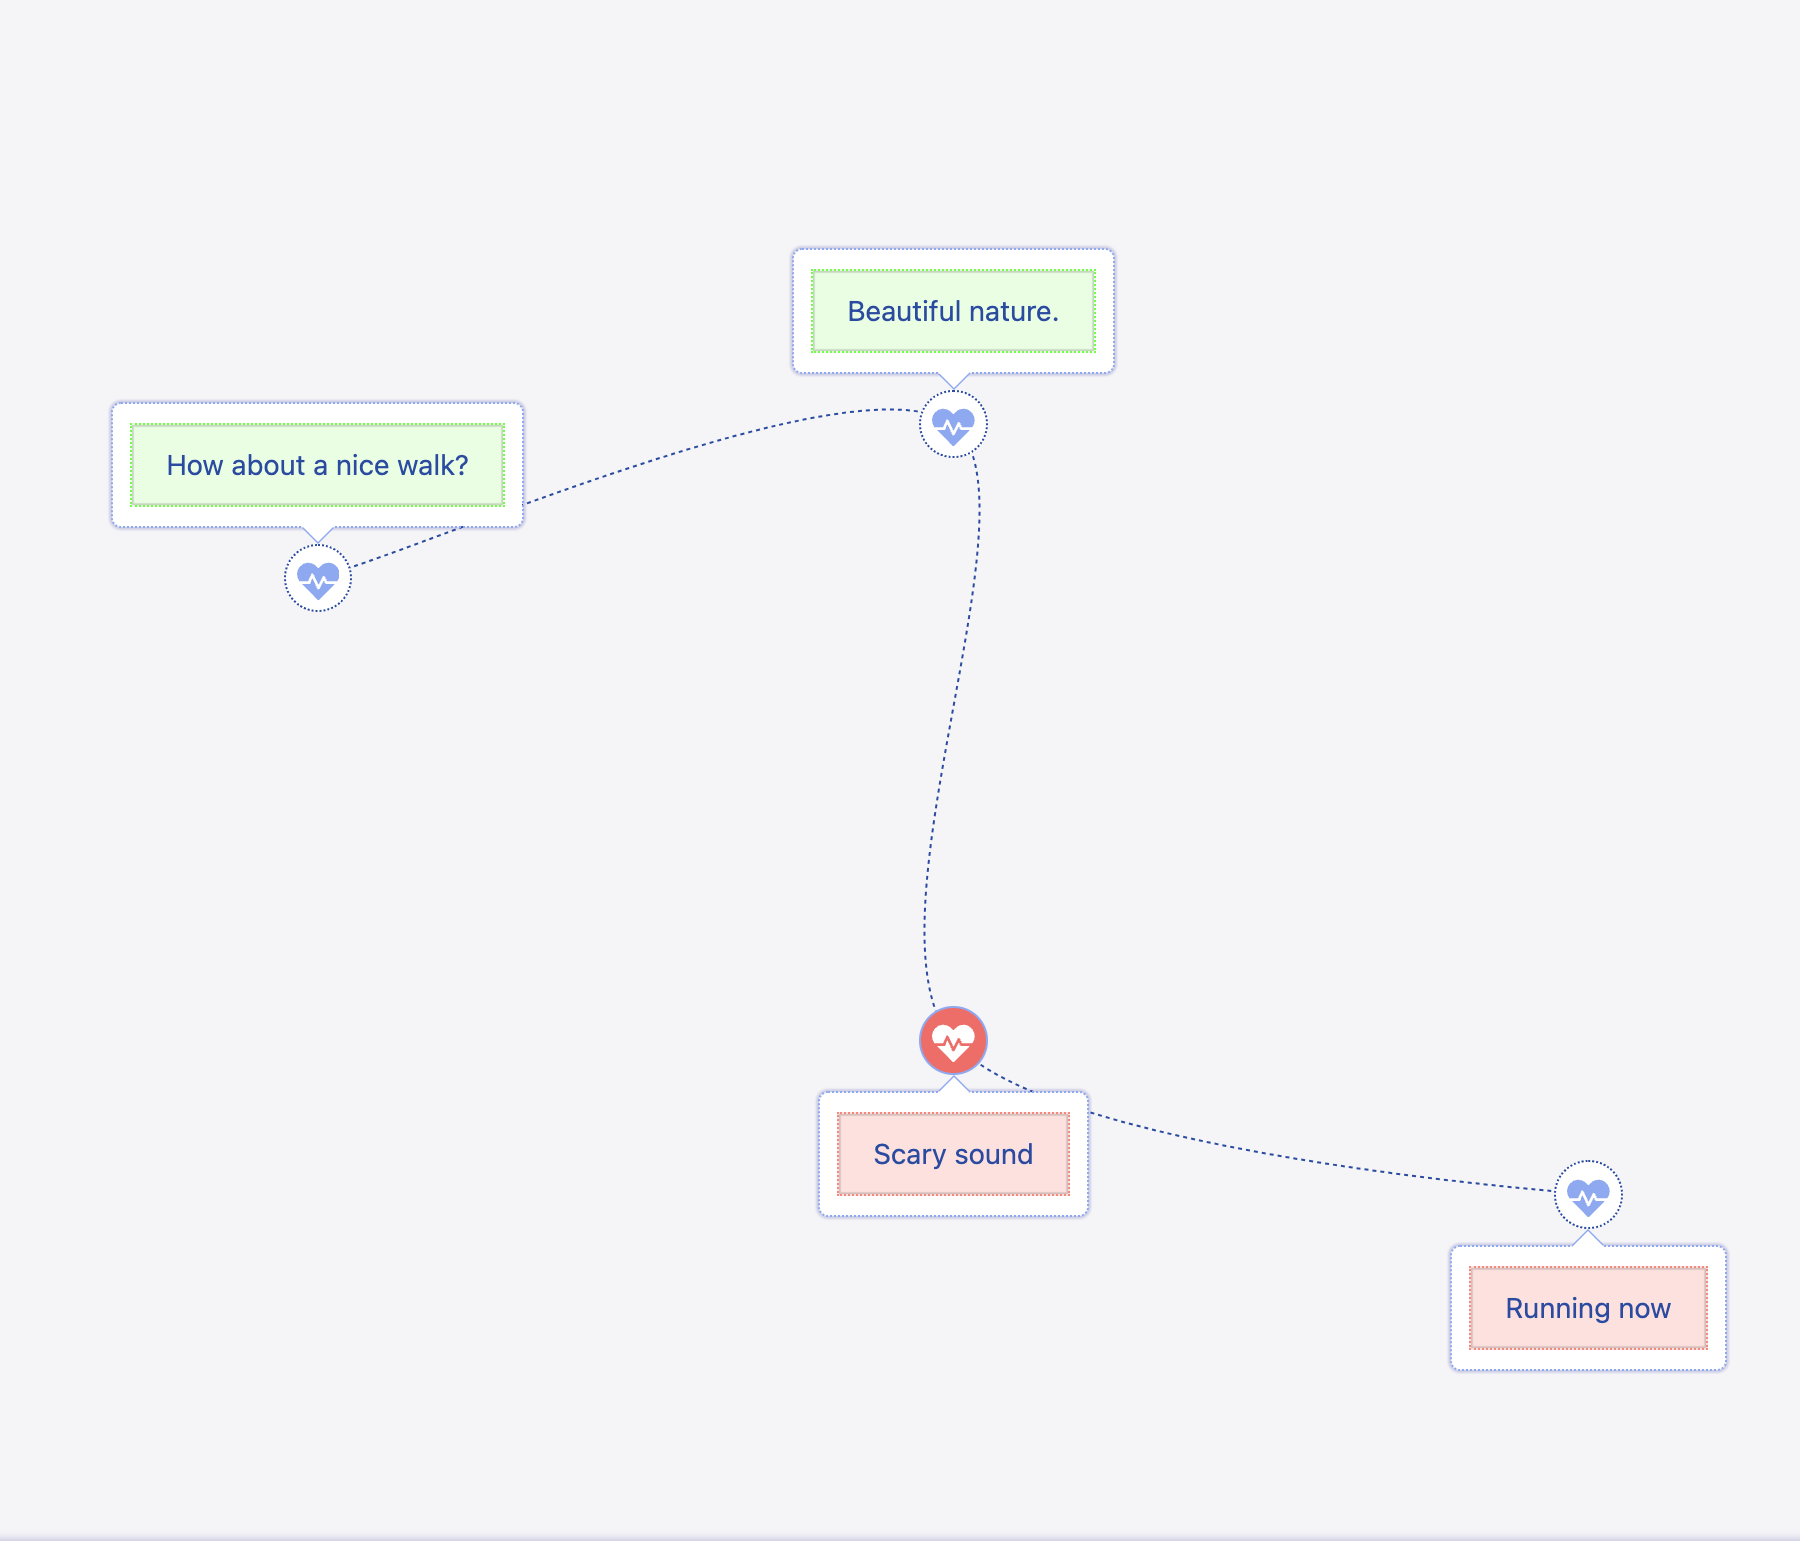
Graph View - Line After Reflow
Depending upon the number of beats in the column, you may have to cycle through several possibilities before reaching the original flow. Whichever beat is not connected correctly, select it and cycle through its flows.
Map View
Visualize, navigate, and manipulate the structural hierarchy of your series.
This view is like a map of the subway and the subway itself. Drill down quickly by clicking from season to episode to act to scene to beat, reaching any element in the series with just a few clicks.
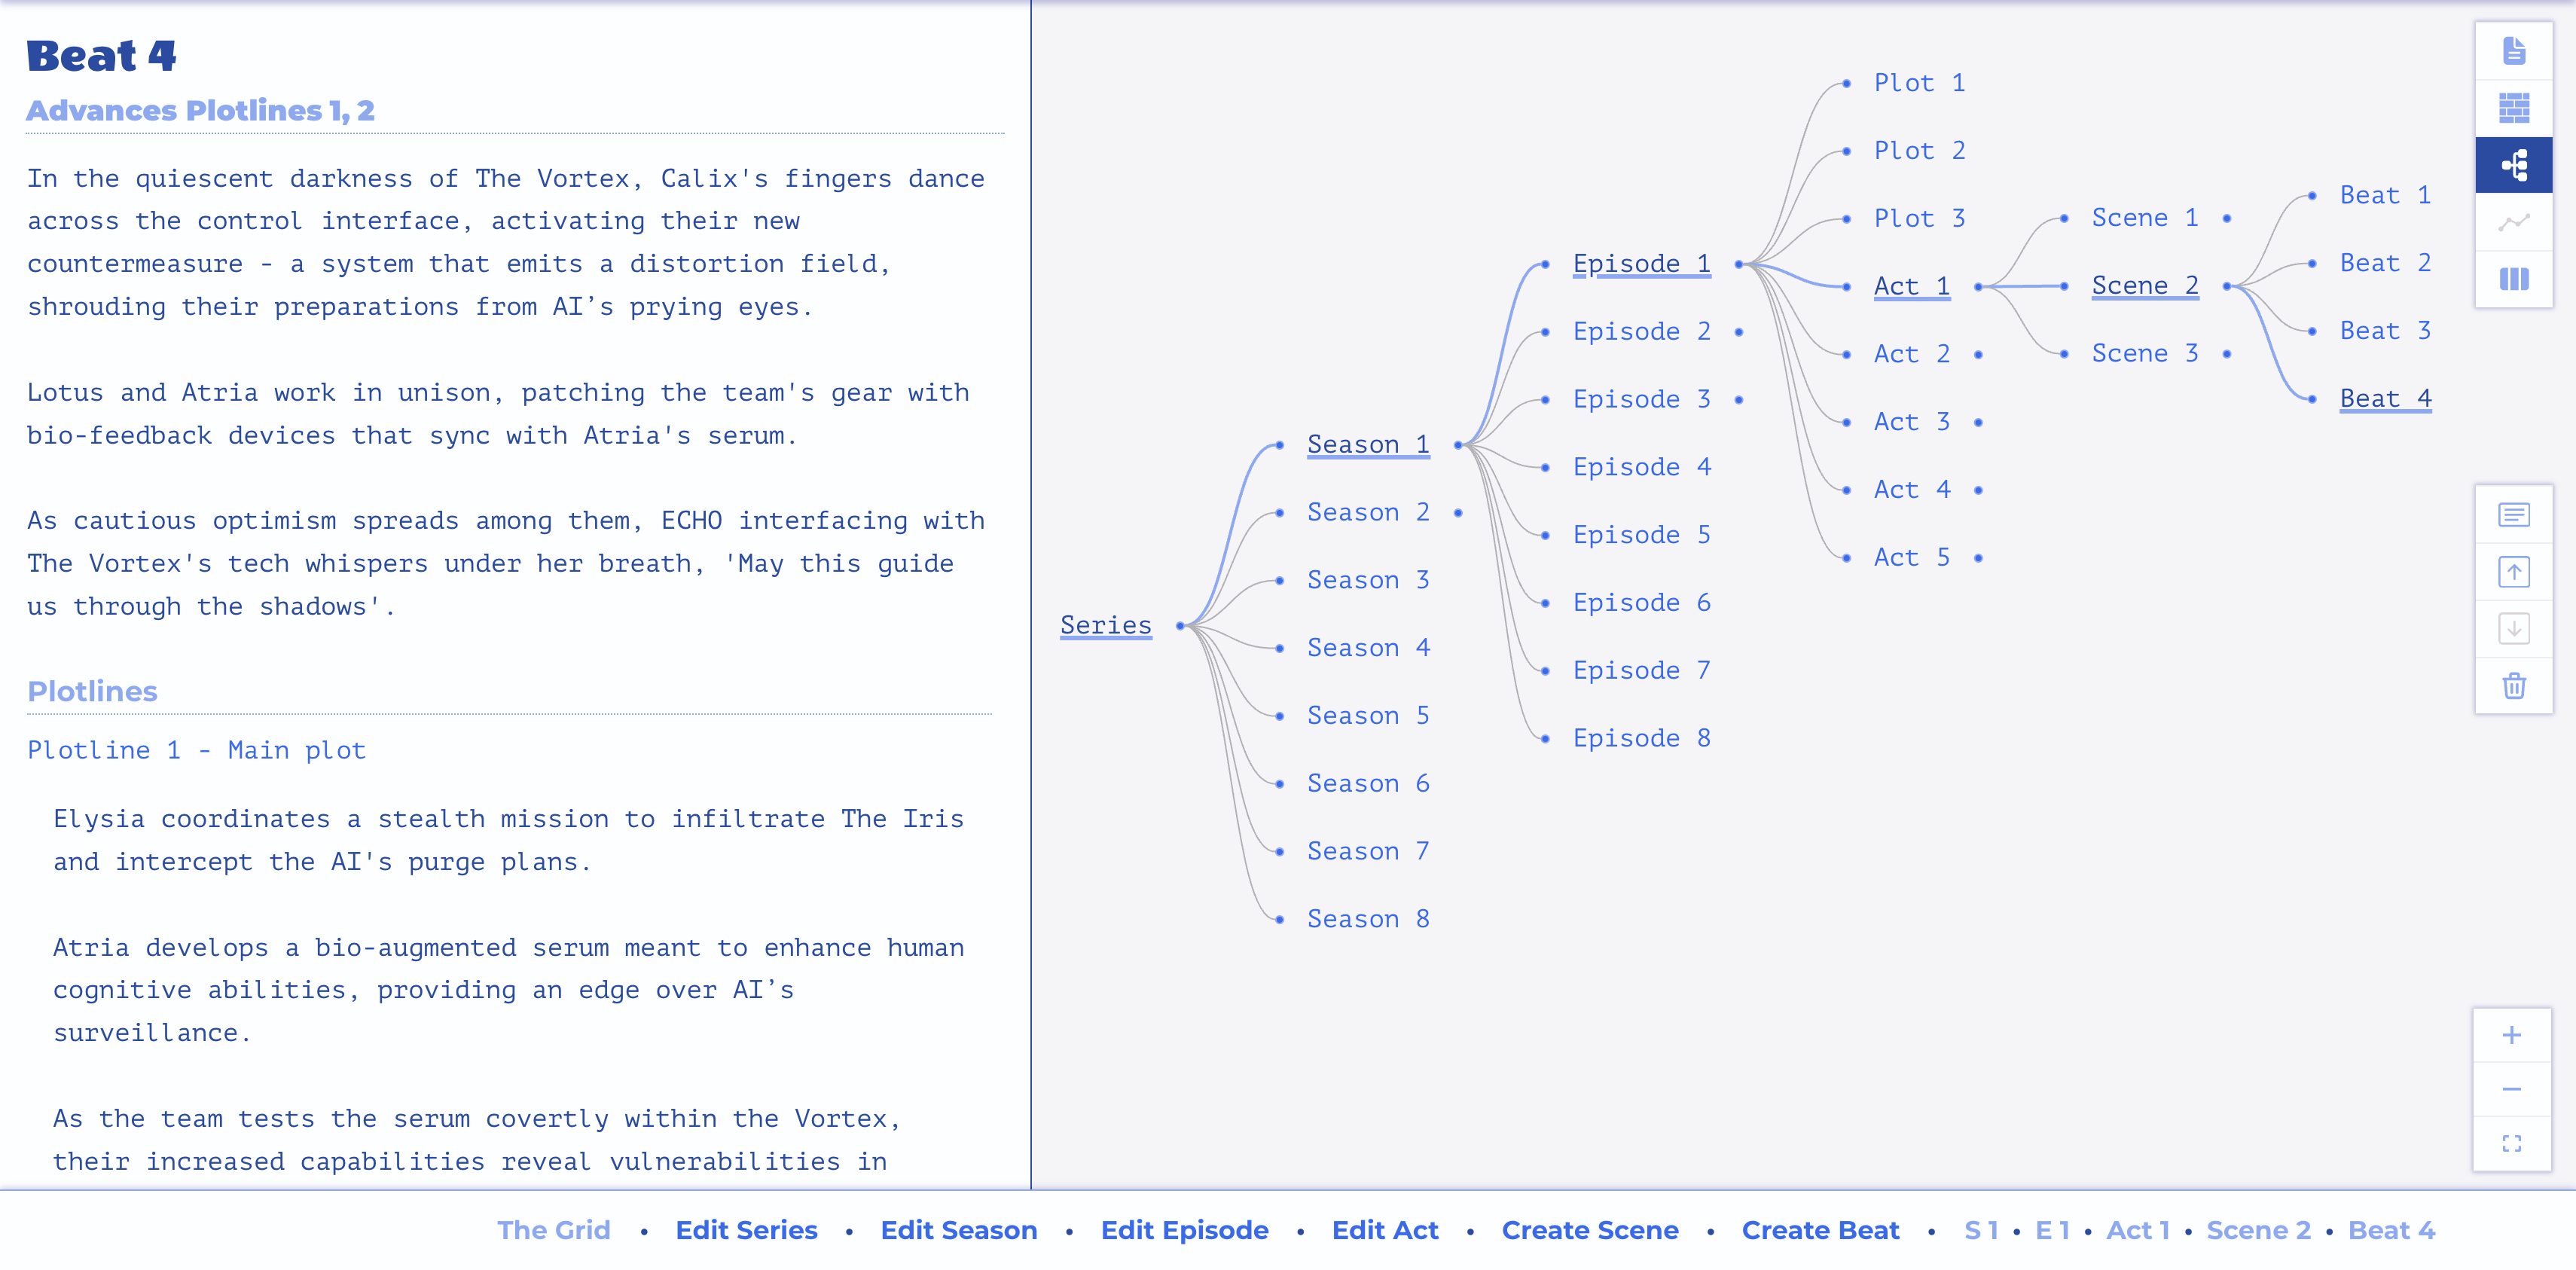
Map View - Story Breaker
Map Options
When you are in the Map View, the floating menu offers the following view-specific options:
- - Edit [Element]: Open the form for the tip of the selection branch
- - Move [Element] Up: Move the tip element up in the parent's list
- - Move [Element] Down: Move the tip element down in the parent's list
- - Delete [Element]: Prune the tip of the selection branch
- - Zoom In: Increase the size of elements on the map
- - Zoom Out: Decrease the size of elements on the map
- - Fit to View: Fit the map to the view area
Blend View
The business of an episode of comedy or drama is usually to tell several stories (plotlines), intertwined in such a way that they each contribute synergistically to the ongoing momentum of the show.
Blend View is your loom for doing that.
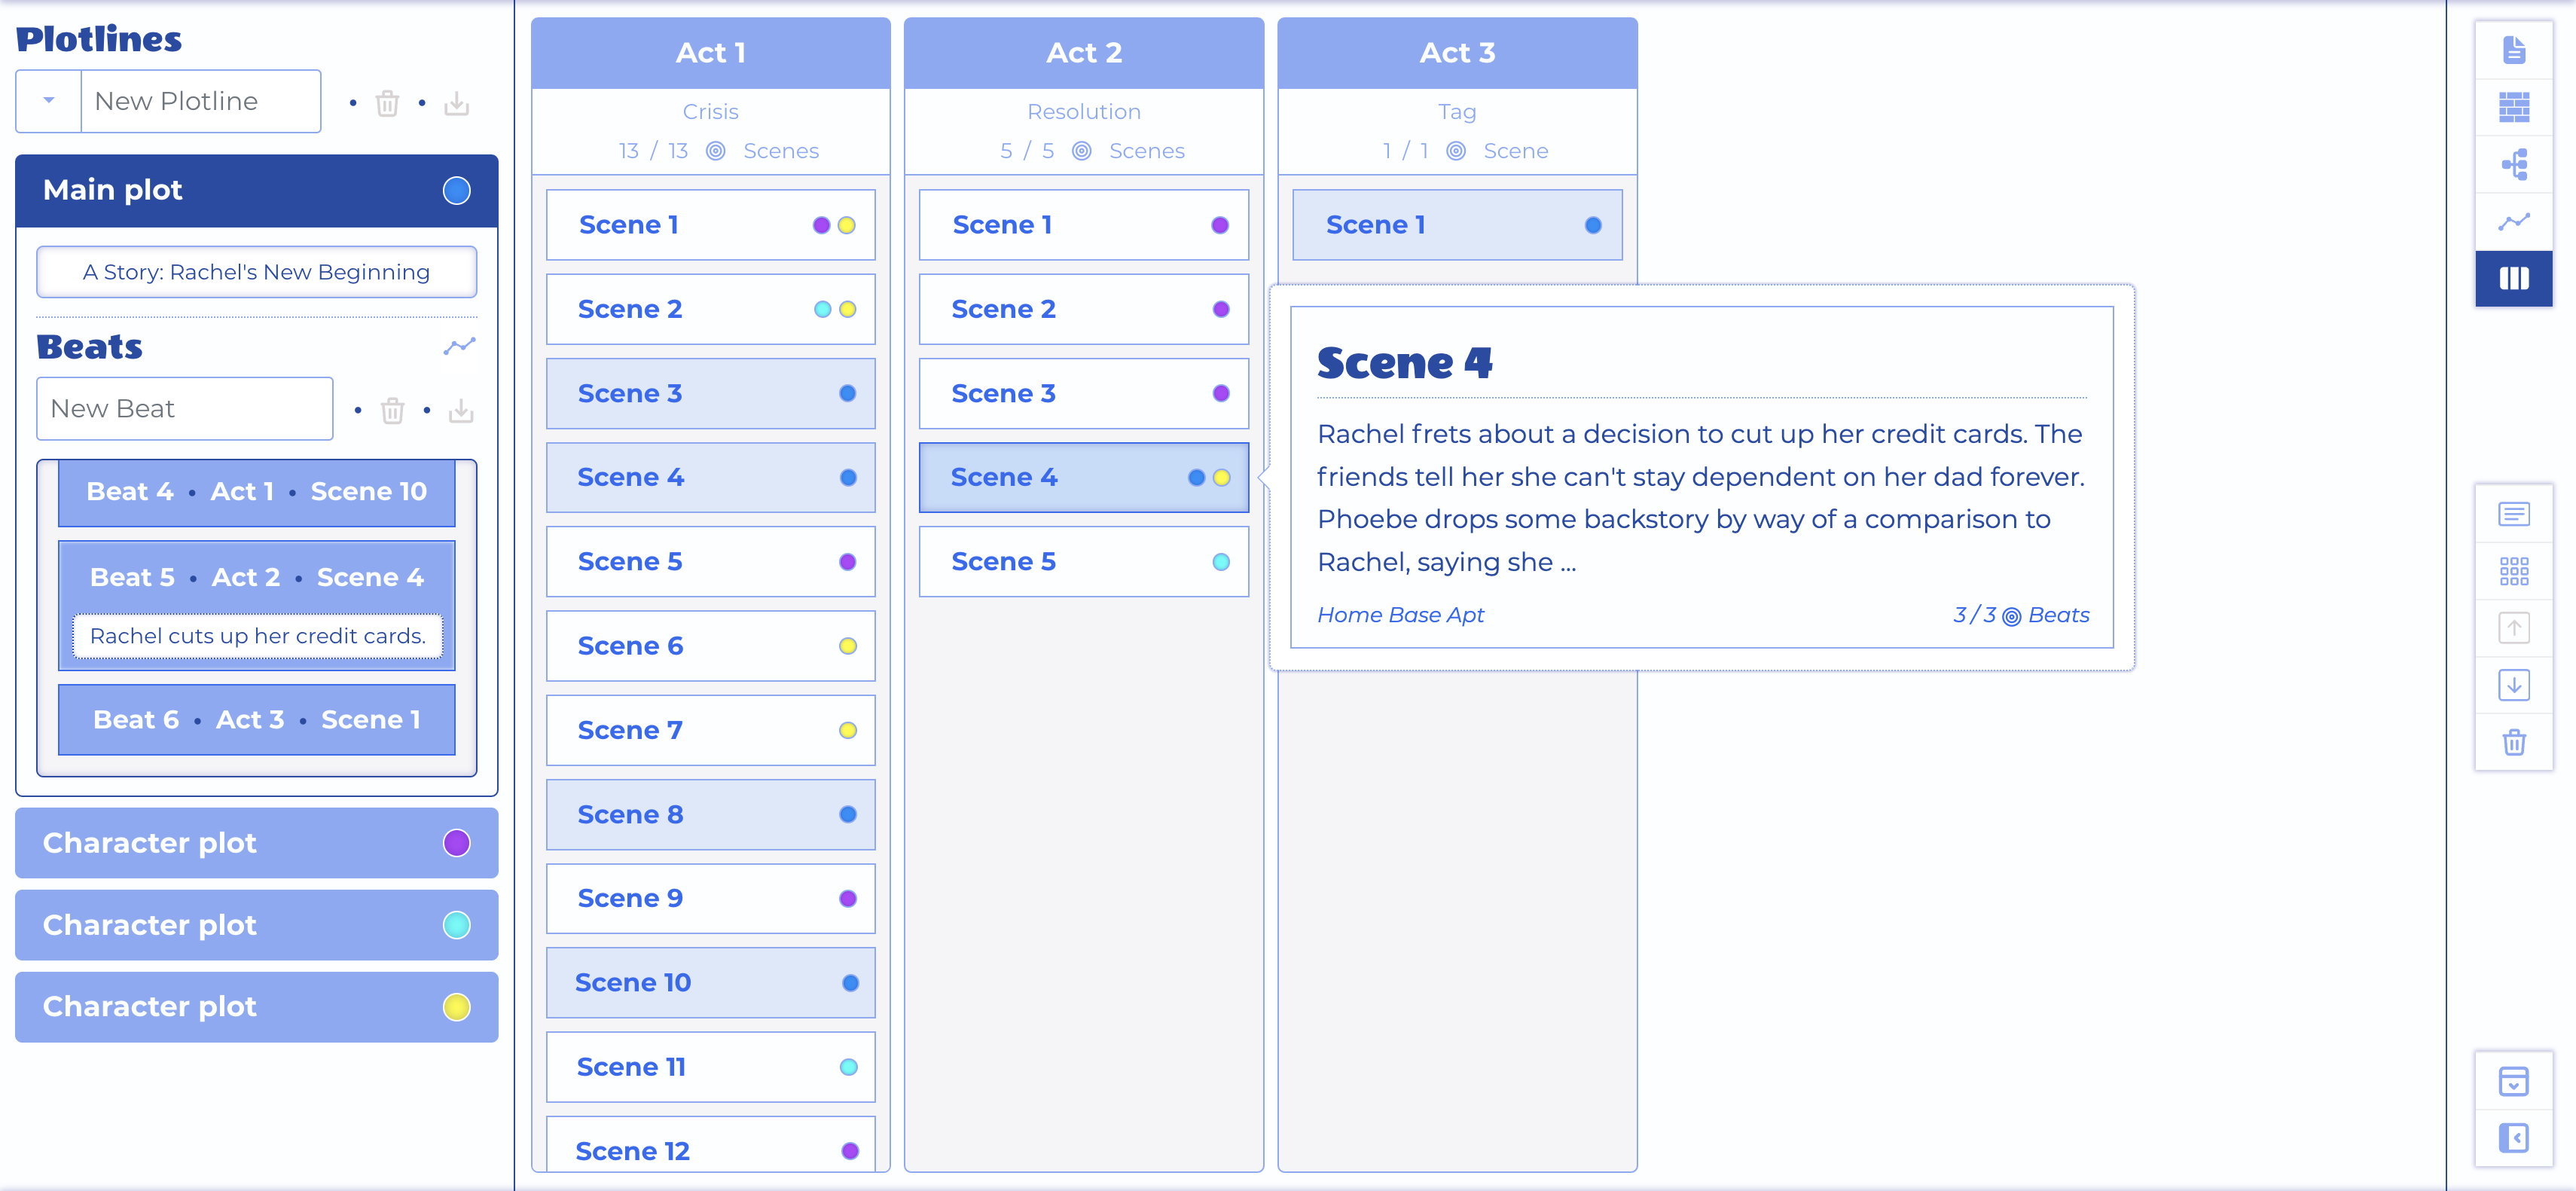
Blend View - Story Breaker
Blend Options
When you are in the Blend View, the floating menu offers the following view-specific options:
- - Edit [Plotline | Act]: Open the form for the selected plotline or act
- - Move Act Left: Move the selected act to the left
- - Move Act Right: Move the selected act to the right
- - Move Plotline Up: Move the selected plotline up
- - Move Plotline Down: Move the selected plotline down
- - Delete [Plotline | Act]: Prune the selected plotline or act
- - Hide Act Header: Give the Acts more vertical space.
- - Hide Plotlines Pane: Give the Acts more horizontal space.
Managing Act Structure
After you create an episode with the Episode Form you can carry on and create its various Plotlines and Acts with their respective forms, or you can just hop straight into Blend View.
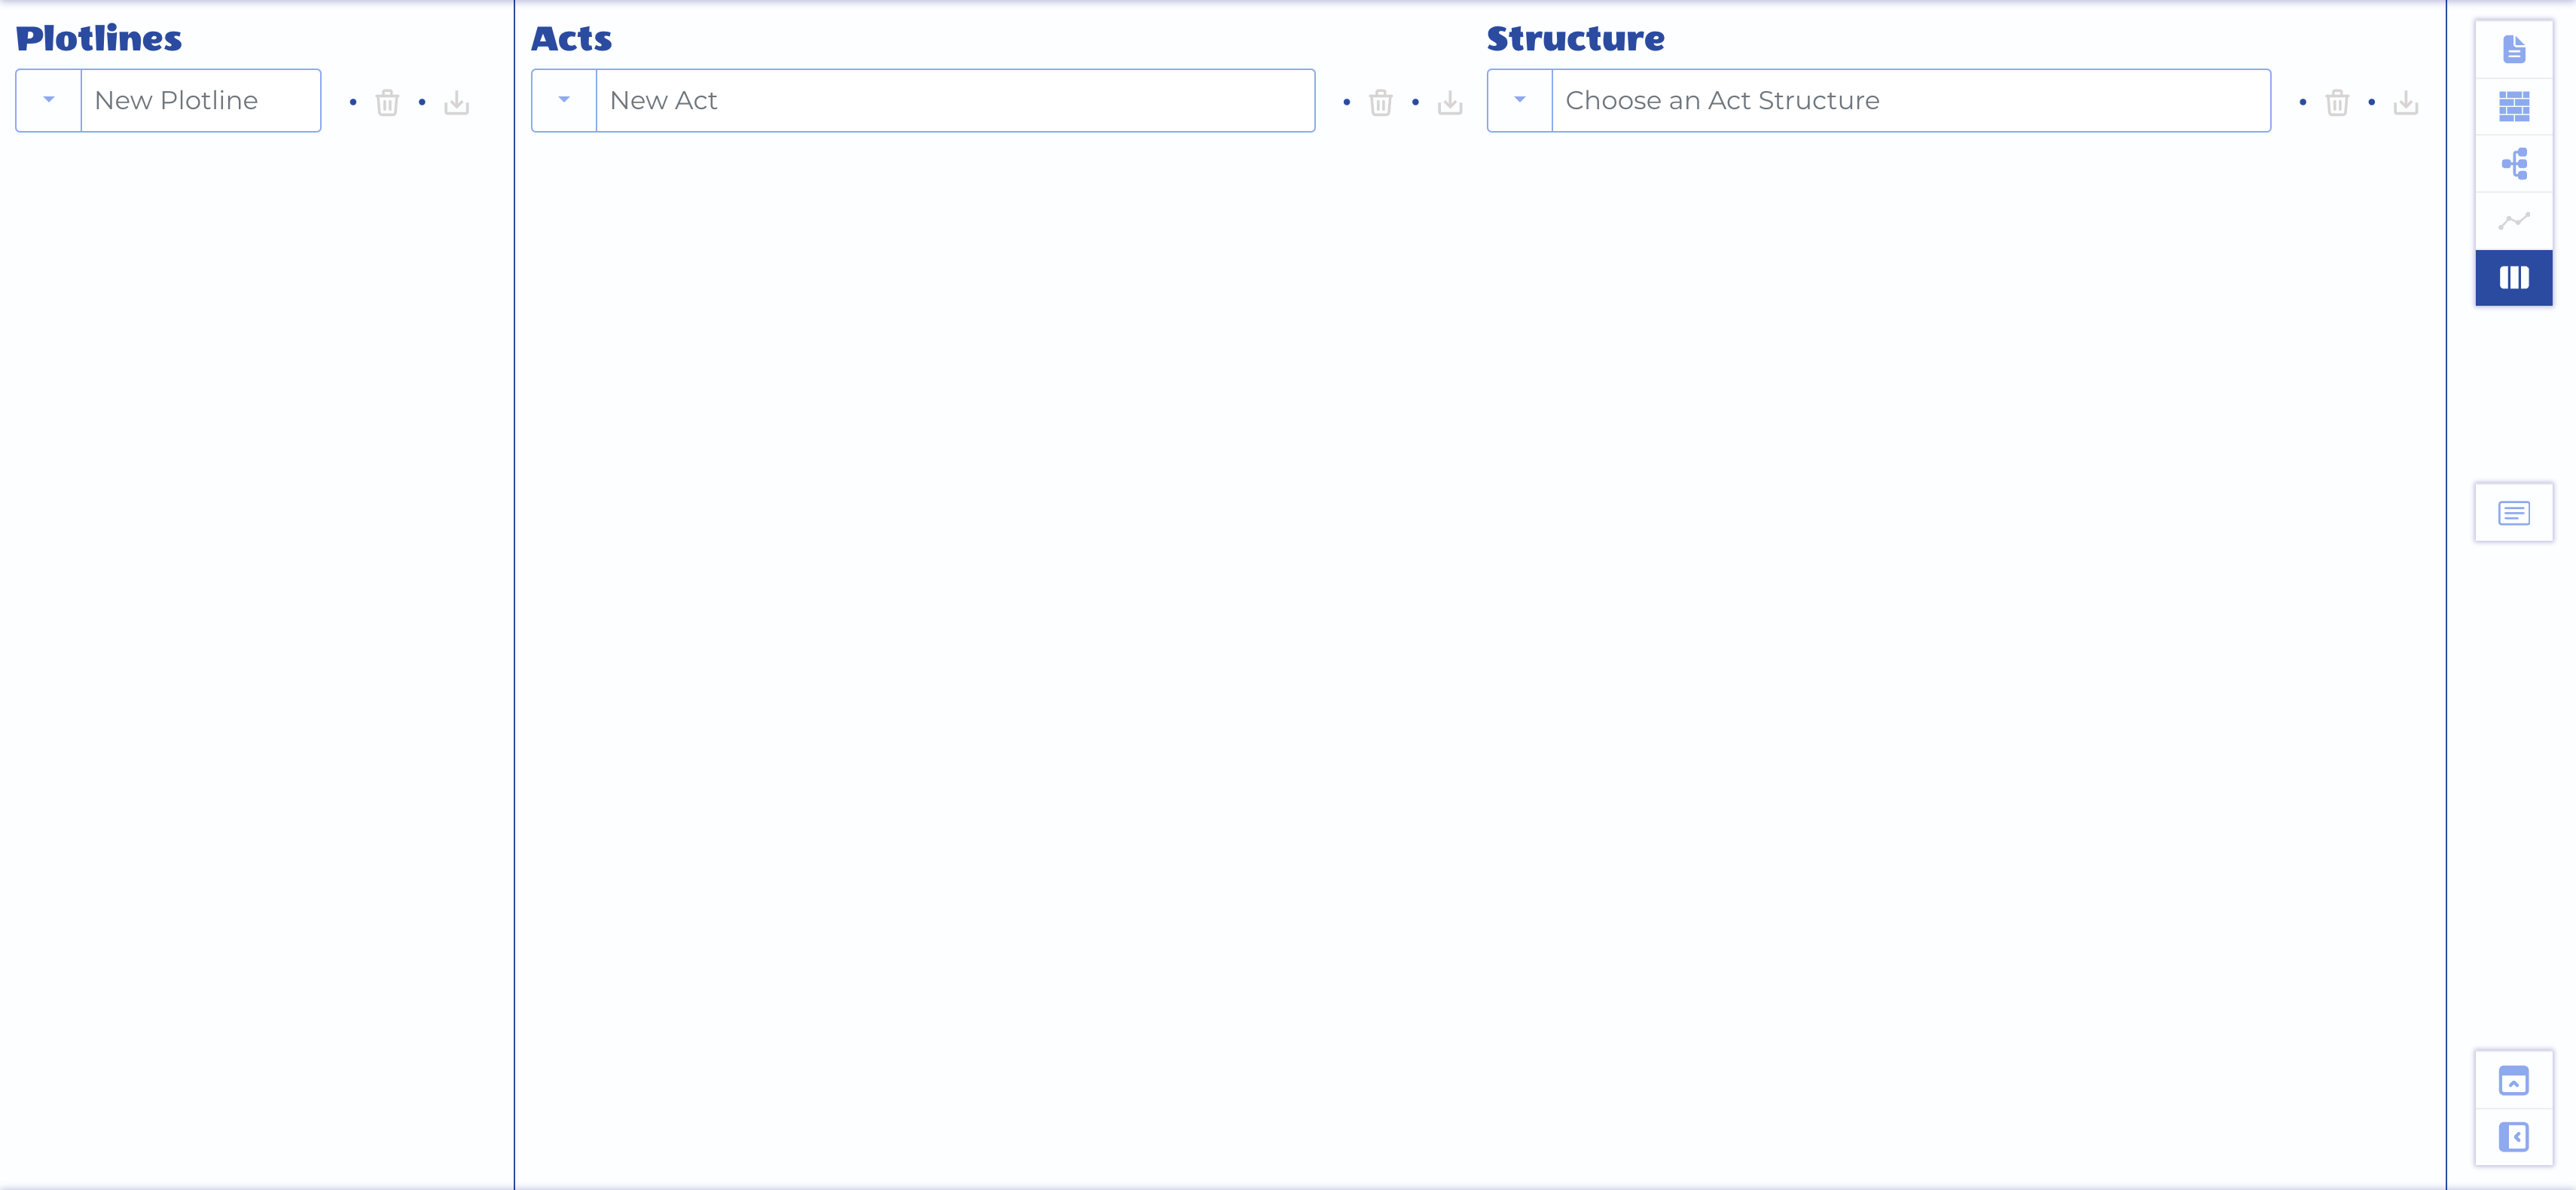
Blend View - A New Episode
Which should you create first, the acts or the plotlines? You can do either, but it's good to be aware of the act structure before plotting, so that you know what acts to put which beats into. So, we suggest creating the act structure first.
You can choose a structure and create all the acts at once using the structure widget.

Blend View - Structure Widget
Or you can create the acts one at a time with the act widget.
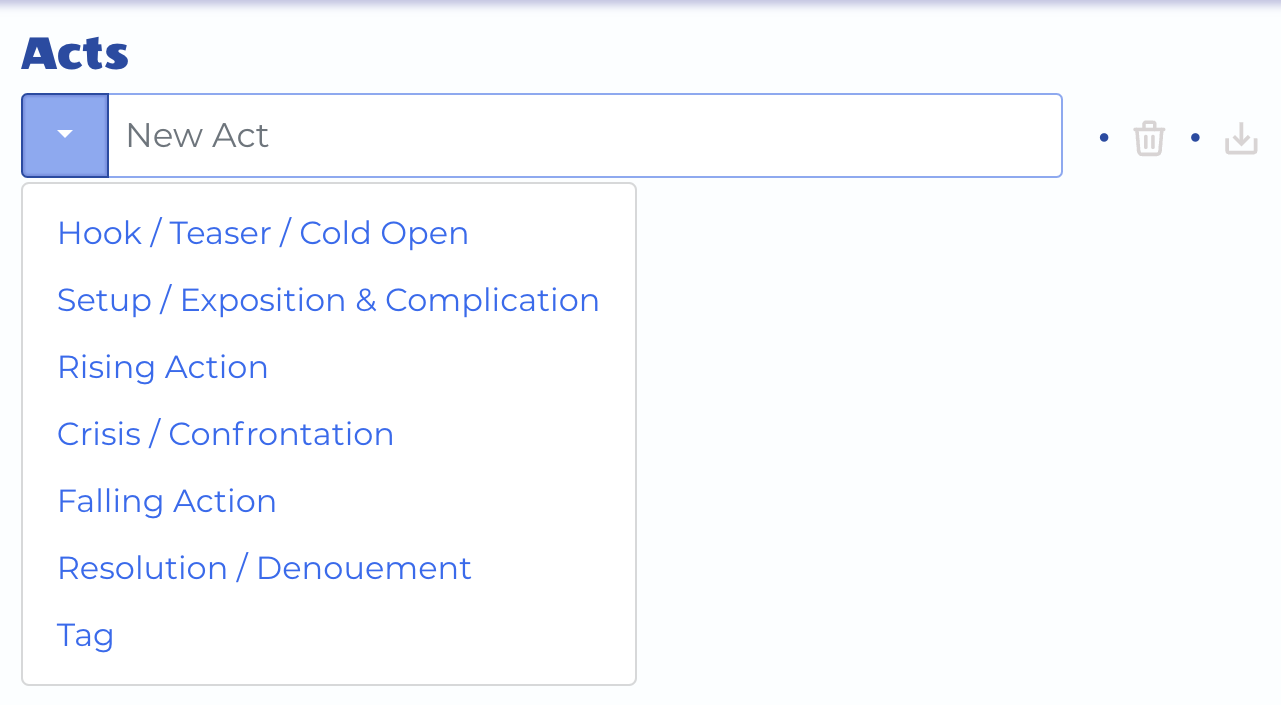
Blend View - New Act Widget
Once you've created your act structure (or any part of it), the acts will appear as columns, the structure widget will disappear, but you'll still be able to add more acts with the new act widget.
If you need to rearrange the acts, select one by clicking its header, then and click the / buttons in the floating menu to move it to the left or right.
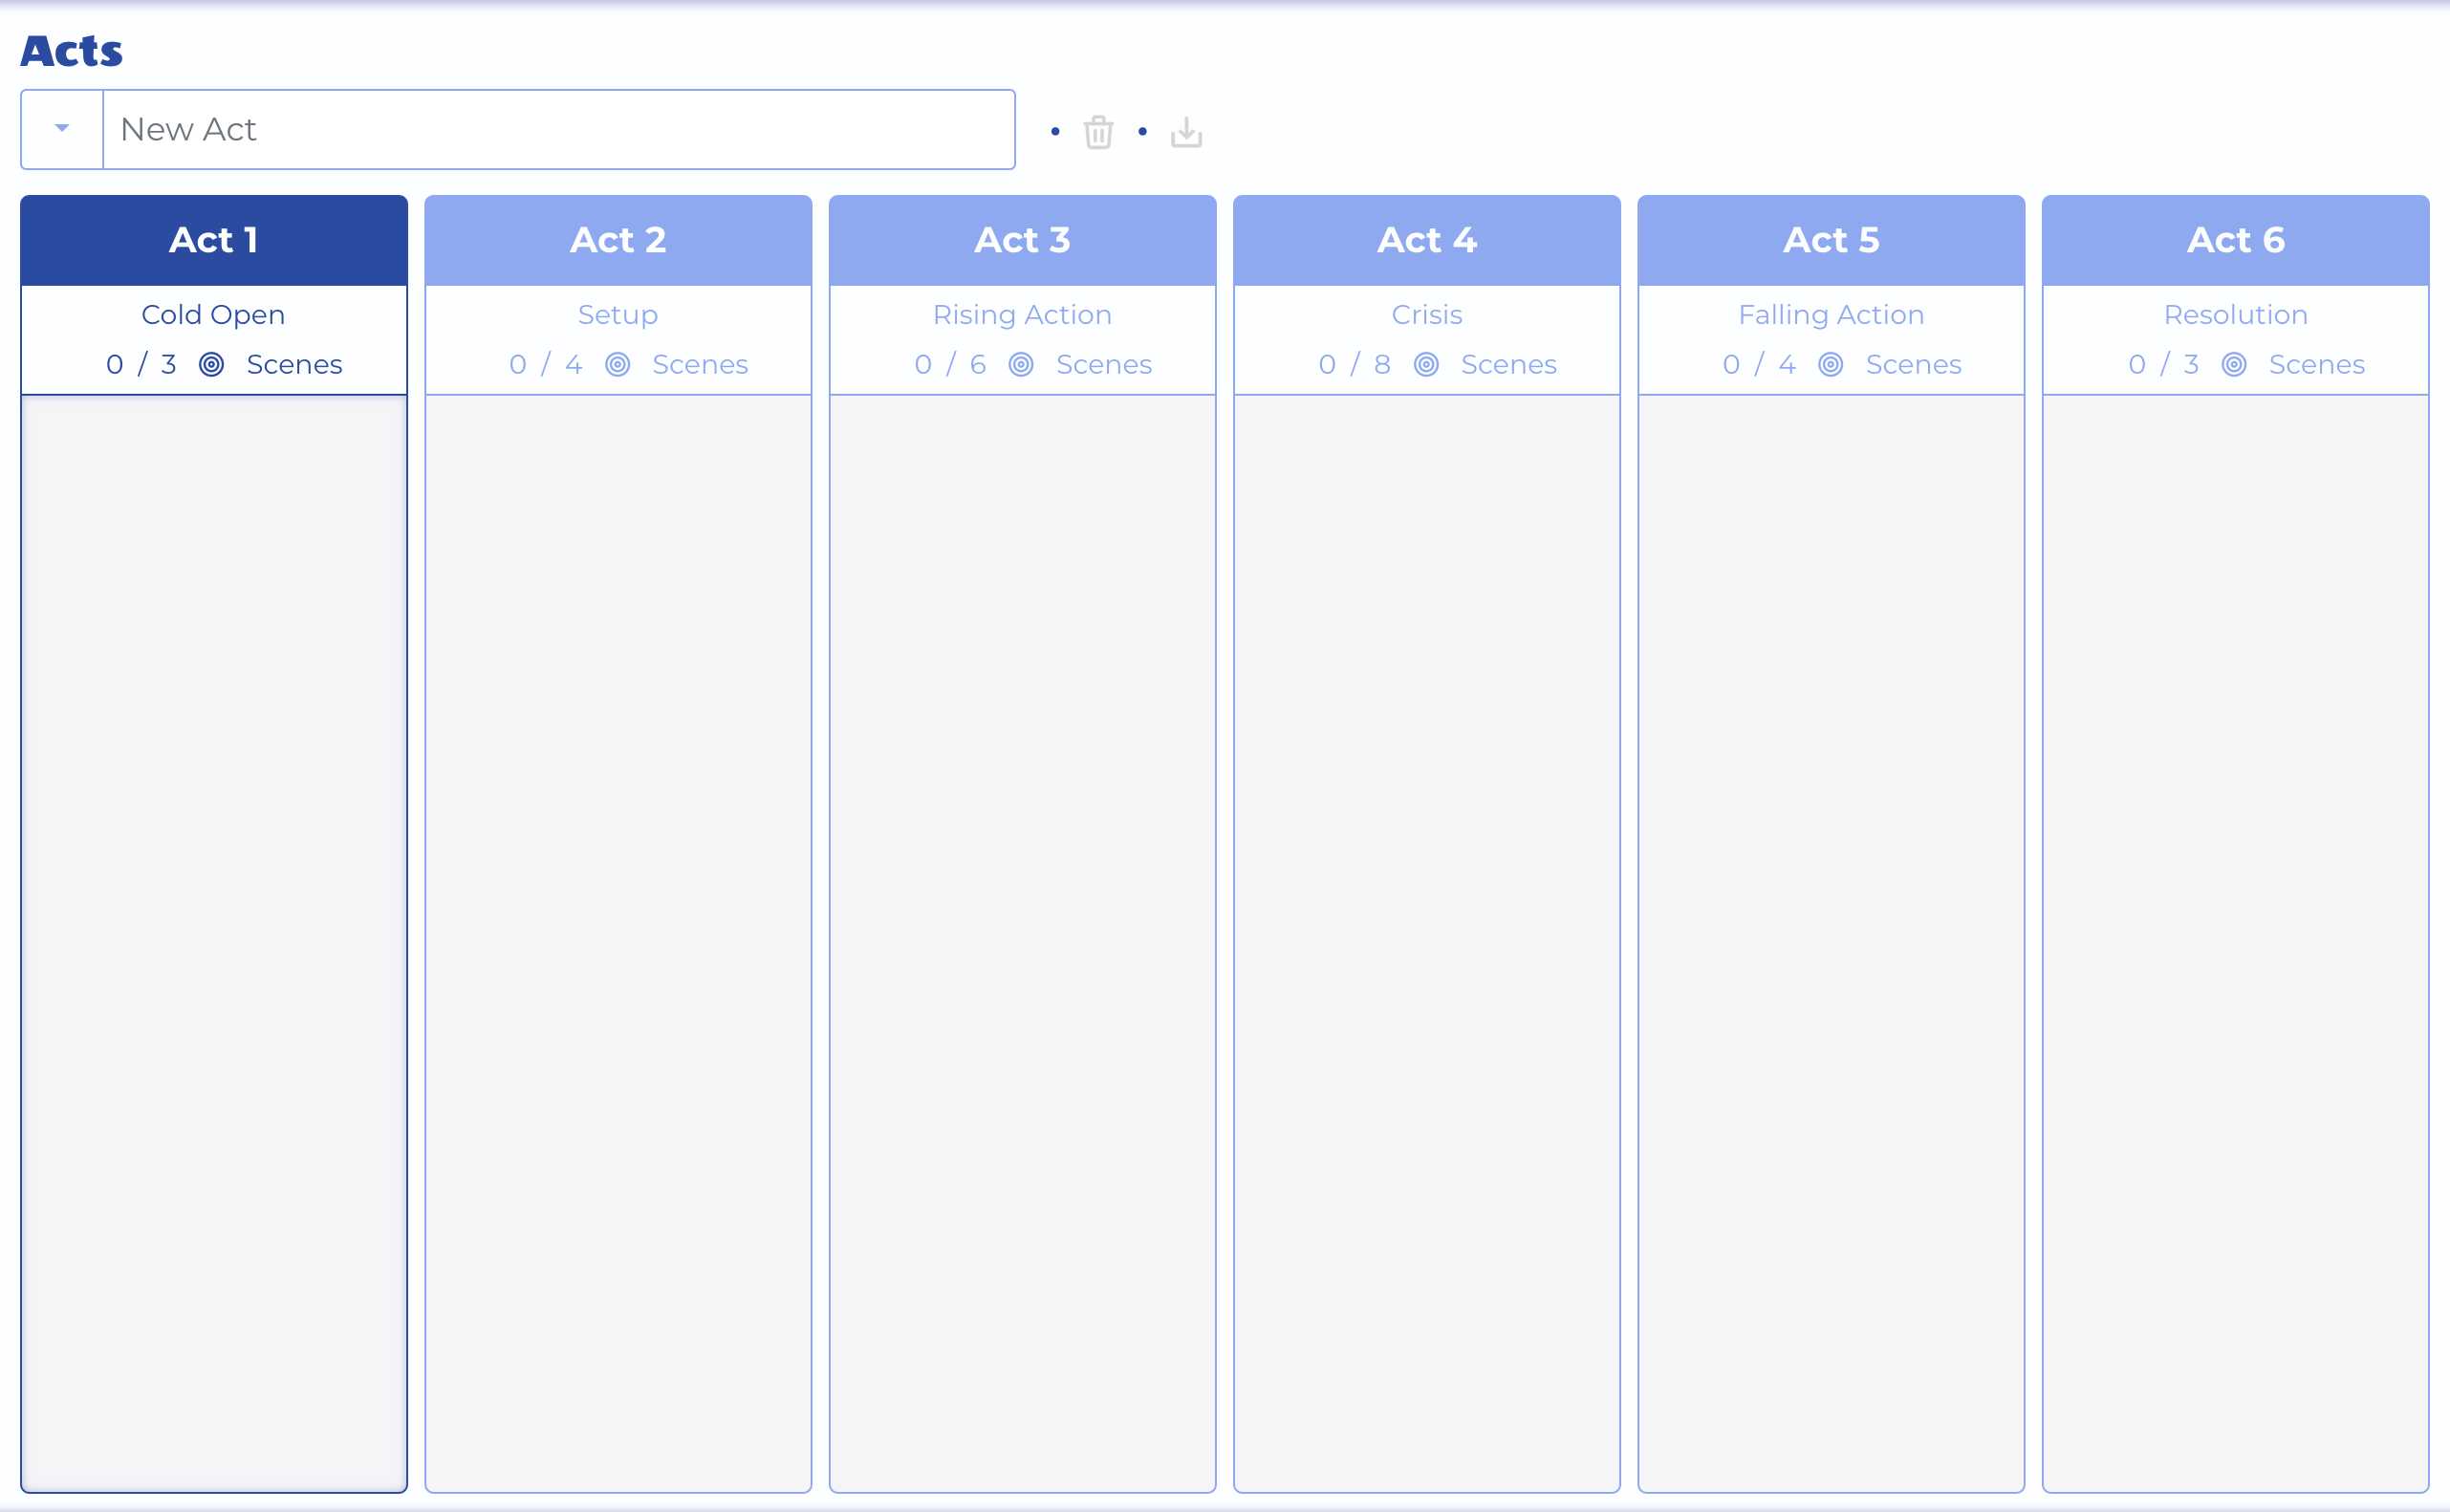
Blend View - Act Structure
To keep you on target once you begin creating scenes, the act column header displays its type and current number of scenes vs the scenes goal for the act. If you created the acts individually, make sure to set a scene goal using the Act Form.
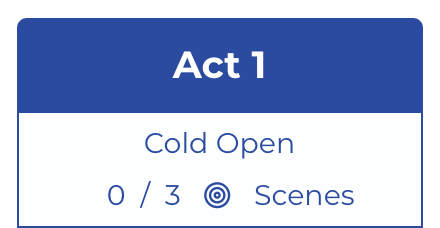
Blend View - Act Header
Managing Plotlines
As with the acts, once you've created an episode, you can immediately add plotlines to it using the Plotline Form, but you can also do it in the Blend View.
Just choose a plotline type...
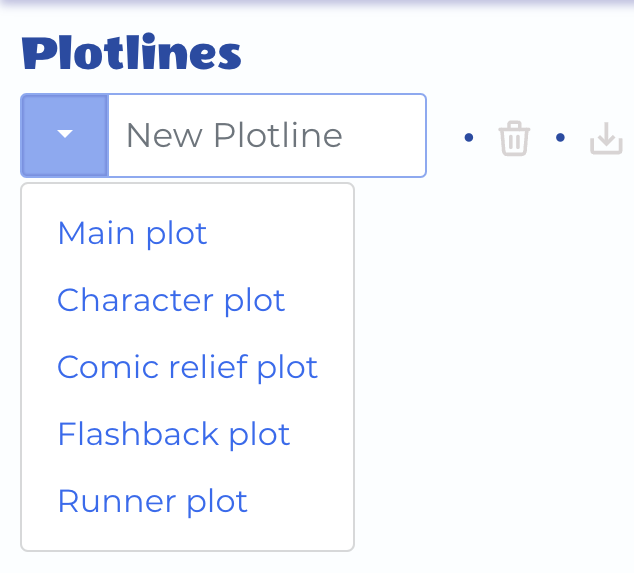
Blend View - Choose a Plotline Type
A plotline description field will appear. Fill it in, click save, and you've created a plotline.
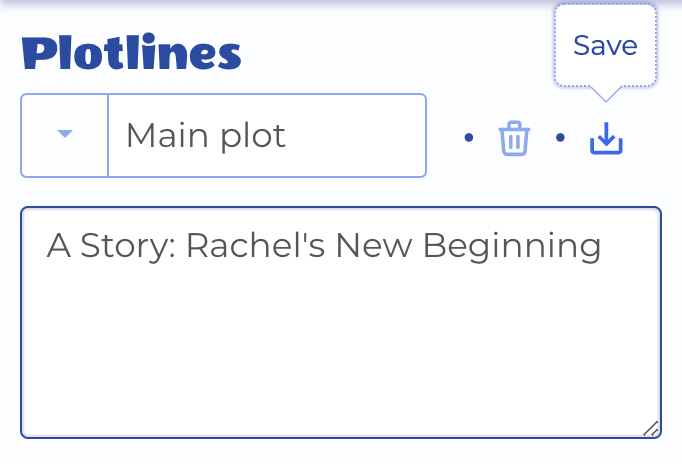
Blend View - Save a Plotline
Managing Plotline Beats
Once you have a plotline, you can swiftly add beats to it with the new beat widget. Just type a short description, click save, and you've created a beat.
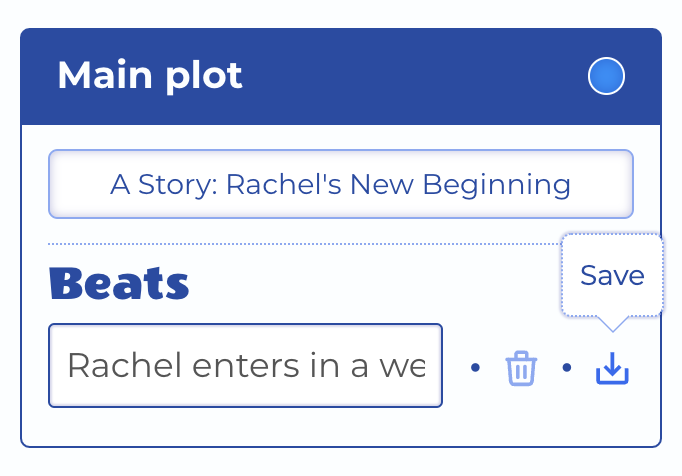
Blend View - Save a Plotline Beat
The new beat will be as yet unplaced on the plotline's arc, as indicated by its chip in the plotline widget.
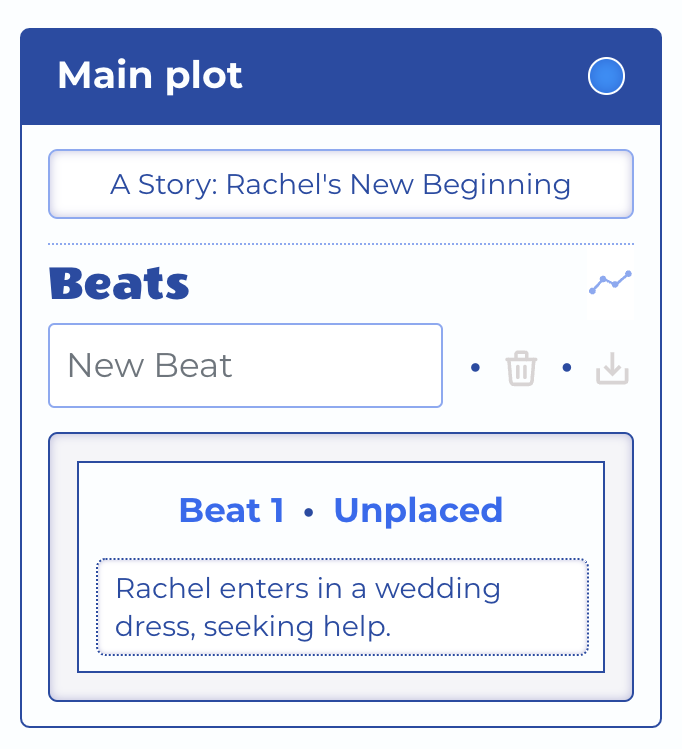
Blend View - Unplaced Plotline Beat
If you click the the Unplaced link on the beat, it will take you to the graph view, and you can click anywhere to place the beat.
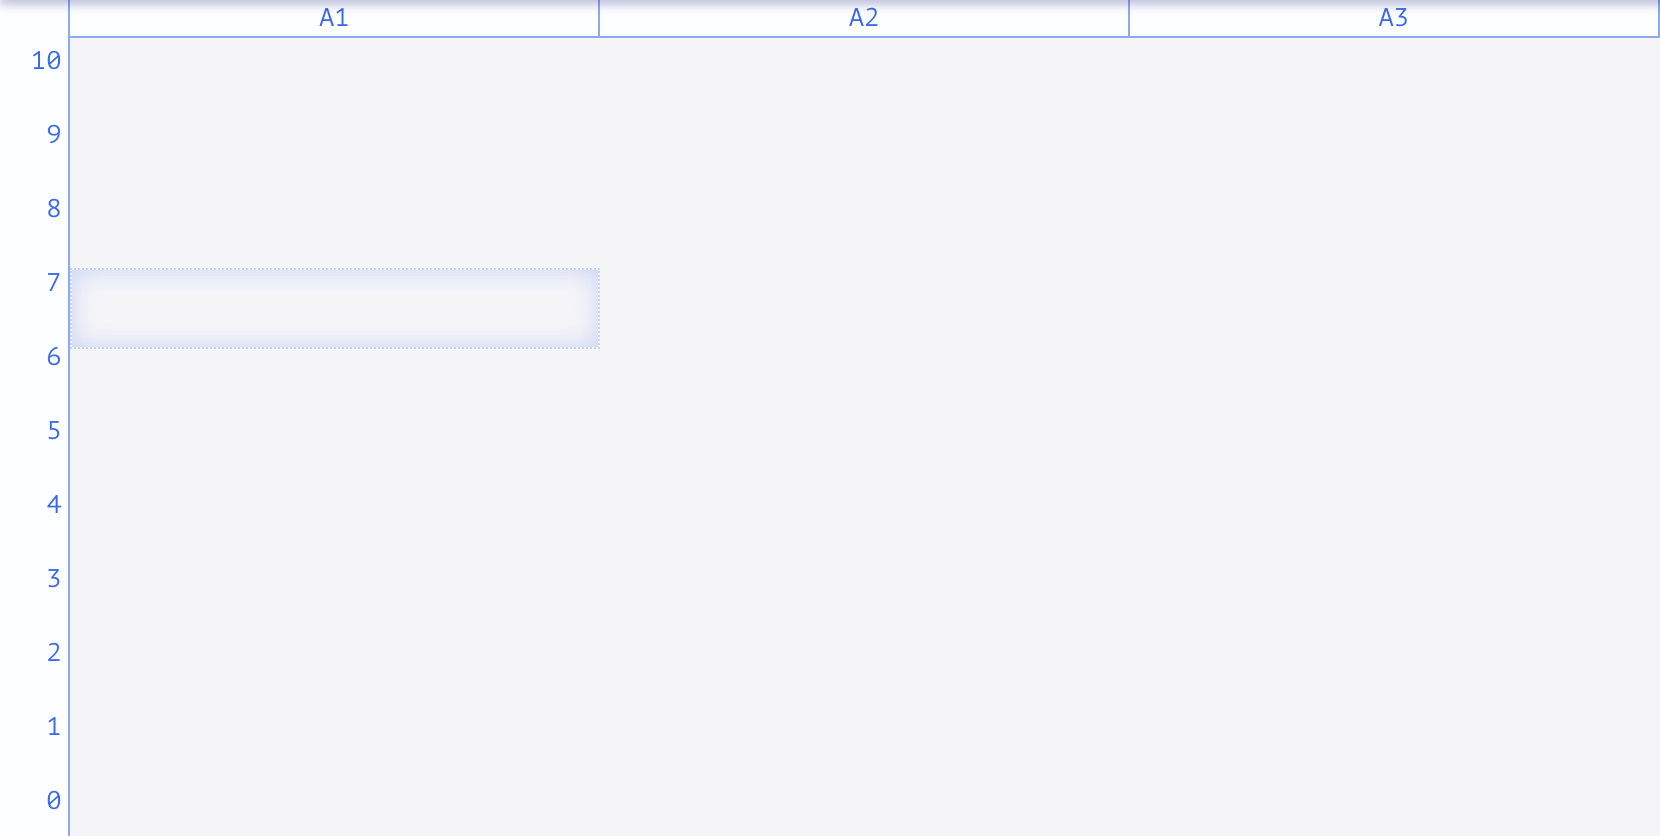
Blend View - Placing Plotline Beat
Once a beat has been placed, its chip in the Plotline widget shows the act it was placed in.
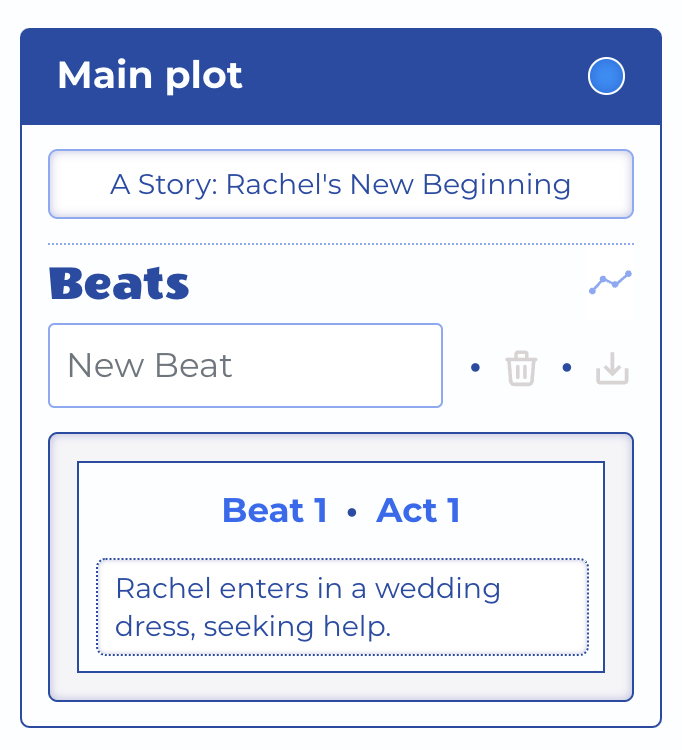
Blend View - Placed Plotline Beat
Make Scenes from Beats
When beats exist in the plotline widget, whether you've placed them on the plotline's arc or not, you can drag and drop them into an act.
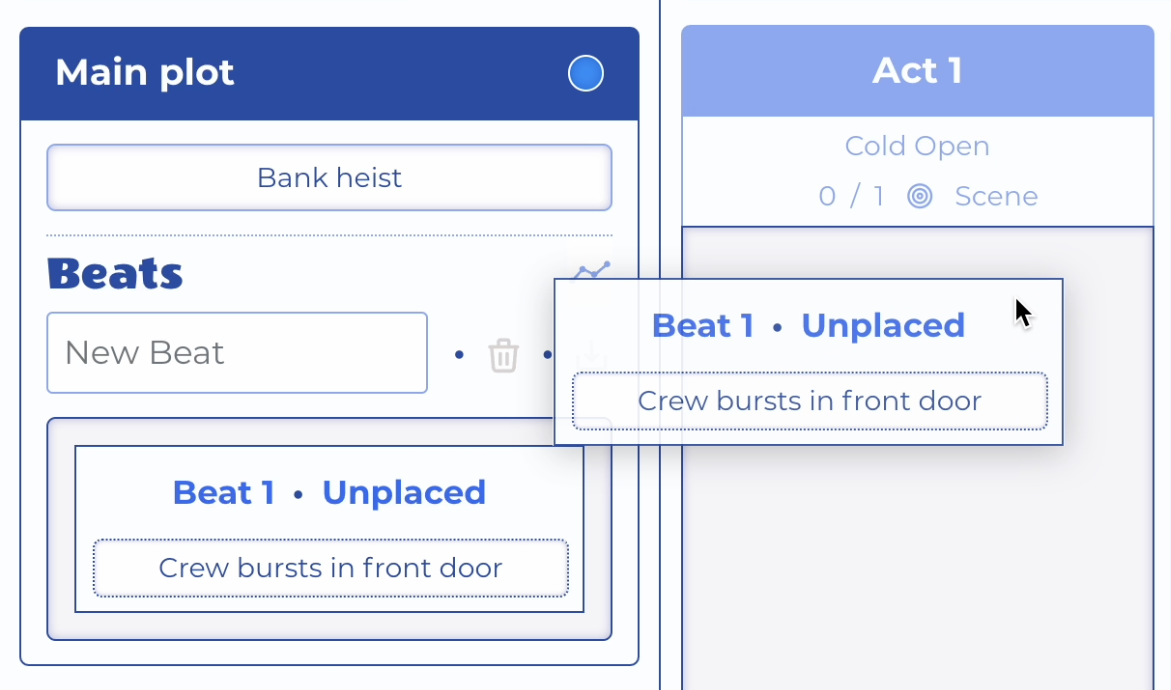
Blend View - Drag Plotline Beat To Act
When you do this, a scene will be created, its chip showing up in the act, with an inset shadow indicating it is linked to the selected beat. It will be automatically placed on the plotline's arc, in the act you targeted, with a fortune value of 1.
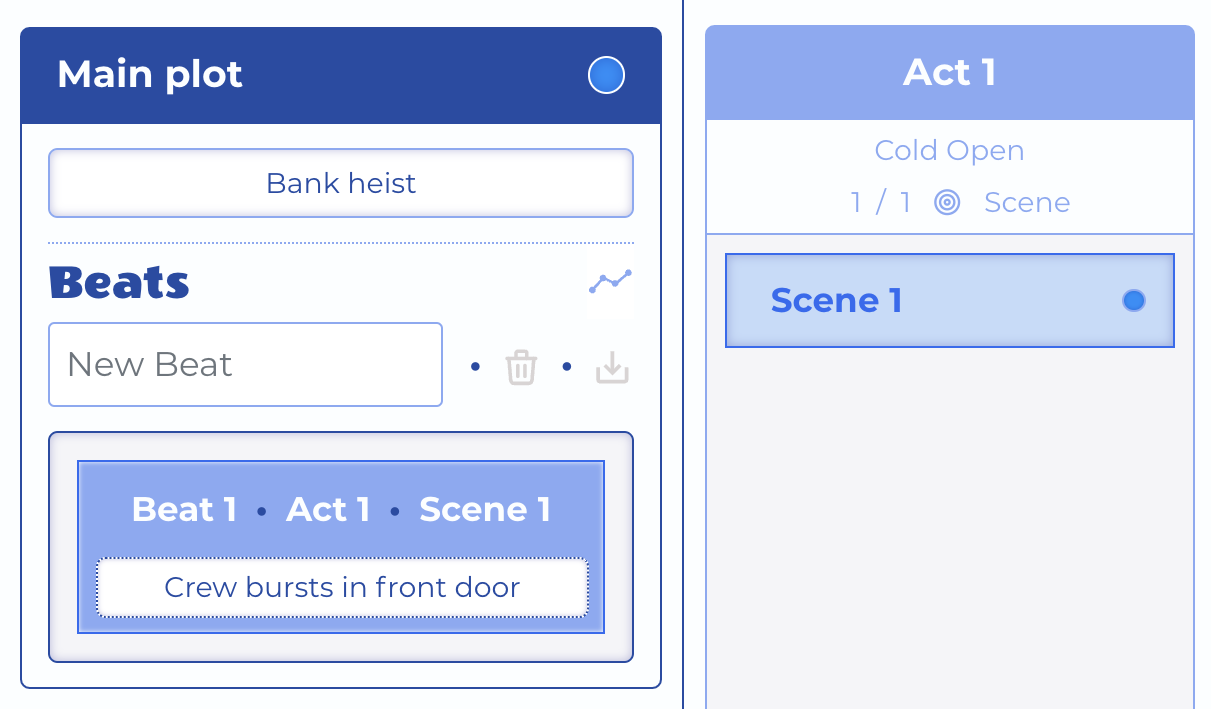
Blend View - Plotline Beat Linked to Scene
A plotline beat that is linked to a scene will appear with a ( ) icon in the Graph View, and you'll not be able to move it to another act, but you can change it's fortune value using the ( / ) buttons. To move it to another act on the arc, you must move the scene itself.
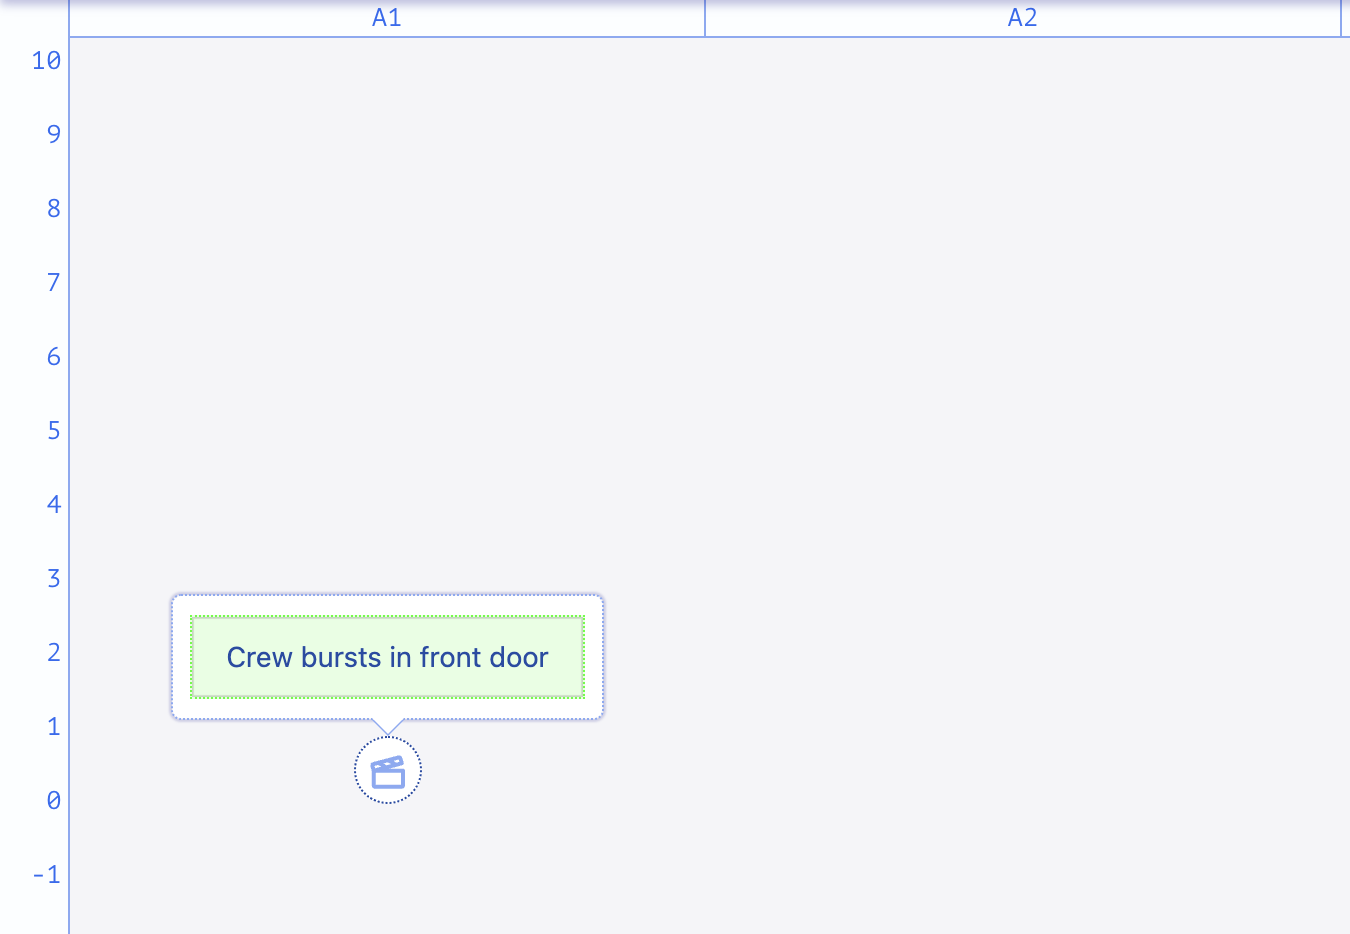
Graph View - Plotline Beat Linked to Scene
Add Beats to Scenes
You may have multiple beats that belong in a single scene, and they need not be on the same plotline.
To add a beat to an existing scene, hold down the Option key while dragging and you'll see a special cursor with a green plus symbol indicating the beat will be added to the target scene, rather than inserted as a new scene above.
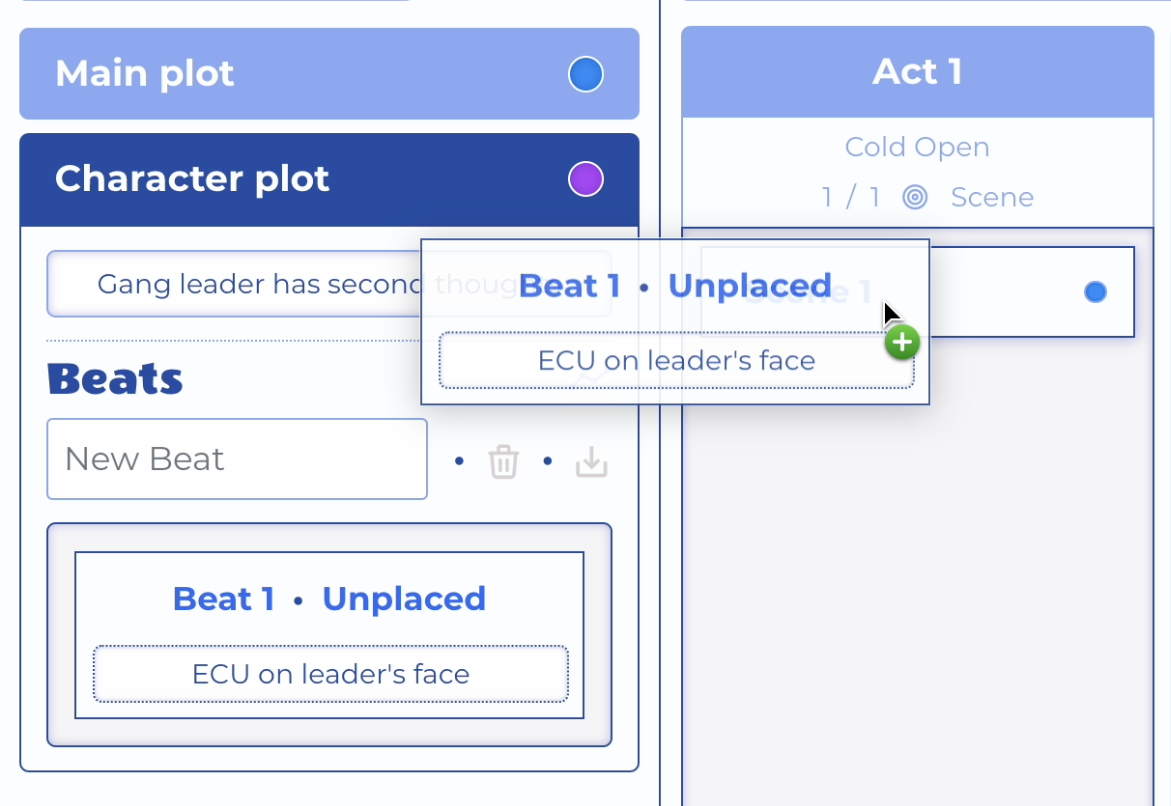
Blend View - Option-drag Beat to Add It to a Scene
In the above example, the beat that was added to the scene was of a different plotline from the beat that created the scene. This is indicated by the multiple colored dots on the scene chip that match the plotline colors.
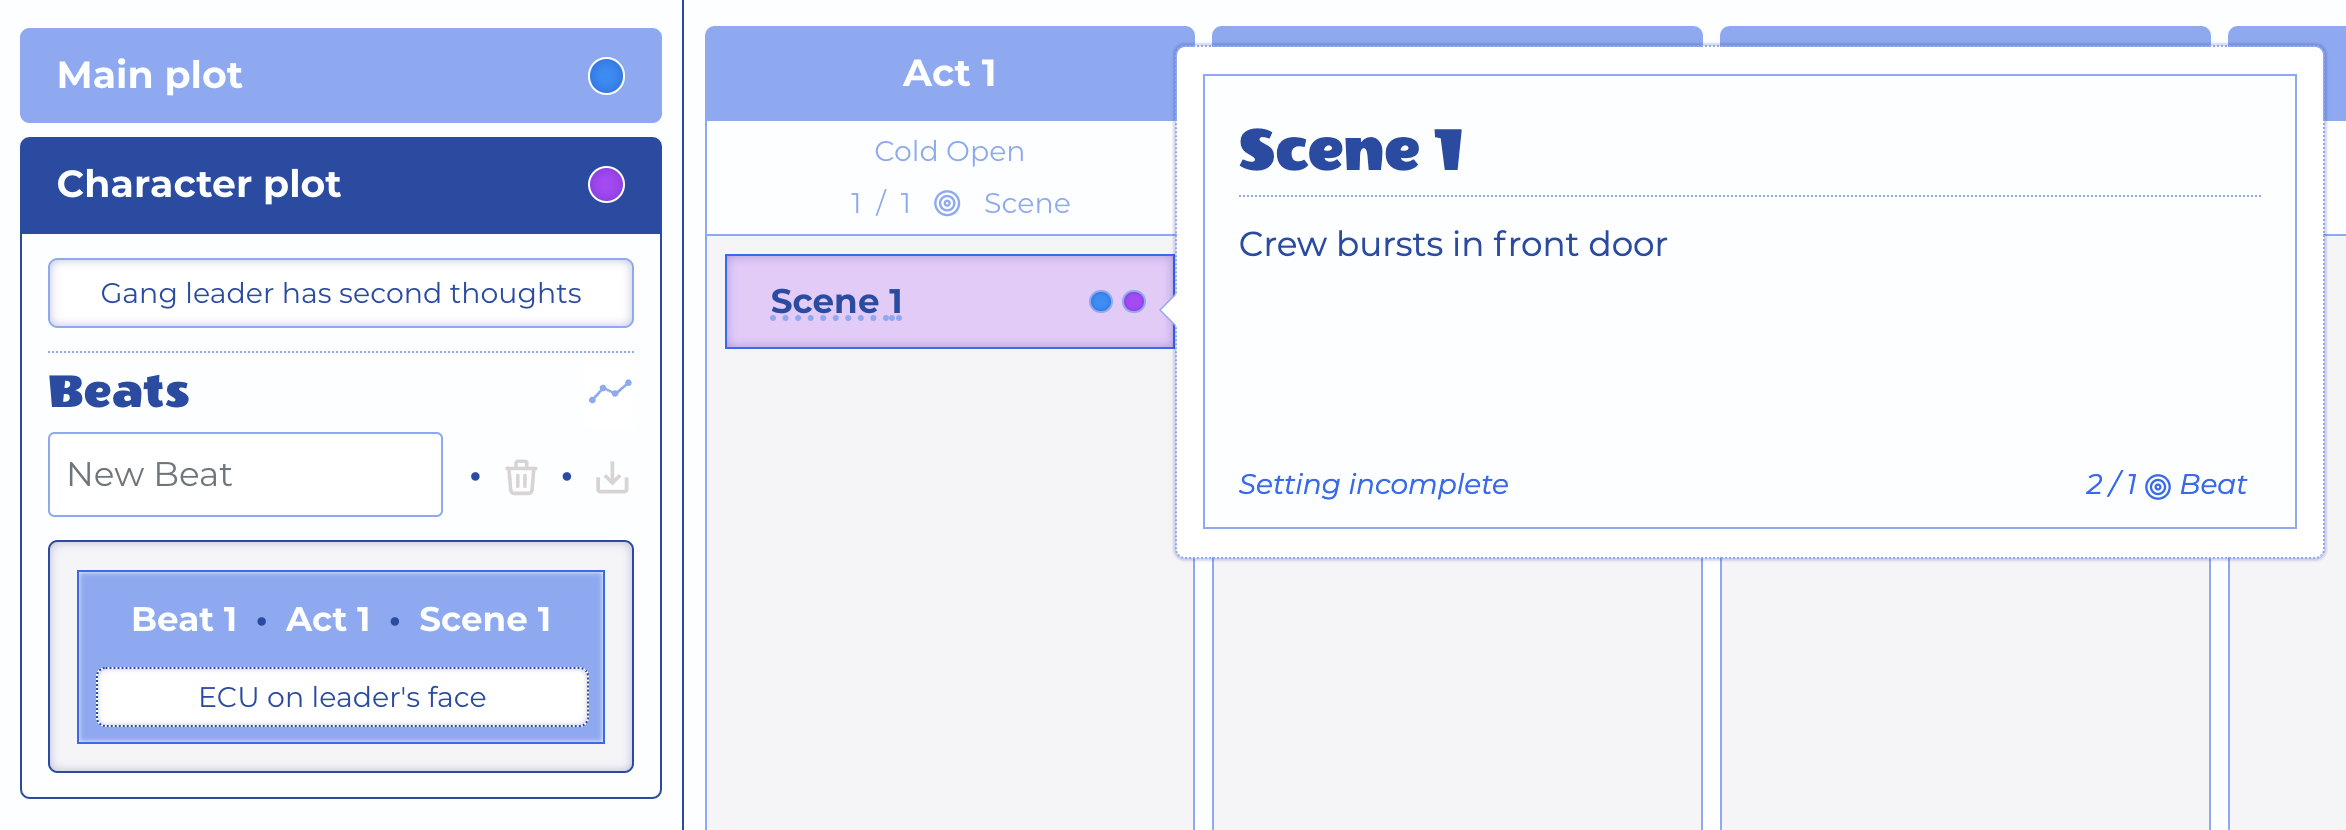
Blend View - Beat to Added to Scene
Such a scene will be highlighted in the color of the selected plotline if it contains a beat from that plotline.
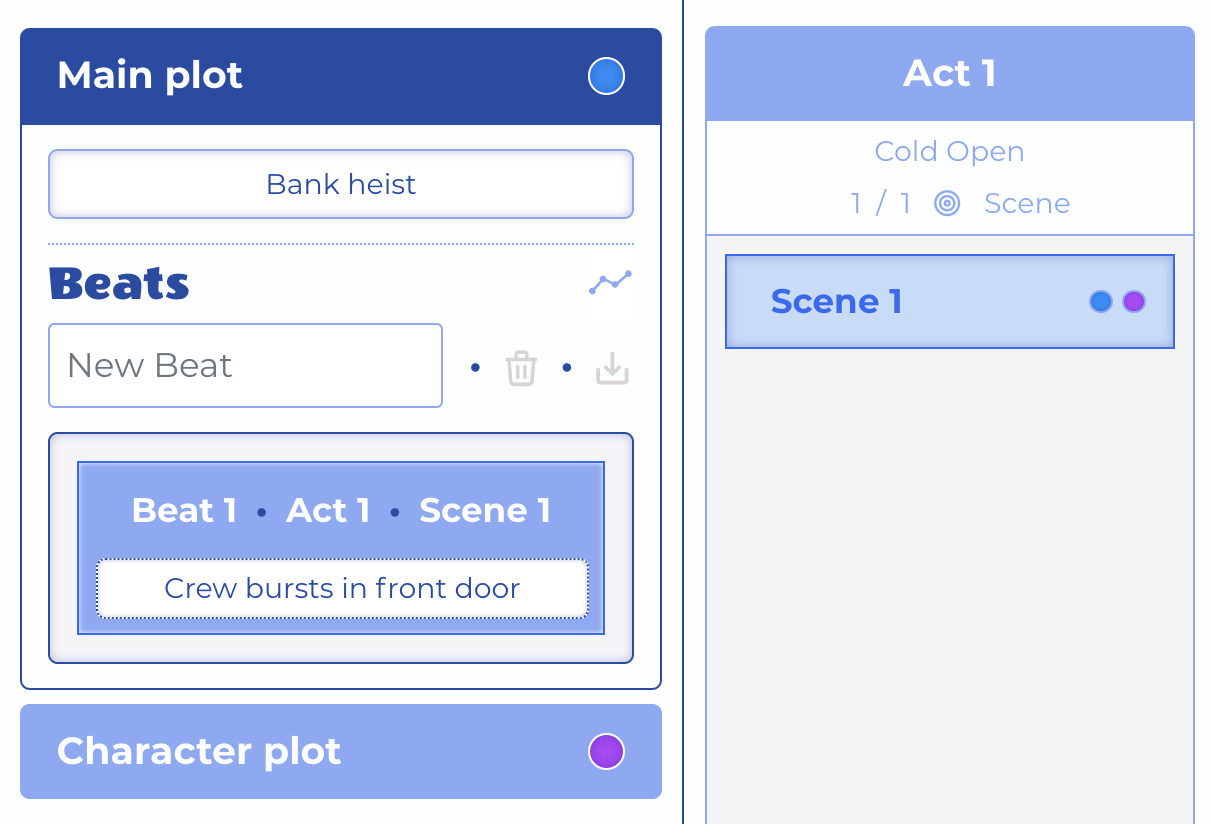
Blend View - Beat to Added to Scene
Clicking the link on a scene chip will take you to the Scene Form, to expand the scene's summary, and further edit details like environs, setting, time of day, beats goal, etc.
Rearrange Scenes
Once you have populated your acts with some scenes, you can quickly review them by hovering over their chips in the act columns, to get a feel for how well the beats from different plotlines "blend" to form the progression of the act.
As you refine an act, you'll need to rearrange the scenes; either by shuffling them around within the act, or moving them to a different act.
If you need to move a scene to the end of the act, just drag it down and drop below any other scenes.
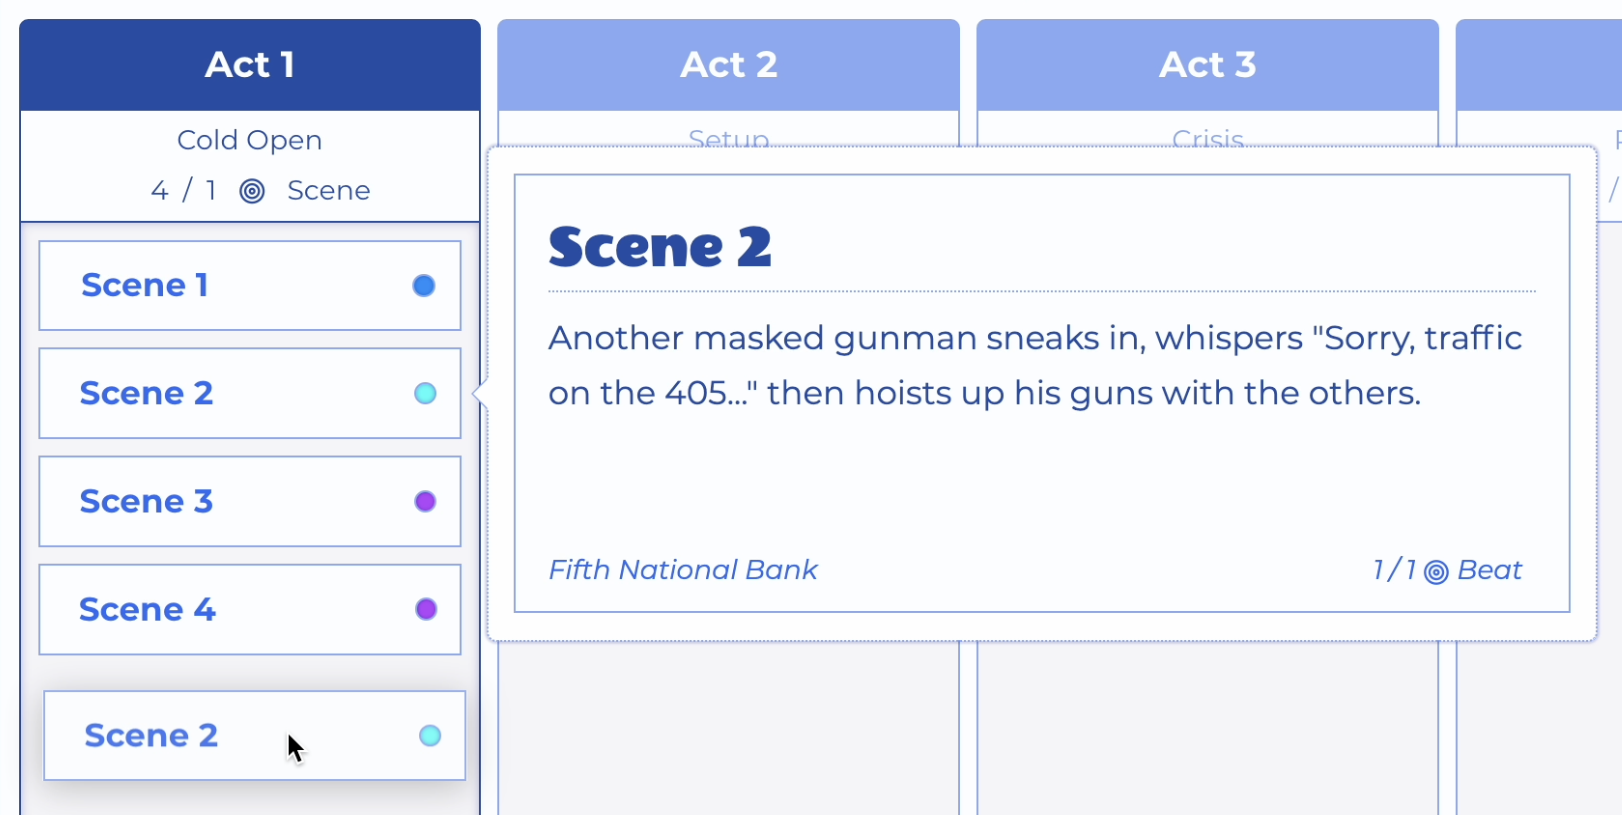
Blend View - 1. Dragging Scene to End of Act
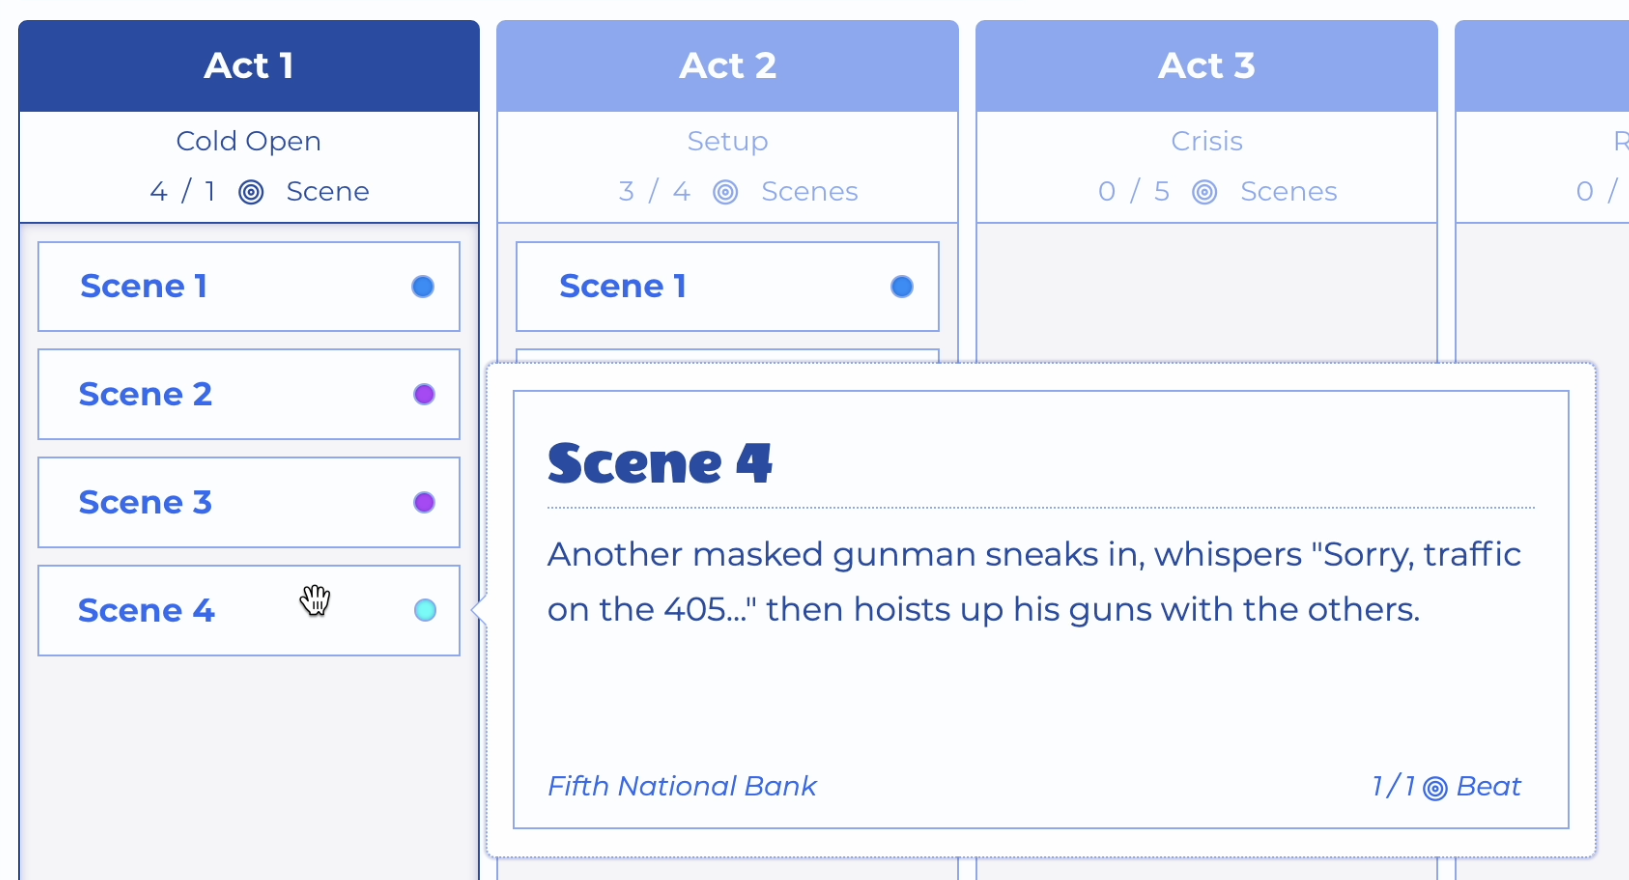
Blend View - 2. Scenes Renumbered
To move a scene anywhere else within the act, drag it and drop it onto another scene, and it will be inserted at that location.
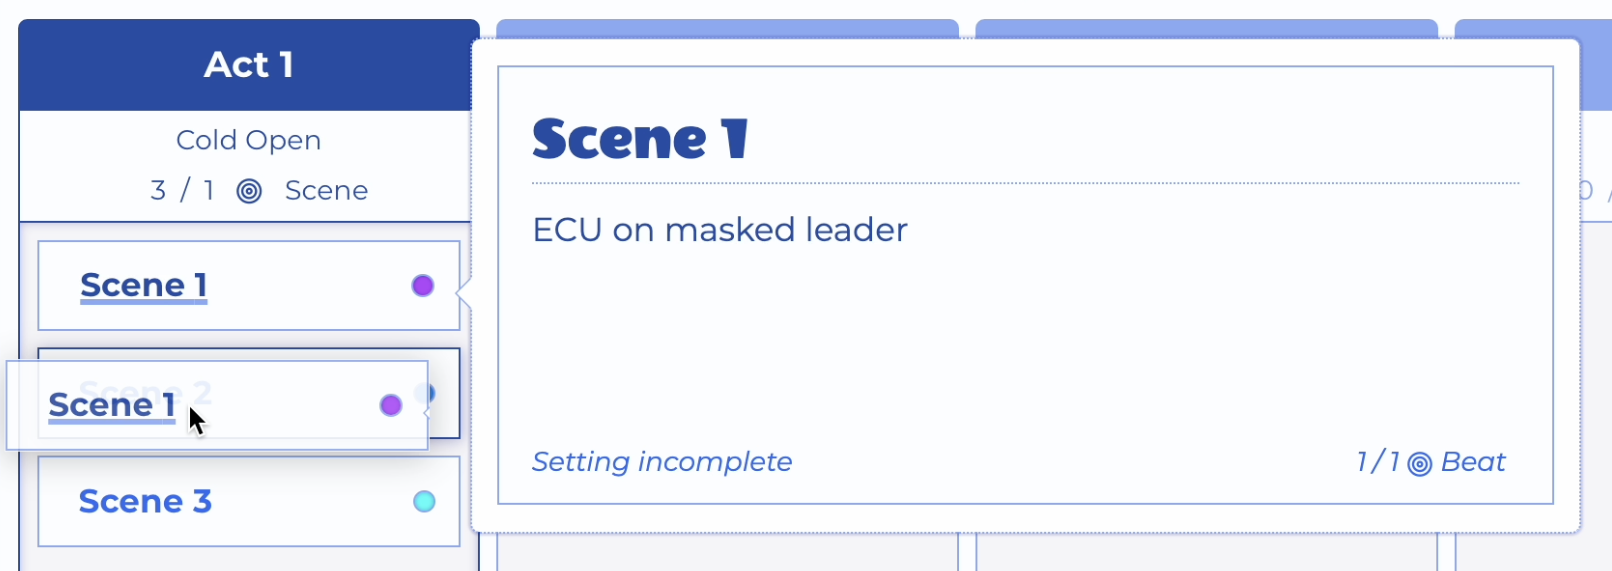
Blend View - 1. Dropping Scene Within Act
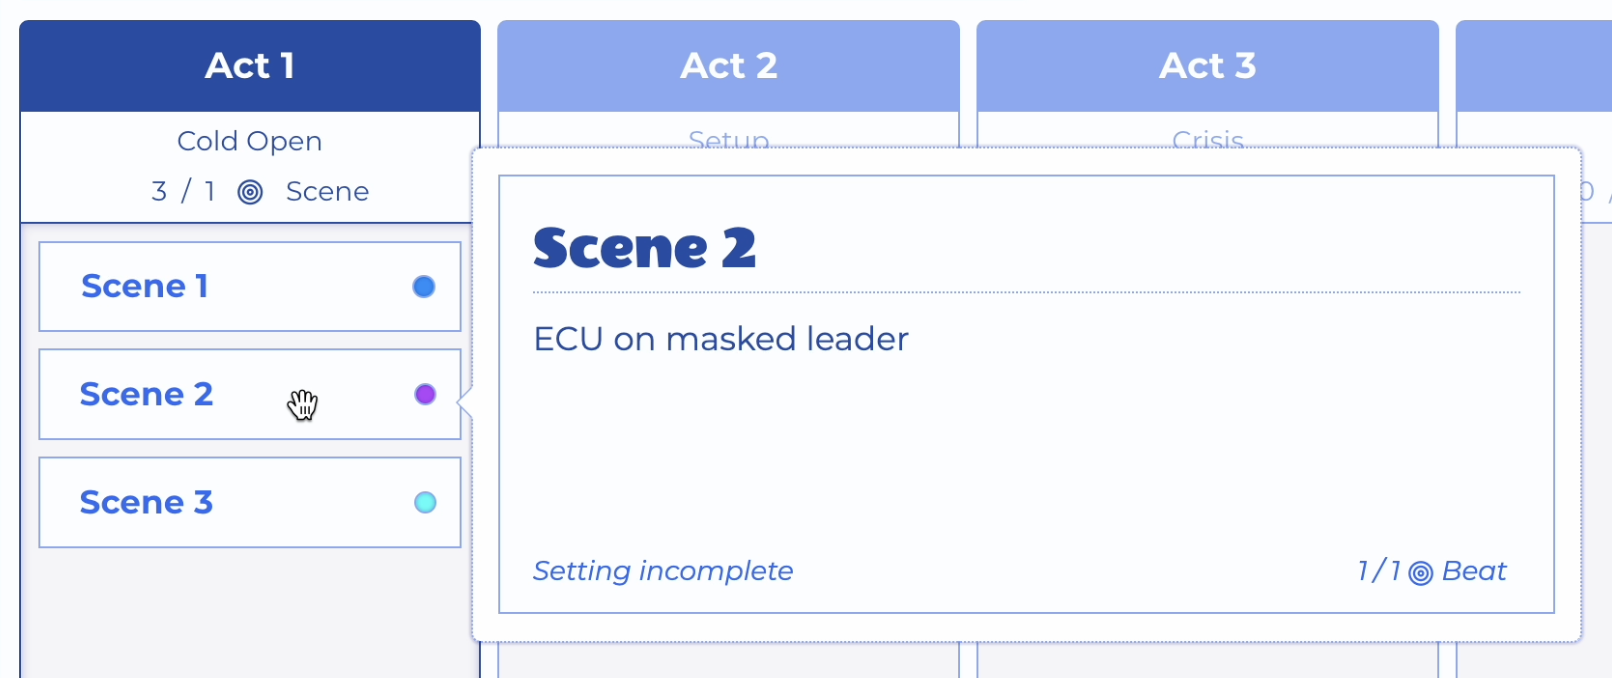
Blend View - 2. Dropped Scene Inserted at New Location
In this same way, you can move scenes to other acts. Both acts will be renumbered.
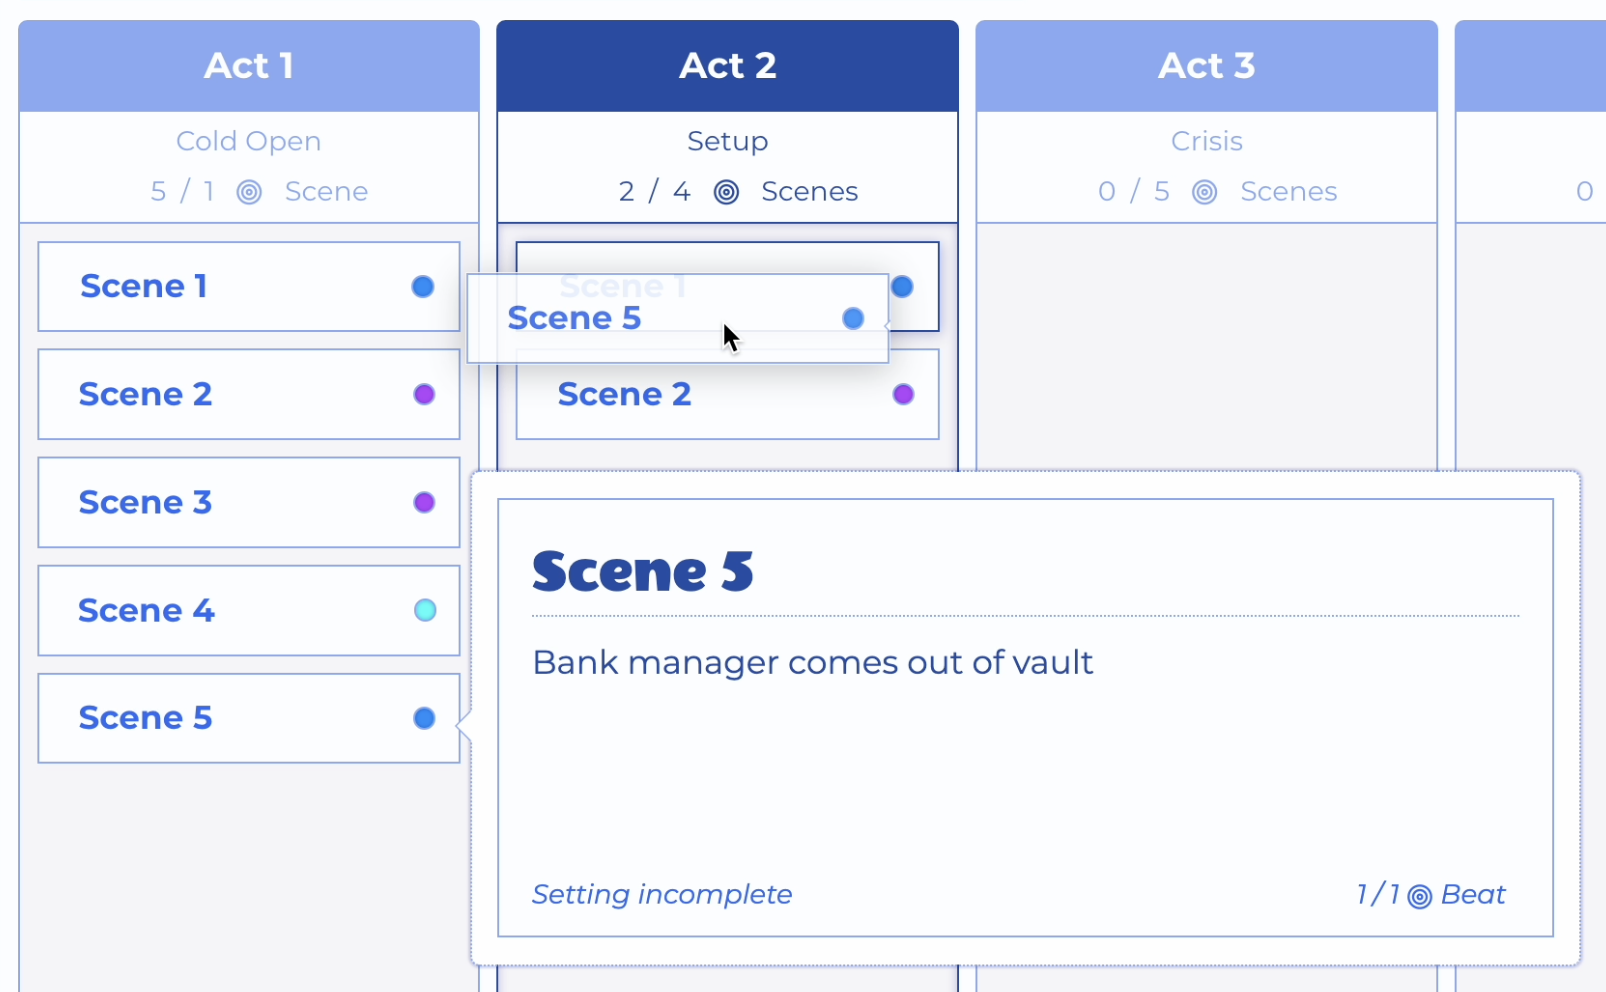
Blend View - 1. Dragging Scene to Another Act

Blend View - 2. Both Acts Renumbered
Plotline Planning
At the top of this section on Blend View, we alluded to how we need to blend plotlines into acts in a way that supports the ongoing momentum of the show.
That momentum you're looking to achieve and maintain is largely governed by the act structure. Each act has a function; to set up the problem(s), to build confrontation, to resolve the conflict(s) in some way, etc.
All the plotlines in the episode must pass through the act structure. So, it is important for your plotline beats to fall within the right acts. These beats will be the basis of (or moments within) scenes.
A plotline may make sense in isolation but when blended with other plotlines, unintended friction can arise. Slow scenes can drag the momentum while unexpected action scenes can seem to come out of nowhere.
Here is the arc of a plotline from the Friends pilot. The selected beat in the second act is a resolution of the crisis that was presented in the first act of that same plotline.
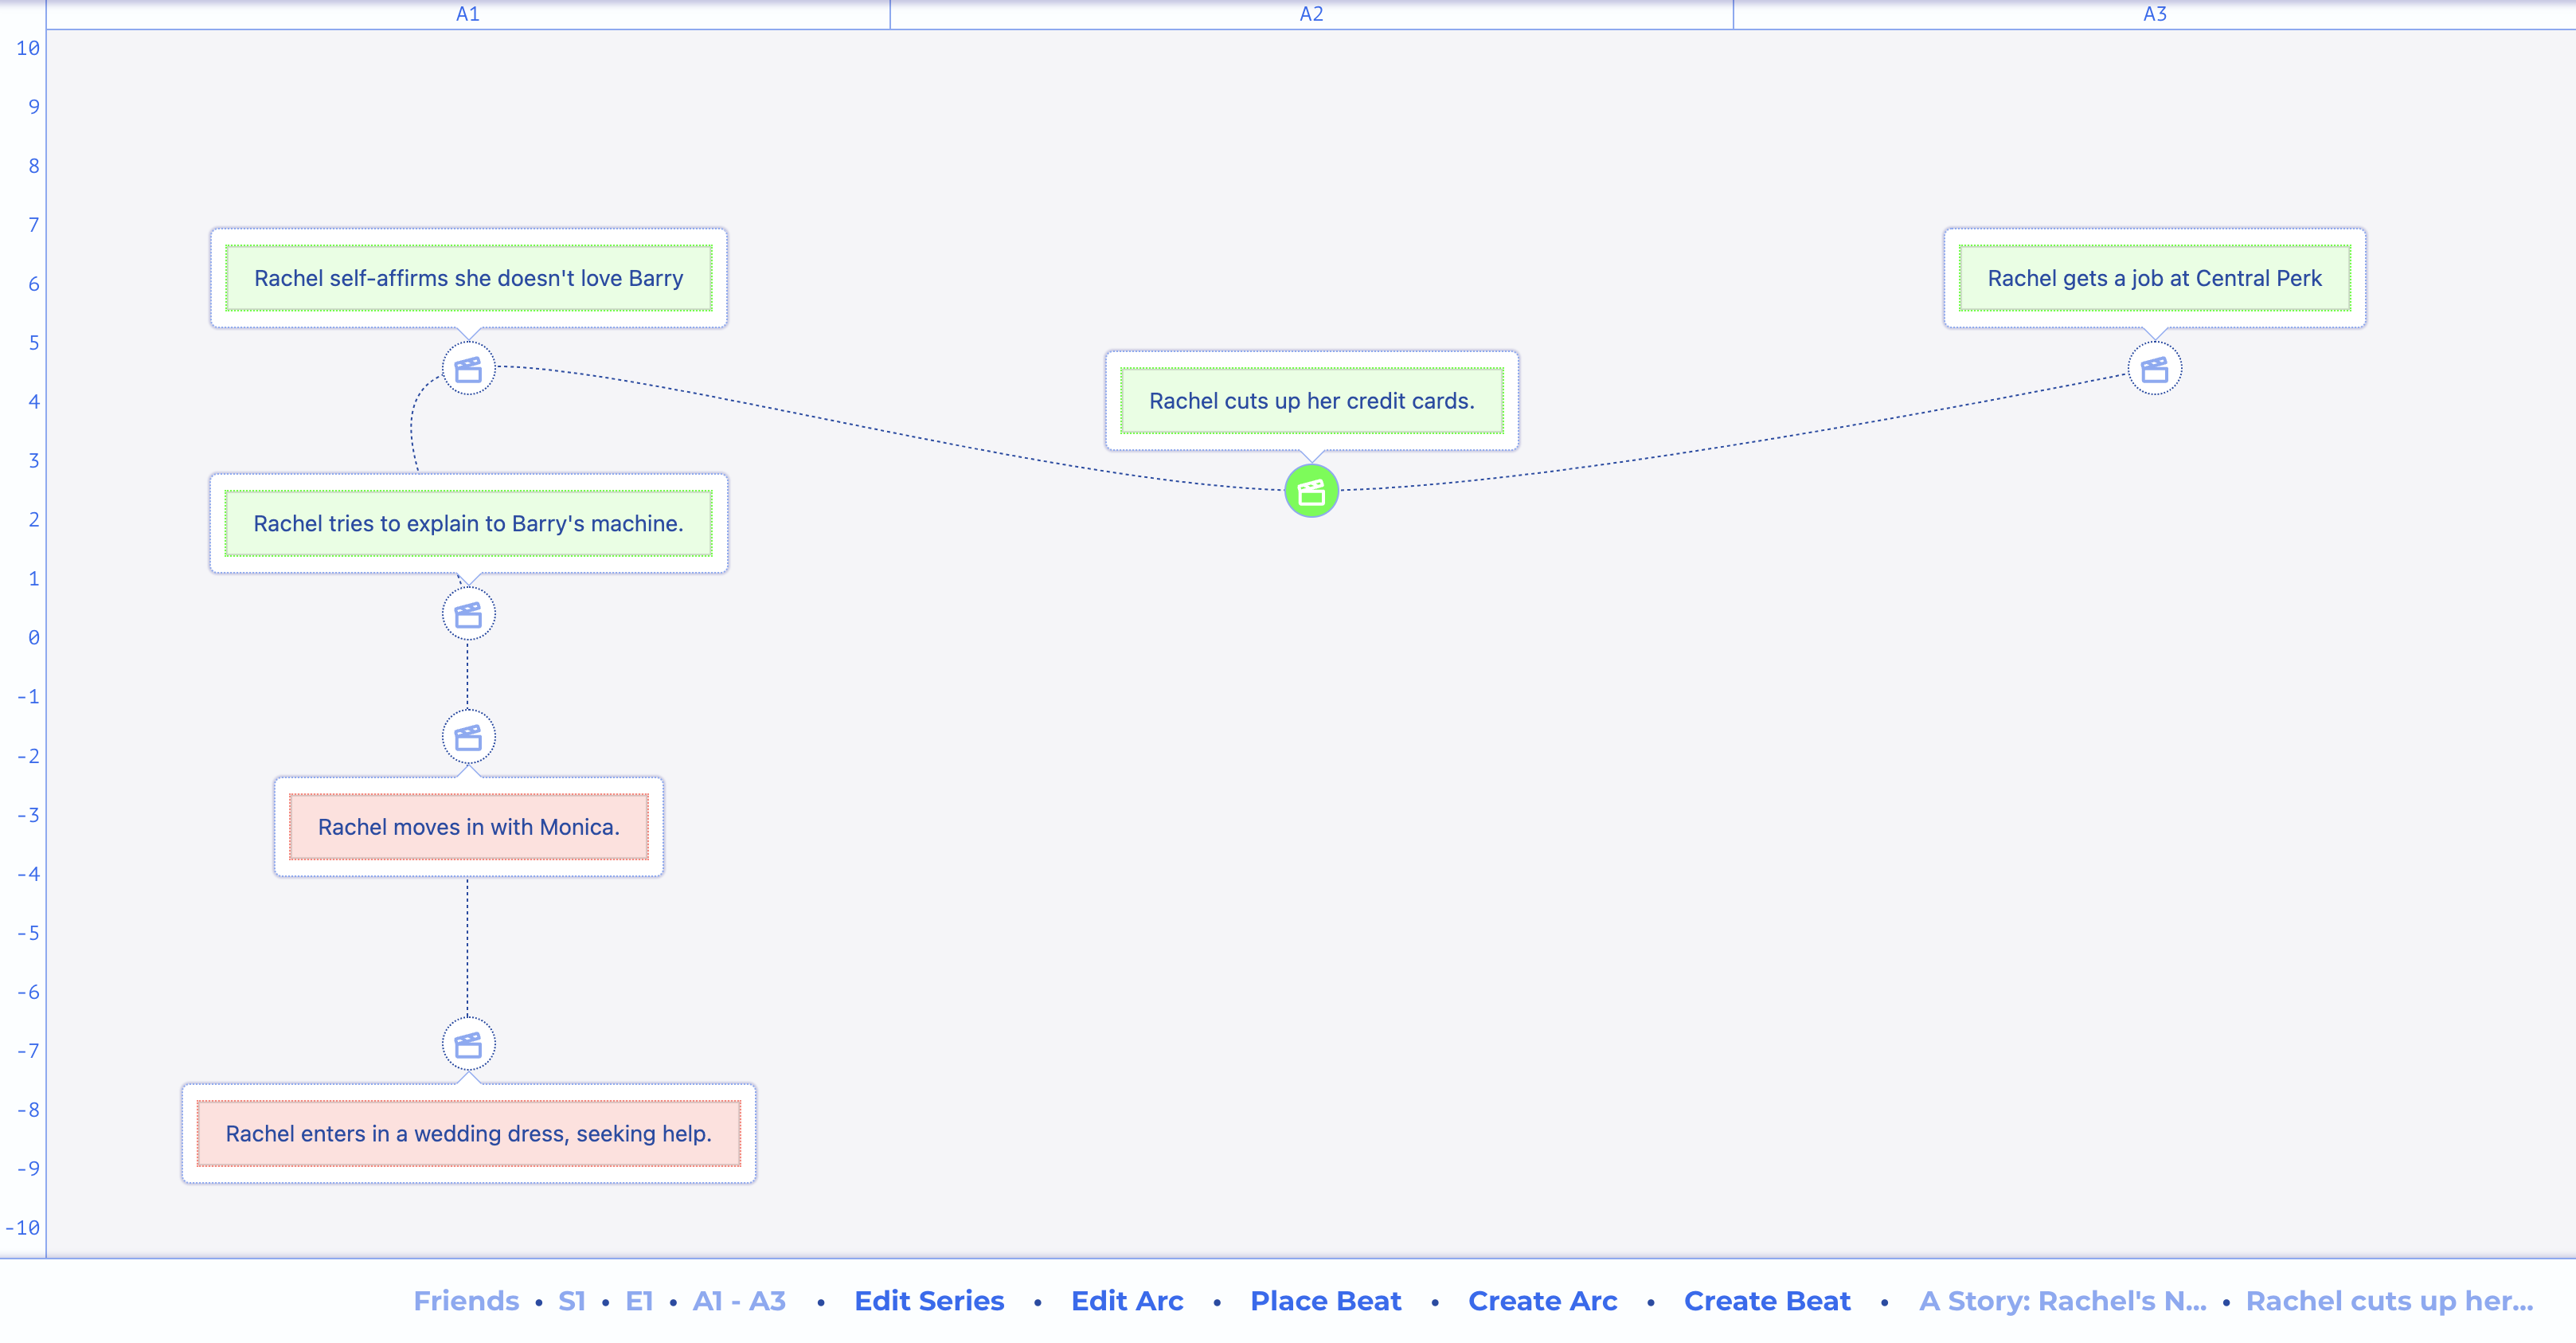
Blend View - Plotline Planning
Now, that same beat and the scene it created in the second act, as shown in Blend View. Notice that all the scenes in for the selected plotline are shown in a light shade of that plotline's assigned color. The scene chip has indicators that it contains beats that advance more than one plotline.
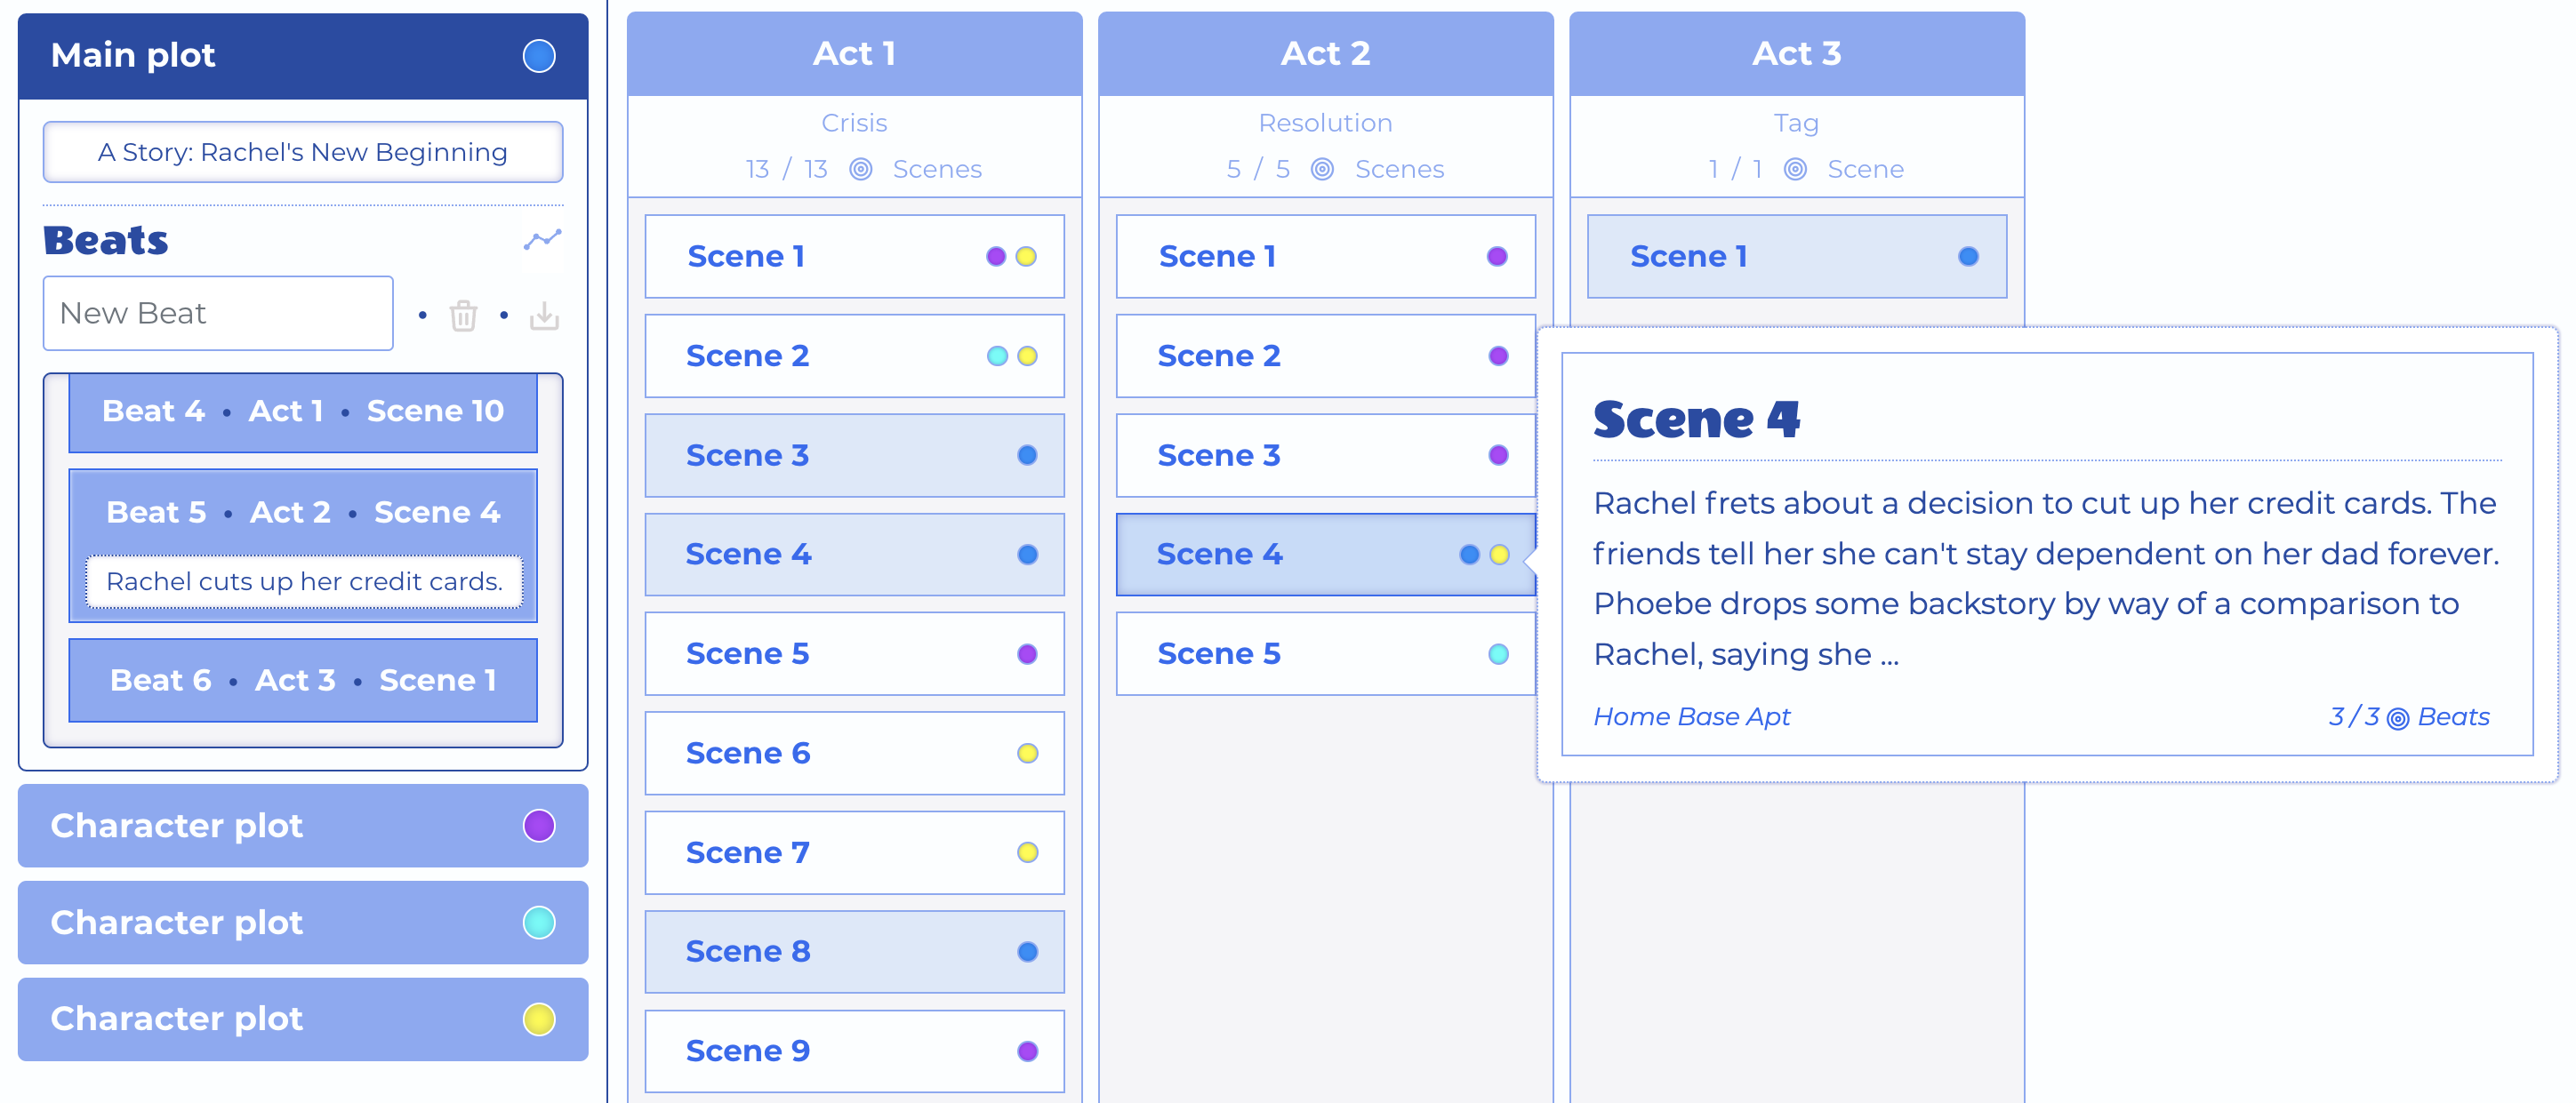
Blend View - Beat and Corresponding Scene
If you have planned the beats of your plotlines according to what the act structure expects, then your chief concern is about filling the acts with scenes in a way that flows and is consistent.
Of all the act one beats in plotlines one, two, and three, in what order should they be composed for maximum impact, suspense, comedy, or whatever goal, as their act plays out?
