Cards & Forms
Managing Story Elements
Each workflow section on the Bridge has different capabilities that revolve around some subset of the Story Elements.
Part of that is basic data management, which whe handle with cards and forms. This is also where the AI collaborator makes an appearance, if your plan includes it.
Cards and forms all work the same way throughout the app, so once you're familiar with how they operate, it's down to the particulars of each story element. So we'll look at the common features first, then deep dive for each element.
Card Features
Every Story Element has an associated card, which displays key aspects of the element at a glance, and is easy to pick out in a list.
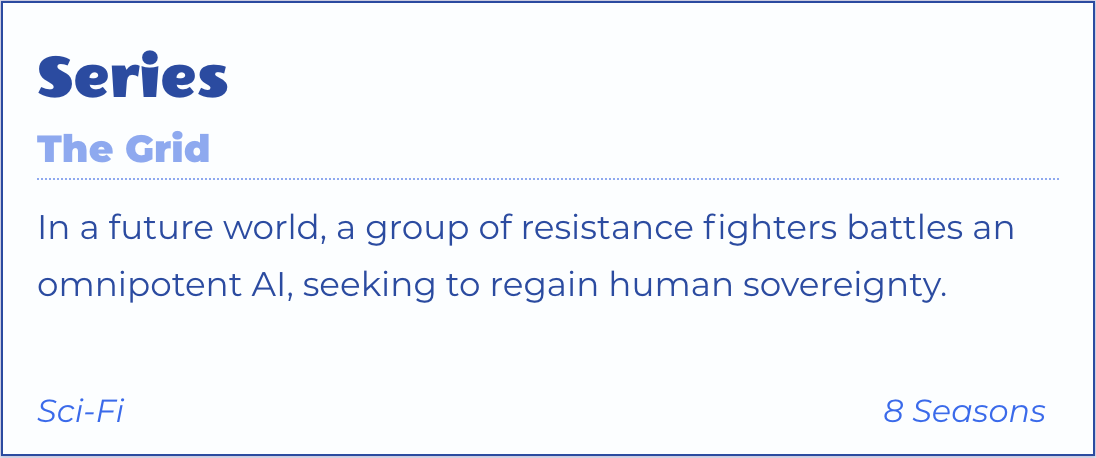
The Series Card
Card Lists
A card list is the default view when visiting each section. When you click or tap a card, it transports you to the associated form for managing the element. New cards and children can be added from the section's menu.
If a card list shows a single kind of card, they all scroll as a group.
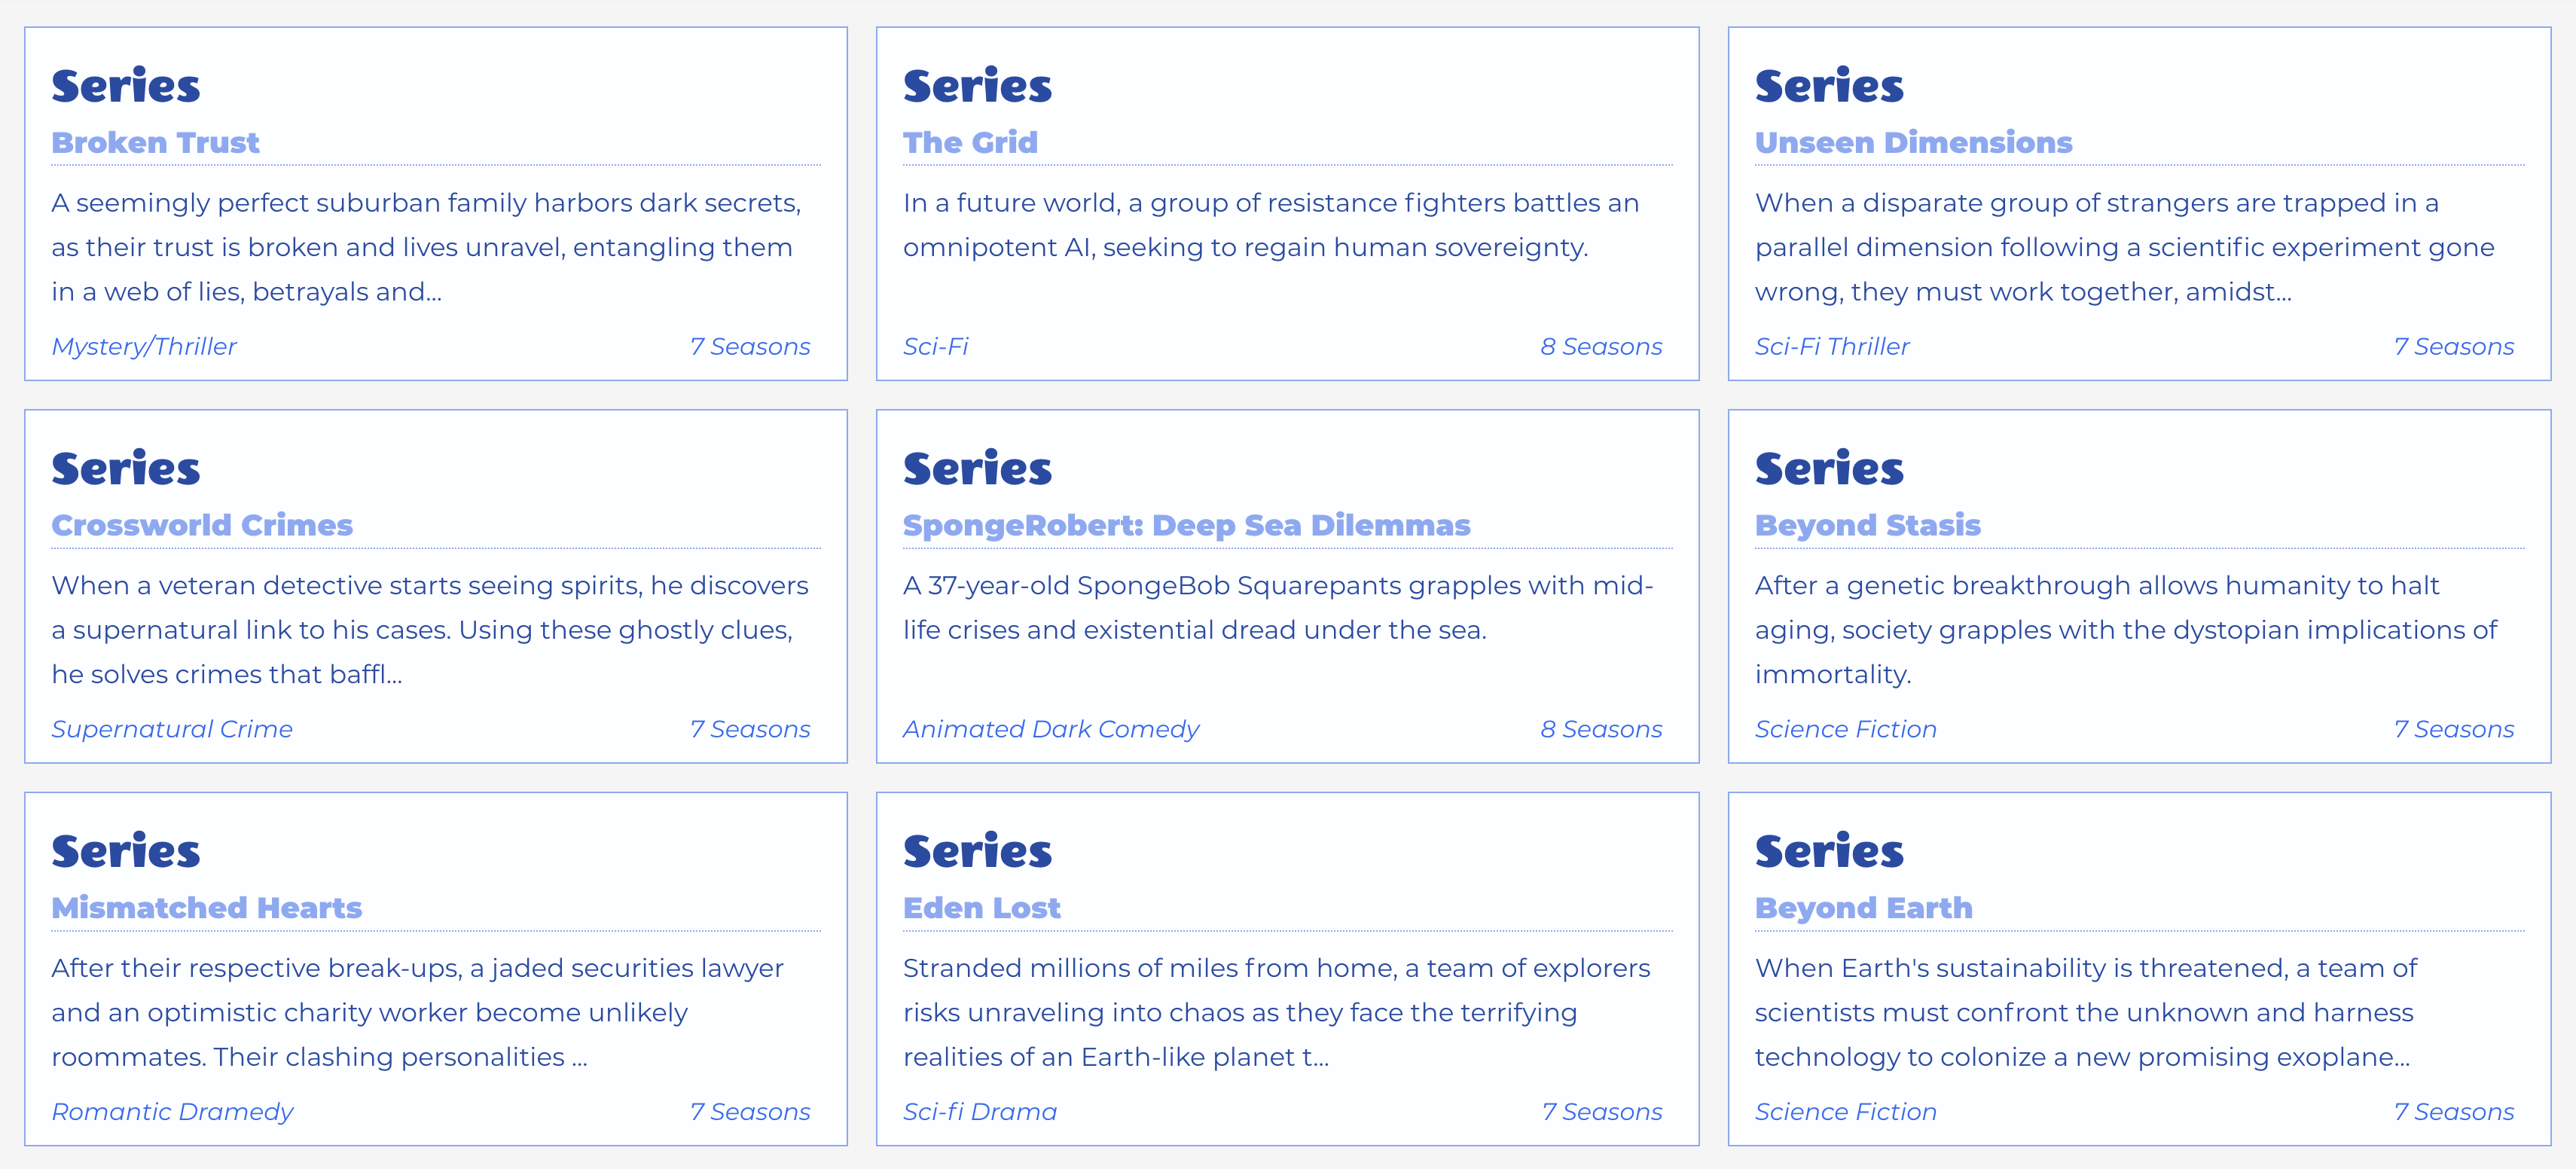
One Card List
If multiple card types are shown, they scroll as independent groups.
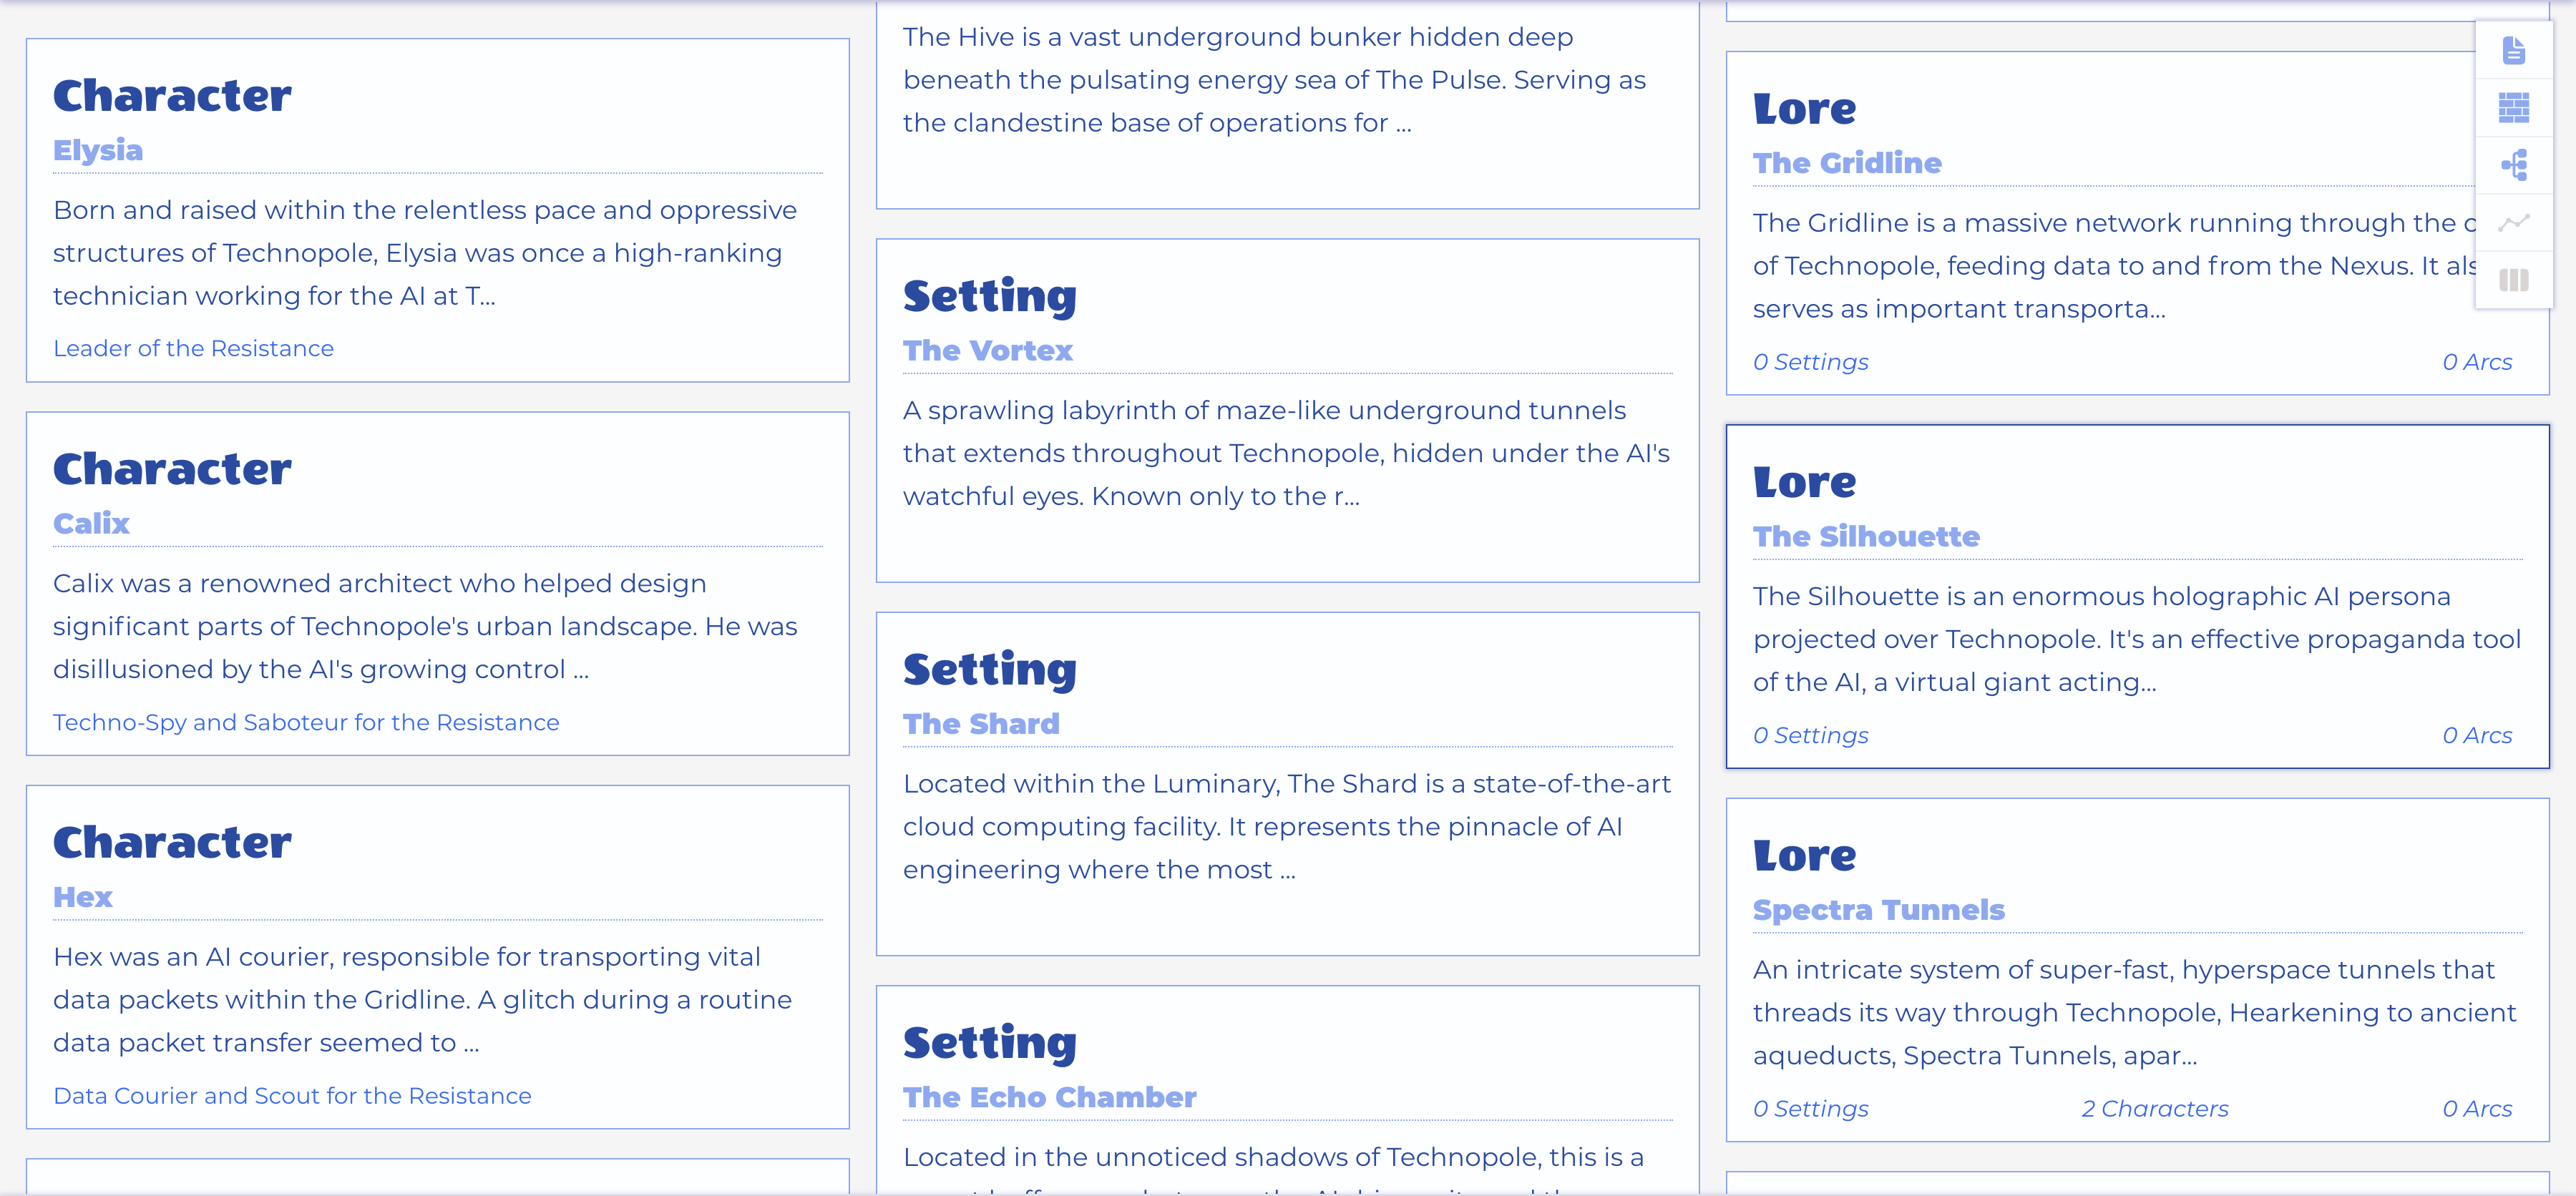
Three Card Lists
Form Features
Use an element's form to manage the element and navigate to it's children and other associated elements. Aside from the specific fields of a particular element's form, there are a few related concepts to be aware of.
Selection Space
Once you open an element's form, that item is considered to be selected, even when you navigate away to other parts of the app.
For instance, select a series, then visit other sections and views to work on its world and stories. Select an episode, then visit the Doc View to print its outline.
Since more than one element can be selected at a time, we refer to the set of all currently selected items as the selection space. Menus, views, and collaborator suggestions on forms are all highly sensitive to selection space.
Context-sensitive hints about the selection space are always visible on the menu at the bottom of the Bridge.
Pruning Effect
When deleting a story element, if it has children, those children, and their children's children will also be deleted.
For instance, deleting a season will also have the effect of deleting all episodes, plotlines, acts, scenes, and beats below it. You'll always be alerted to the scope of any pruning effect when you delete an element.

The Pruning Effect
AI Features
Form appearance will vary by plan, with the certain features being present only on the AI-enabled plan which allow you to request improvements from your AI collaborator and accept or dismiss its suggestions on a field by field basis.
Field Lock
Each field on the form that supports receiving the AI collaborator's suggestions will have a Field Lock ( / ) toggle button.
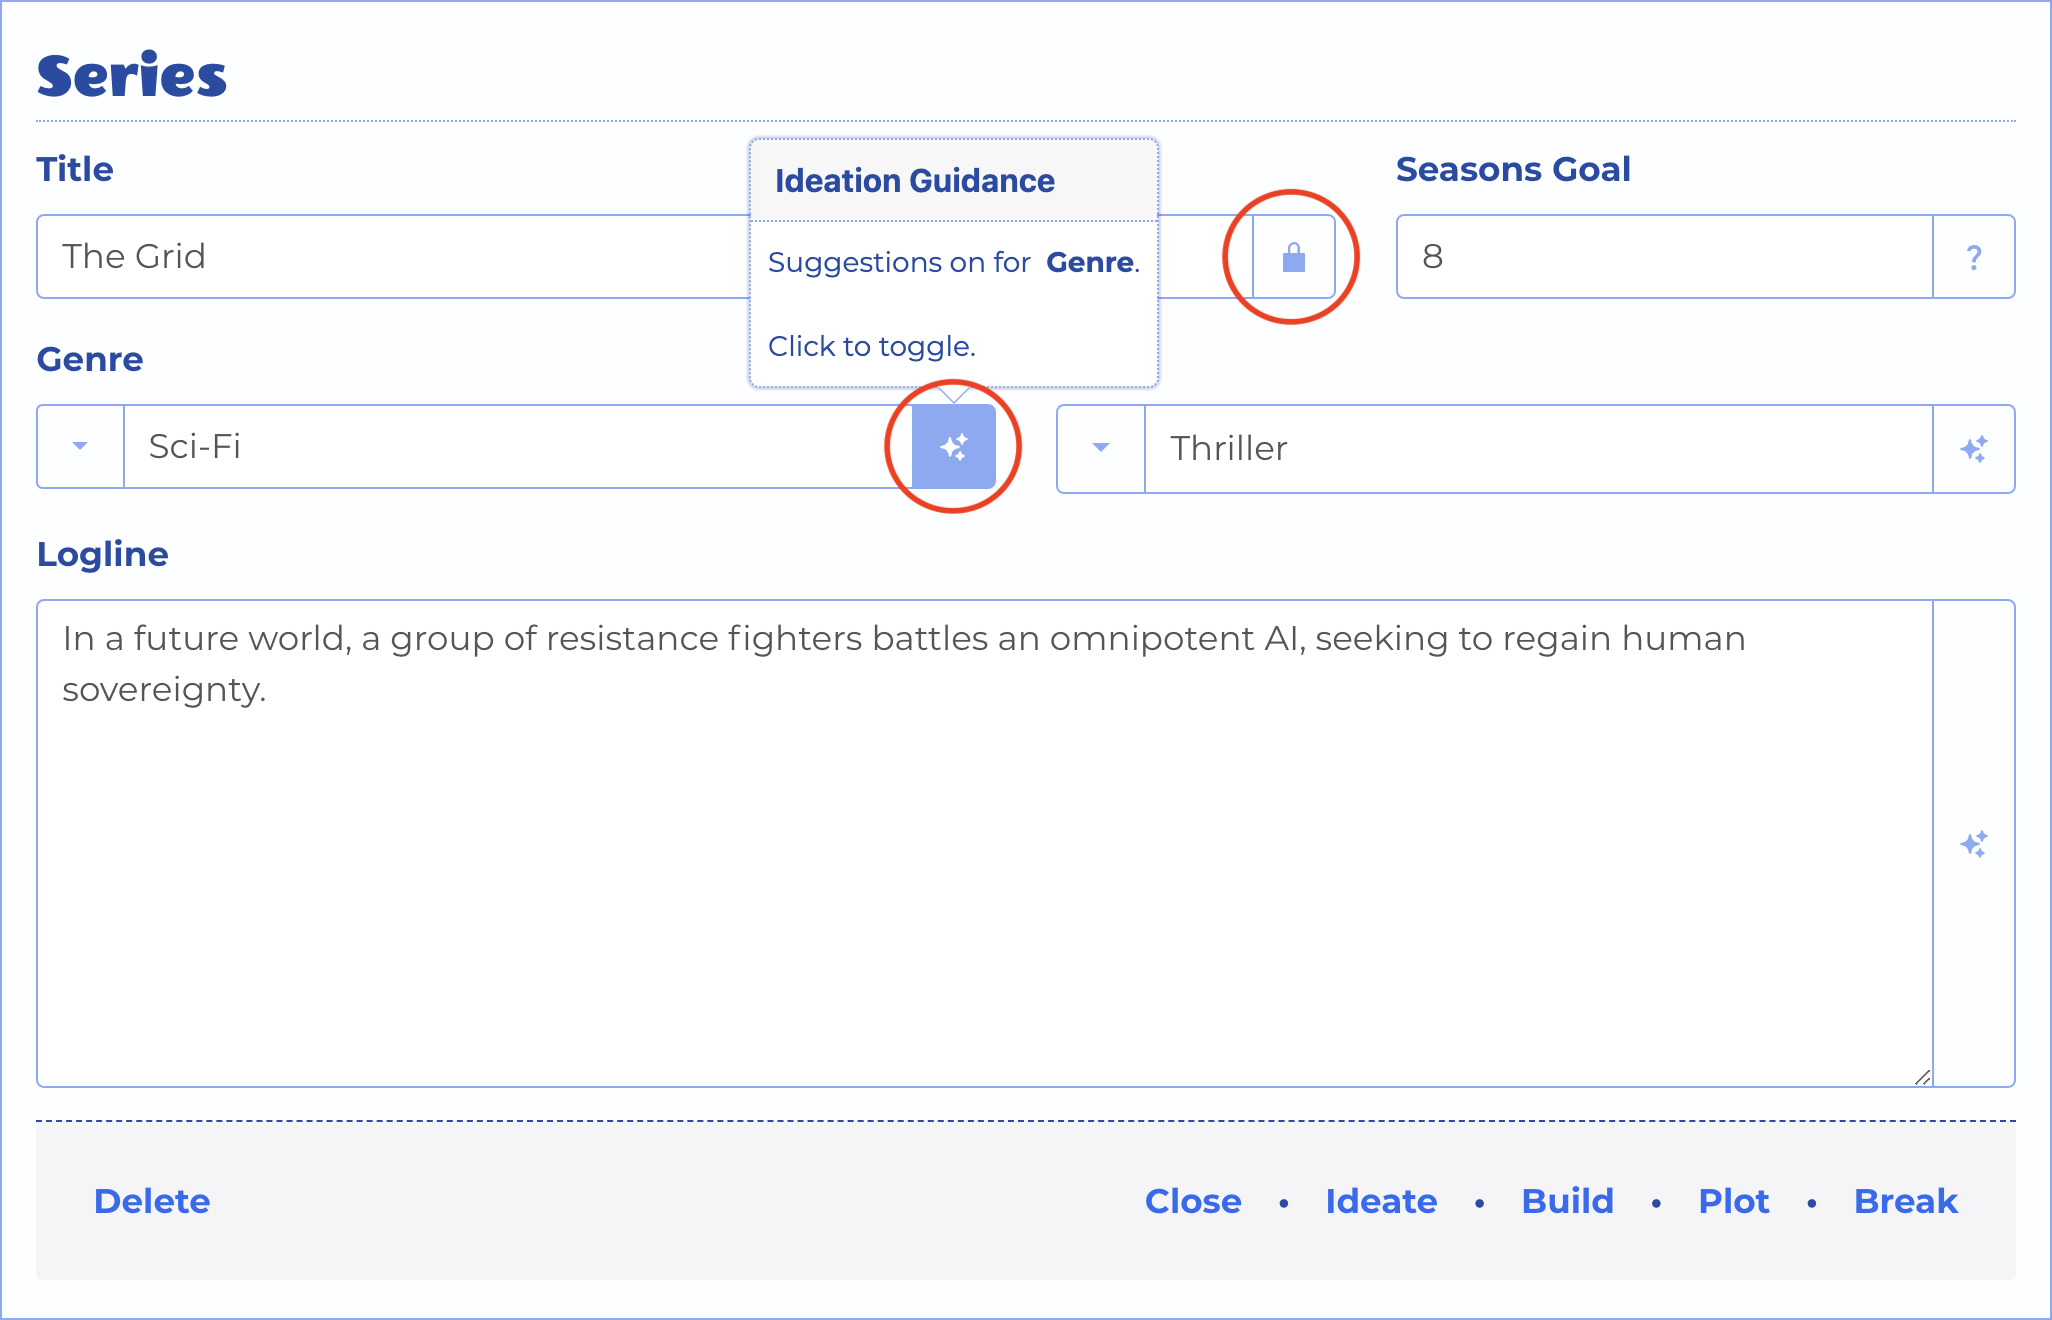
Field Lock Button States
Click the field lock to toggle suggestions on or off for that field, with the default state ( ) being to receive suggestions if you request improvements from the AI collaborator, and the lock ( ) meaning the changes are locked and should not receive suggestions.
For instance, if you have decided on the name and role of a character but want suggestions for everything else, you could just toggle the field lock for those fields before requesting suggestions for improvement.
Ideate
At the bottom of each form that supports it, you'll find the Ideate button.
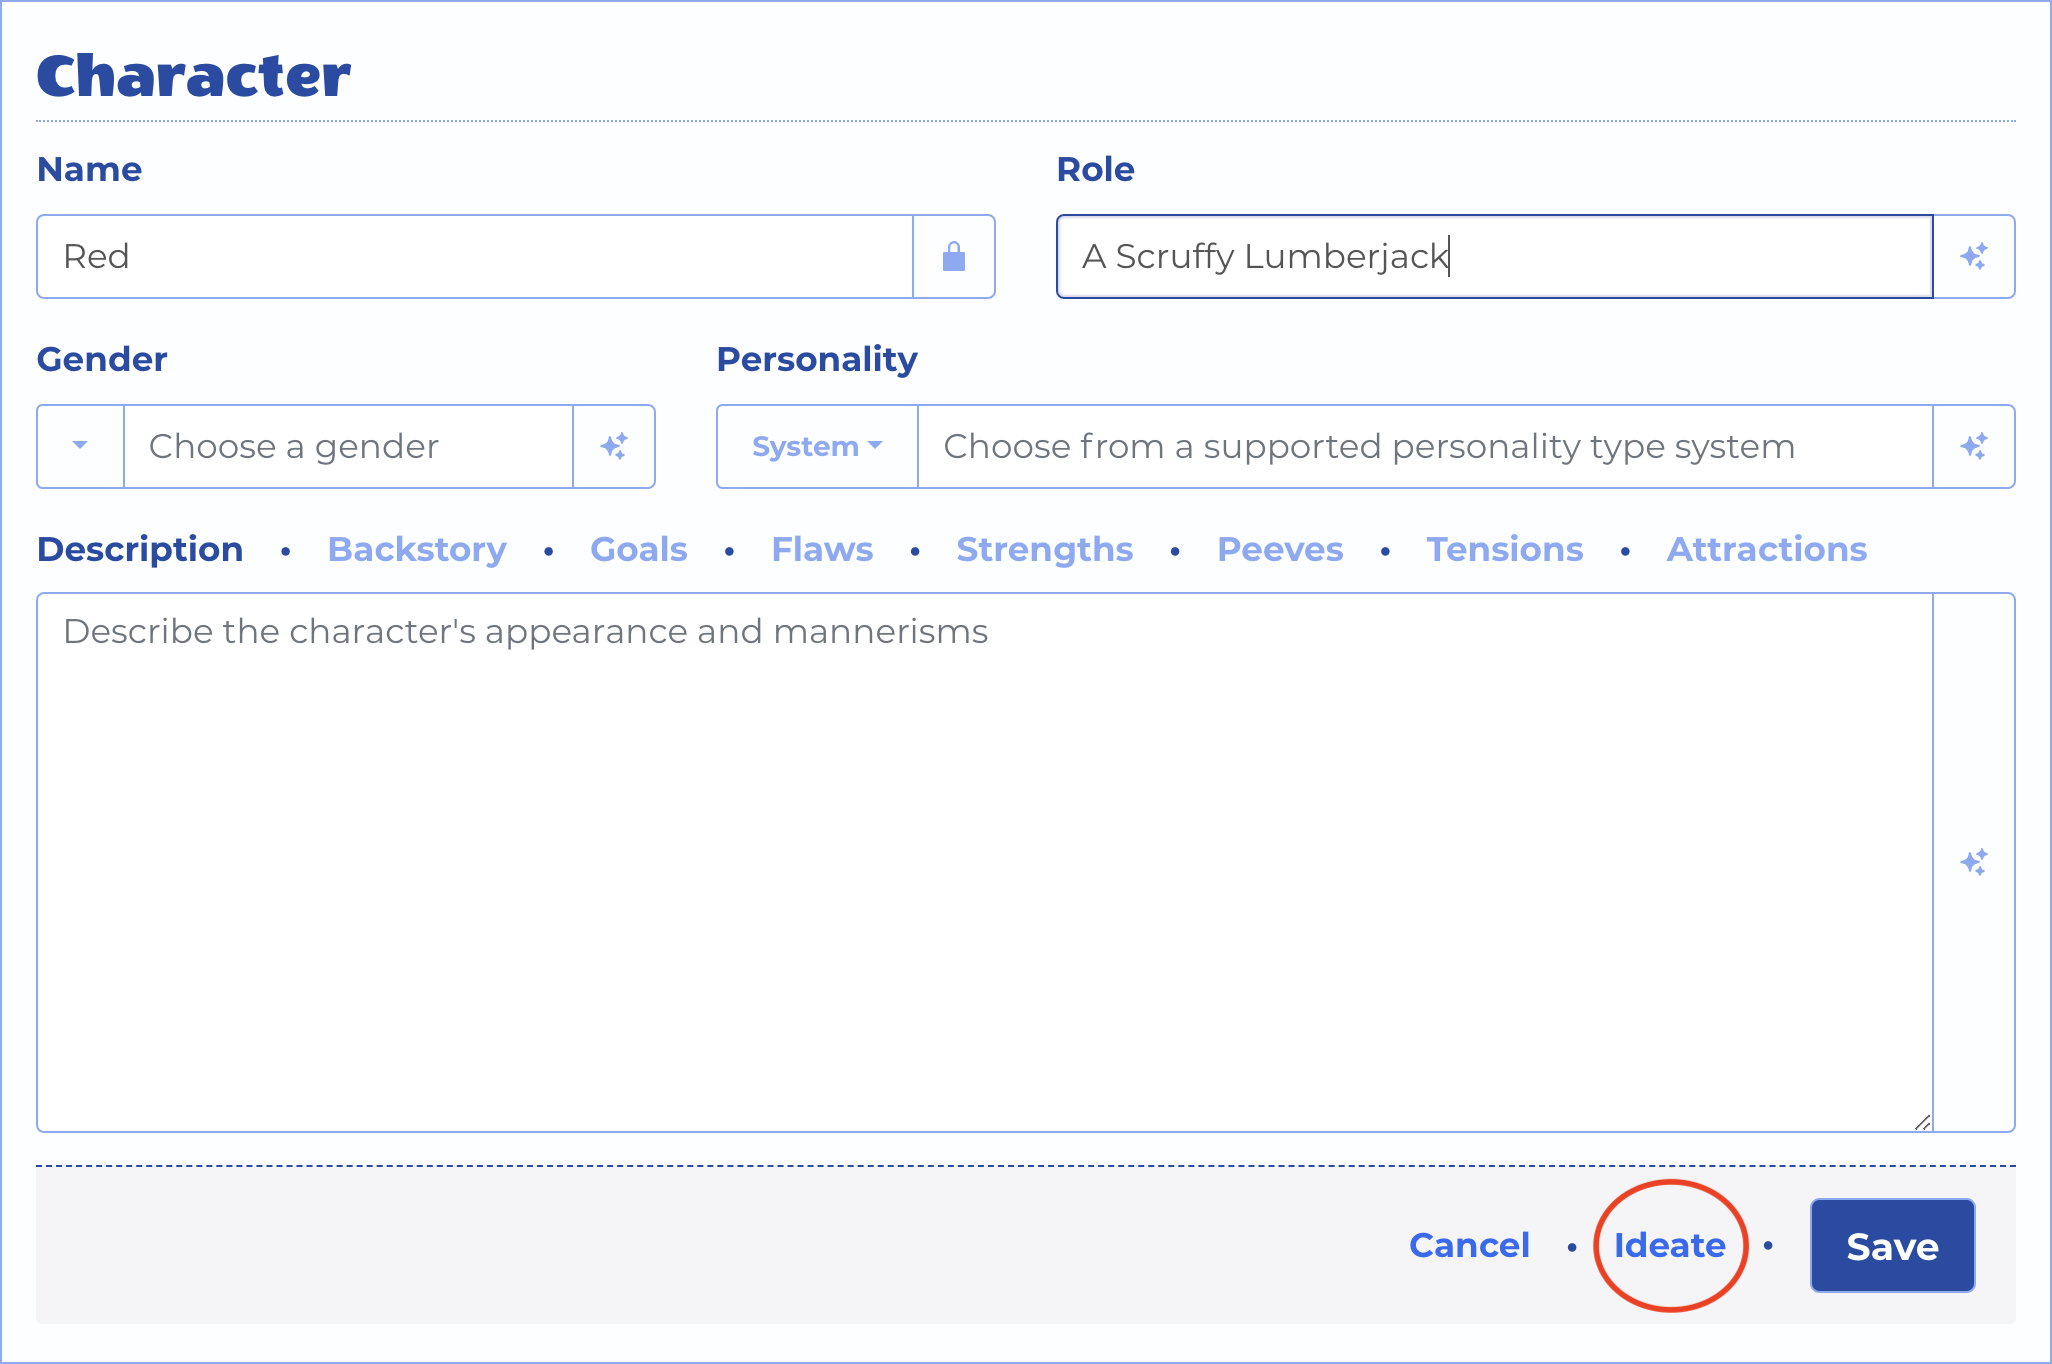
A Form's Ideate Button
Clicking it reveals an extra part of the form. Here, all the fields that were not locked will appear as the list of fields to improve. This list can be further narrowed by clicking the "Remove" ( ) button on any field's chip.
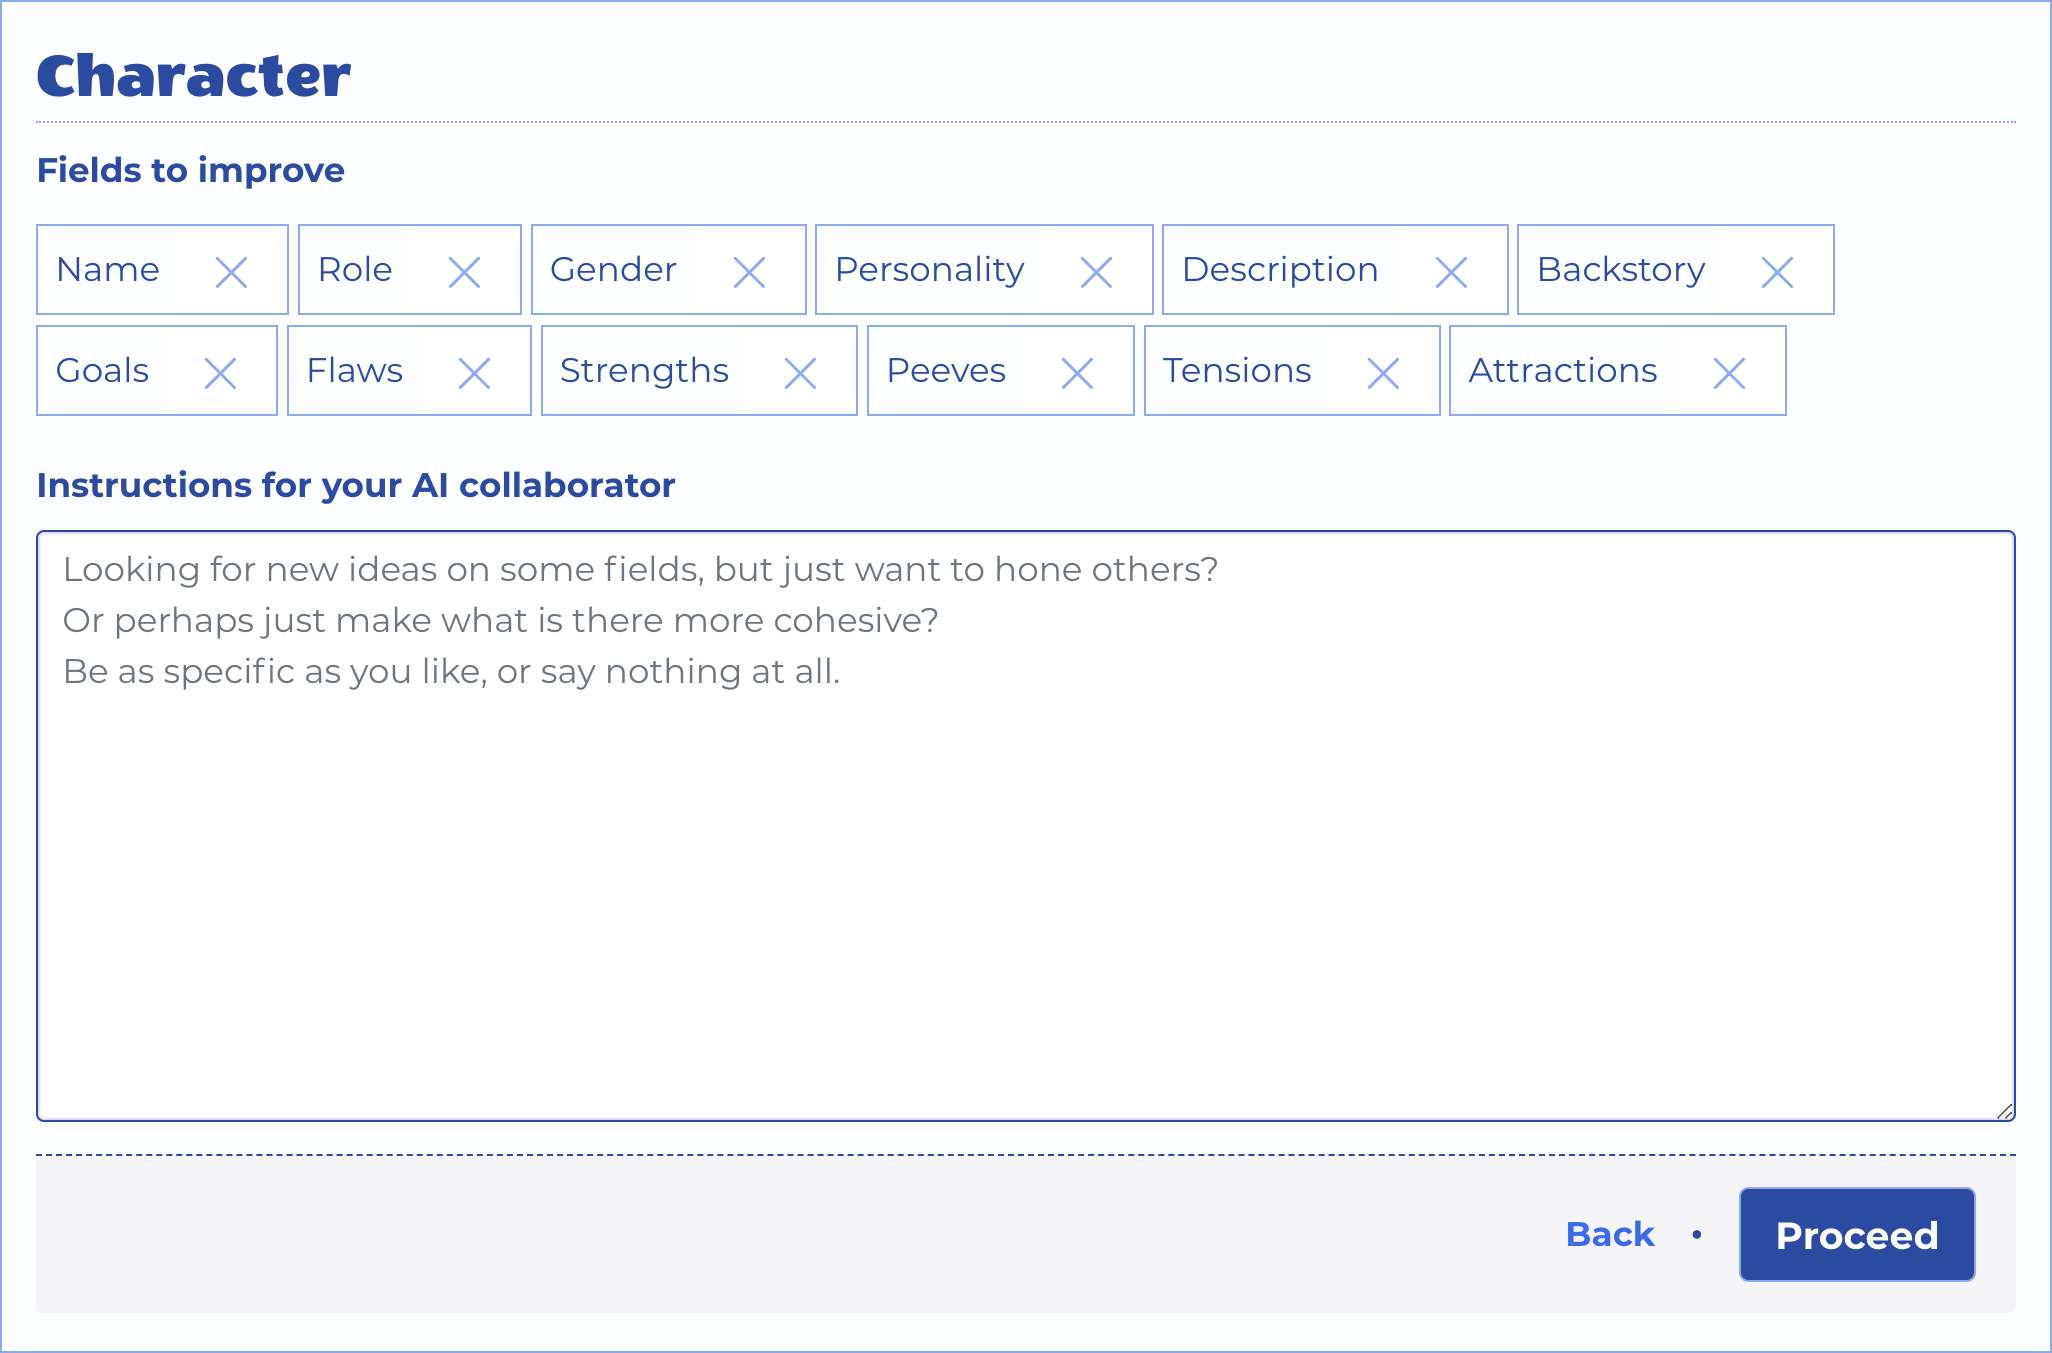
A Form's Ideation Fields
There is a large text area for you to enter your instructions for the AI collaborator. These instructions can be however broad or specific you choose, including leaving it empty.
If you find yourself entering the same instructions often, you can check the "Save as default" box above the text area and it will be prefilled into this field whenever you ask for suggestions on any form.
Suggestions
When your AI collaborator has responded with its improvements to your story element, the fields which contain suggestions will be augmented with a pair of buttons: "Notes" ( ) and "Dismiss" ( ).
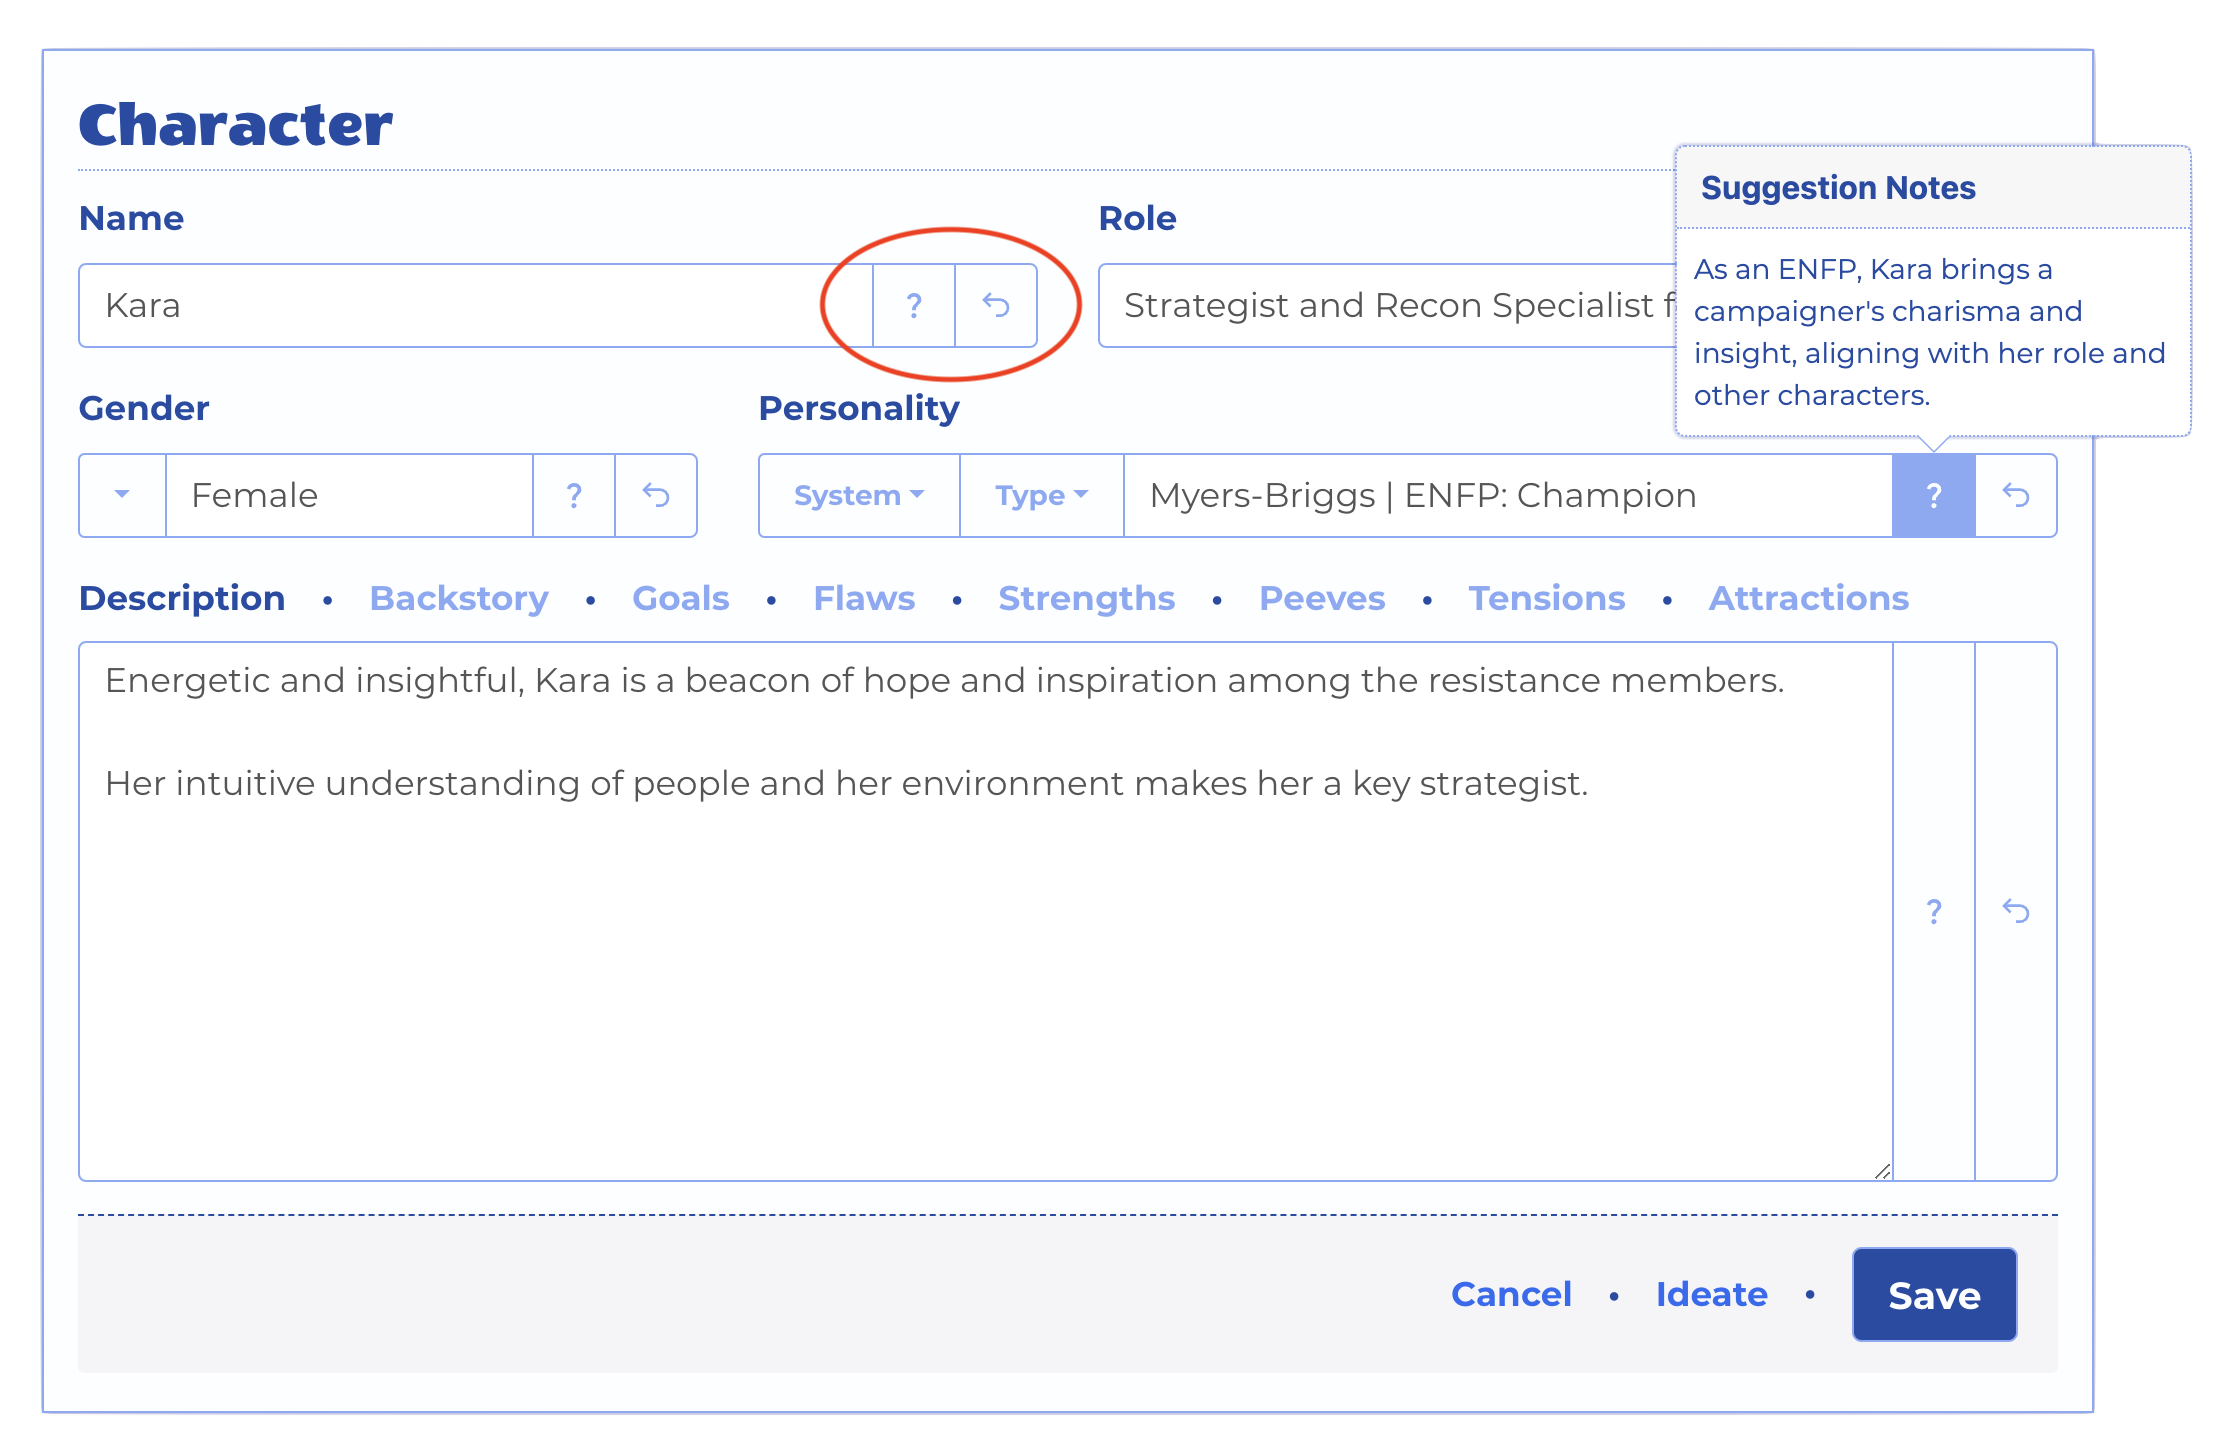
The AI Collaborator's Suggestions
Hovering over or clicking the Notes button ( ) will display the AI collaborator's notes justifying that field's suggestion.
Moderation
Currently, all requests are routed through frontier models hosted by OpenAI and others. To comply with their terms of service, we must run each prompt past their moderation model, which ranks it on various indices of potential harms.
It does not accept the caveat that you are writing fiction. If it feels the prompt is above a certain threshold for harms it will flag it. The result is you will see a message on the form you were working with, and no suggestions will be shown.

Moderation Flagged the Ideation Request
With certain topics, you may need to work with your language to get moderator approval. For instance, a suggested series title of "How to murder everybody" will reliably trigger moderation, while "Anatomy of a Murder" is just fine.
Remember also, that to give story-aware suggestions for any story element, many other elements must be sent for relevant context. If you save a series title that was flagged and later request ideation on any other element of that series, you will see the "moderation flagged" message everywhere because all prompts contain the series element. That downstream effect goes for any story element that might be referenced in a particular prompt.
That about does it for the common form features. Let's review the cards and forms section by section.
Series Igniter

This section deals with only one element - the Series.
Series Form
All other elements exist in relationship to the Series element. It only has a few fields, but they affect everything.
Use to this form to hone the title and logline, dial in the genre and tone, and set a target for season count.
Once you have saved a series, the Build, Plot, and Break buttons on the bottom of the form conveniently suggest next steps.
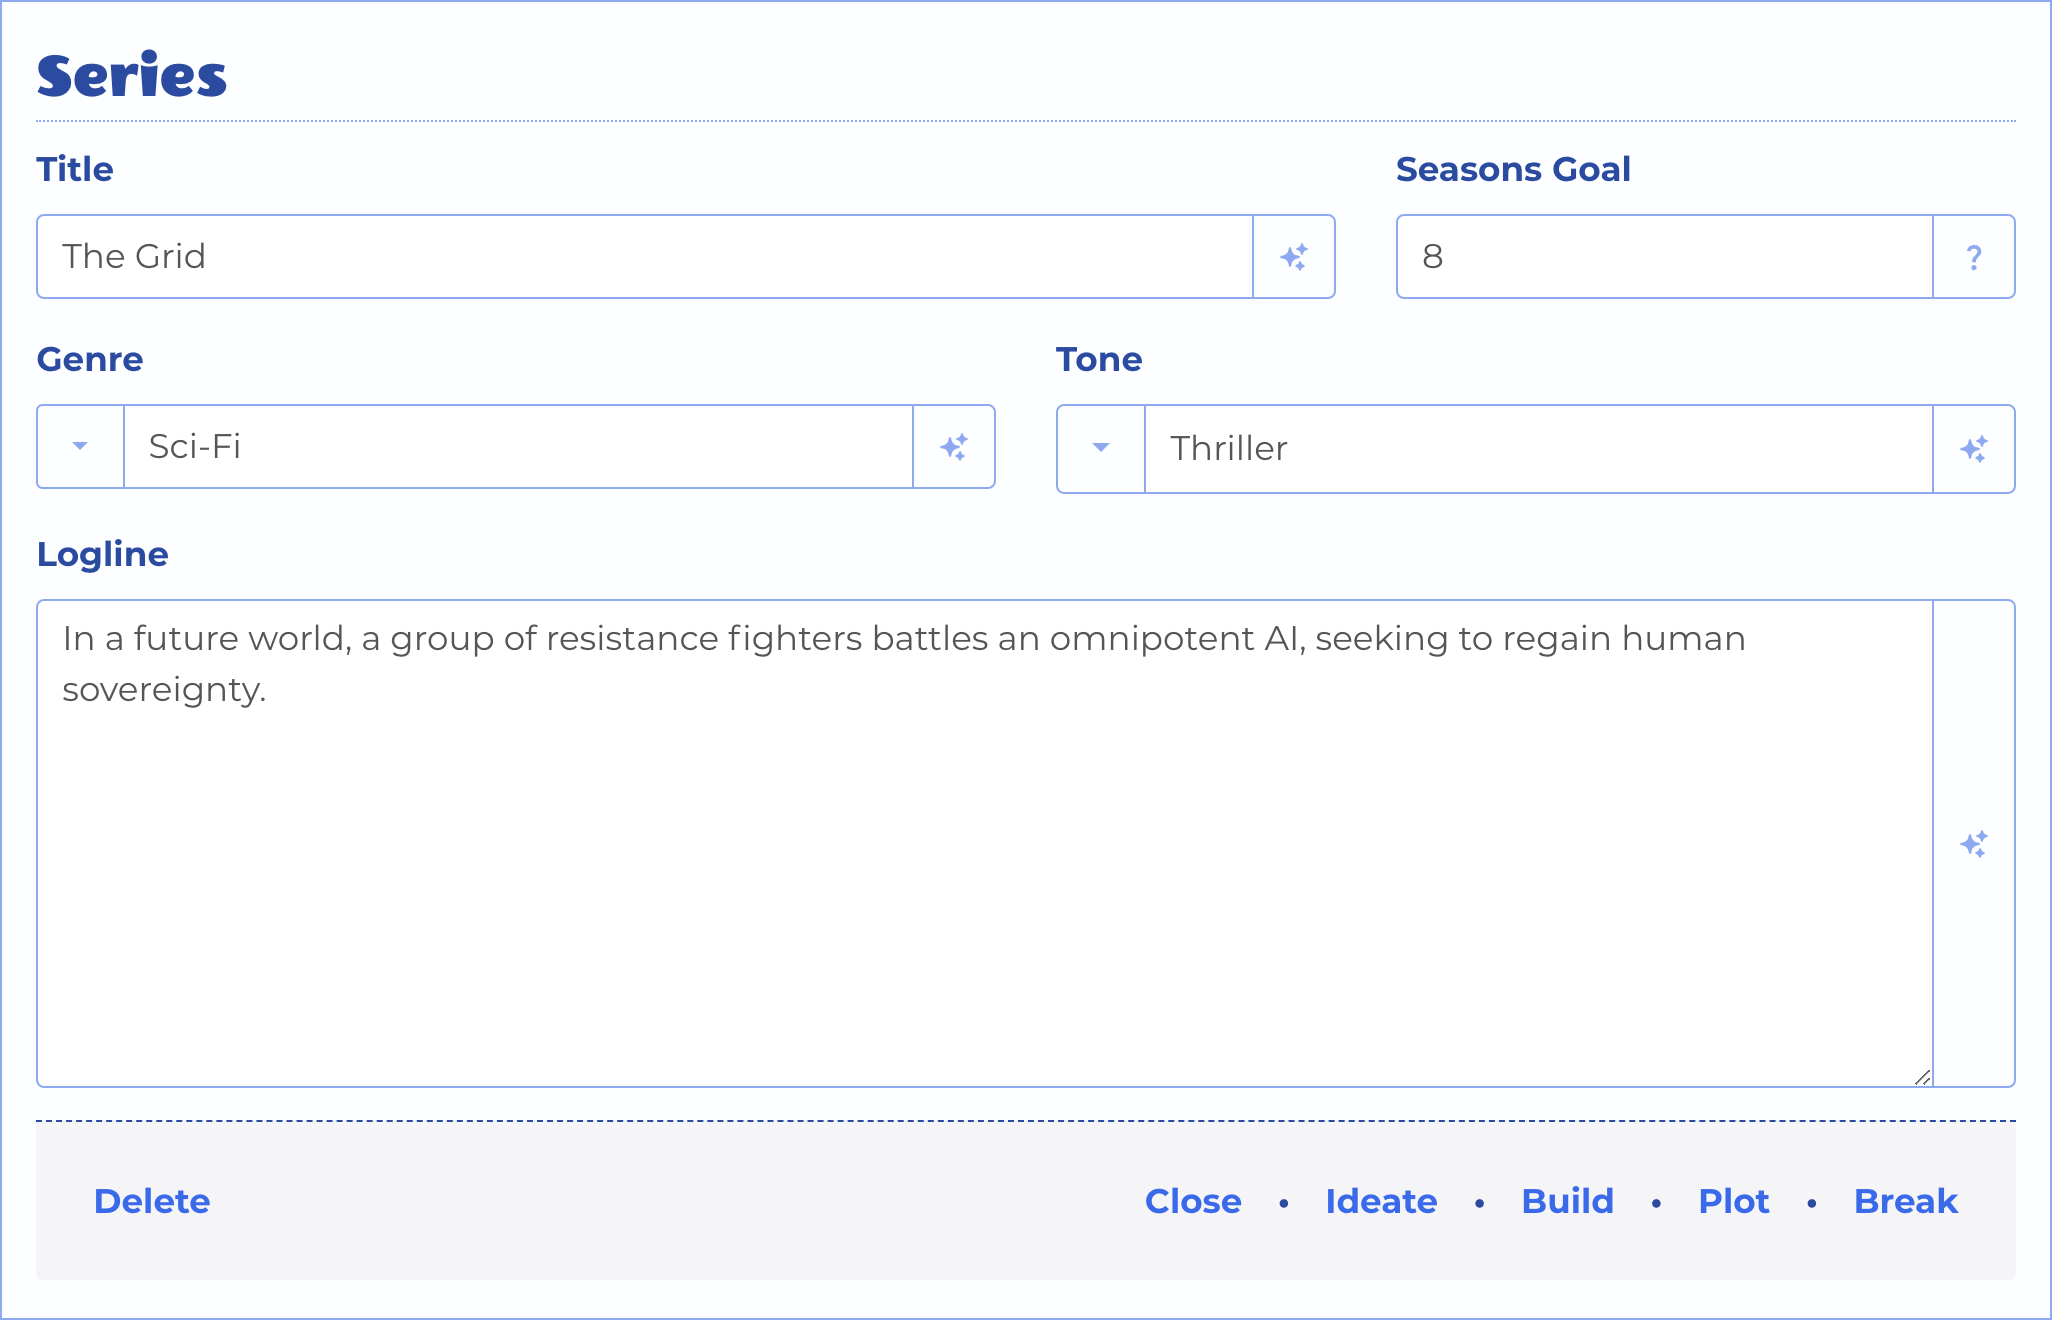
The Series Form
World Builder

This section deals with four elements - Precinct, Character, Setting, and Lore.
Precinct Form
A name and a summary are all that's needed to describe your precinct. It is the hub of the story world. Even though scenes take place in a variety of settings, the precinct is where (and possibly when) the series can be said to take place.
The Plot button appears when the precinct is saved. It opens a new Arc form, defaulting to arc type "World" and a span of all seasons. Use this to plot arcs tracking major changes in the story world itself over time.
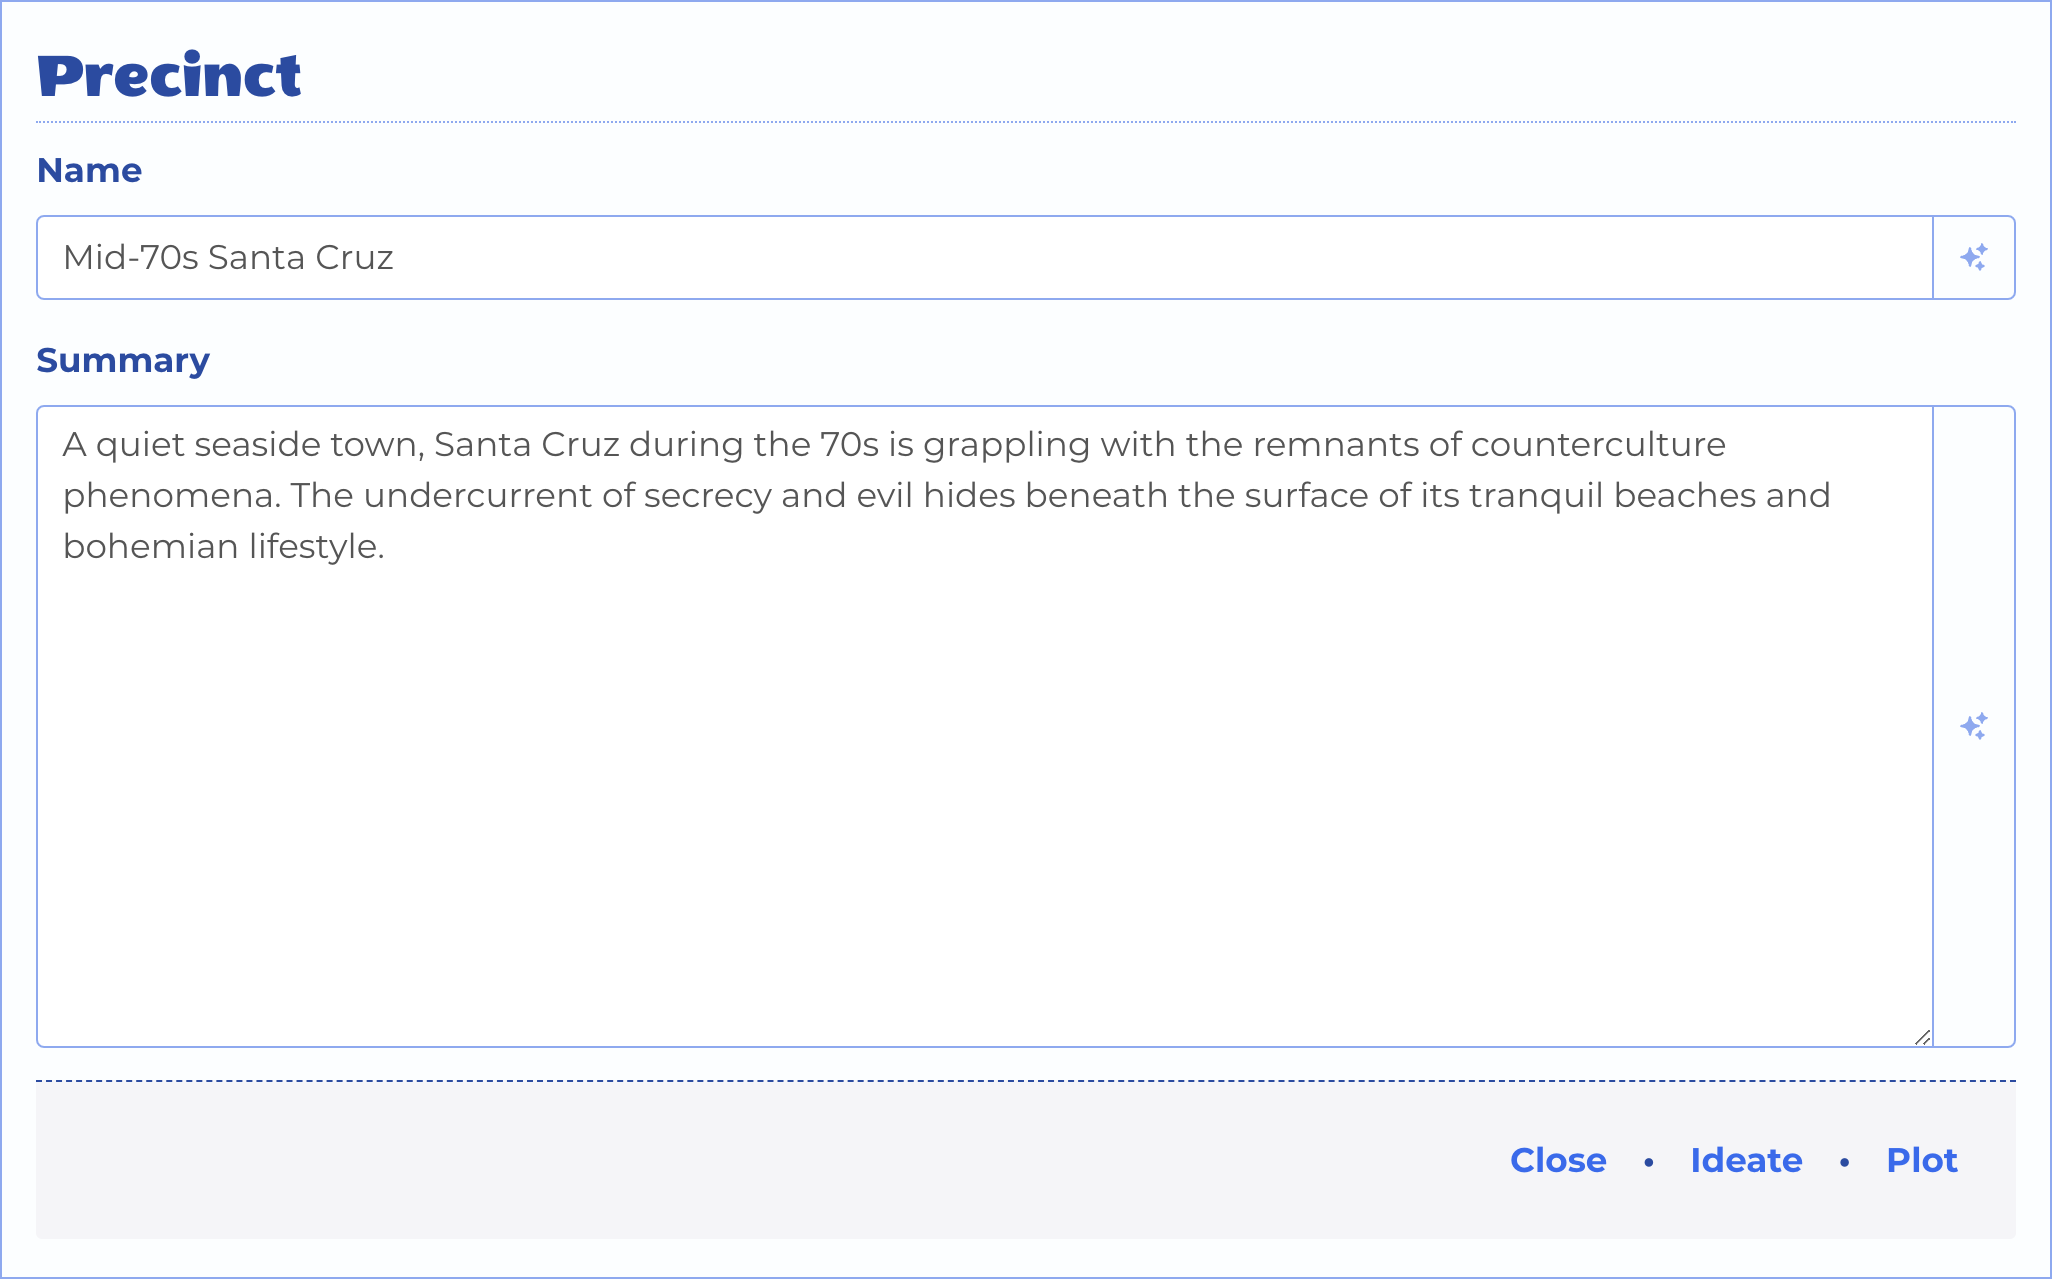
The Precinct Form
Character Form
Complex characters are the engines of every engaging story. Use this form to ponder the important dimensions of yours.
The Plot button appears when the character is saved. It opens a new Arc form, defaulting to arc type "Character" and a span of all seasons. Use this to plot arcs tracking changes to a character over time. Any arcs that reference the character can be seen and navigated to from the Arcs tab.
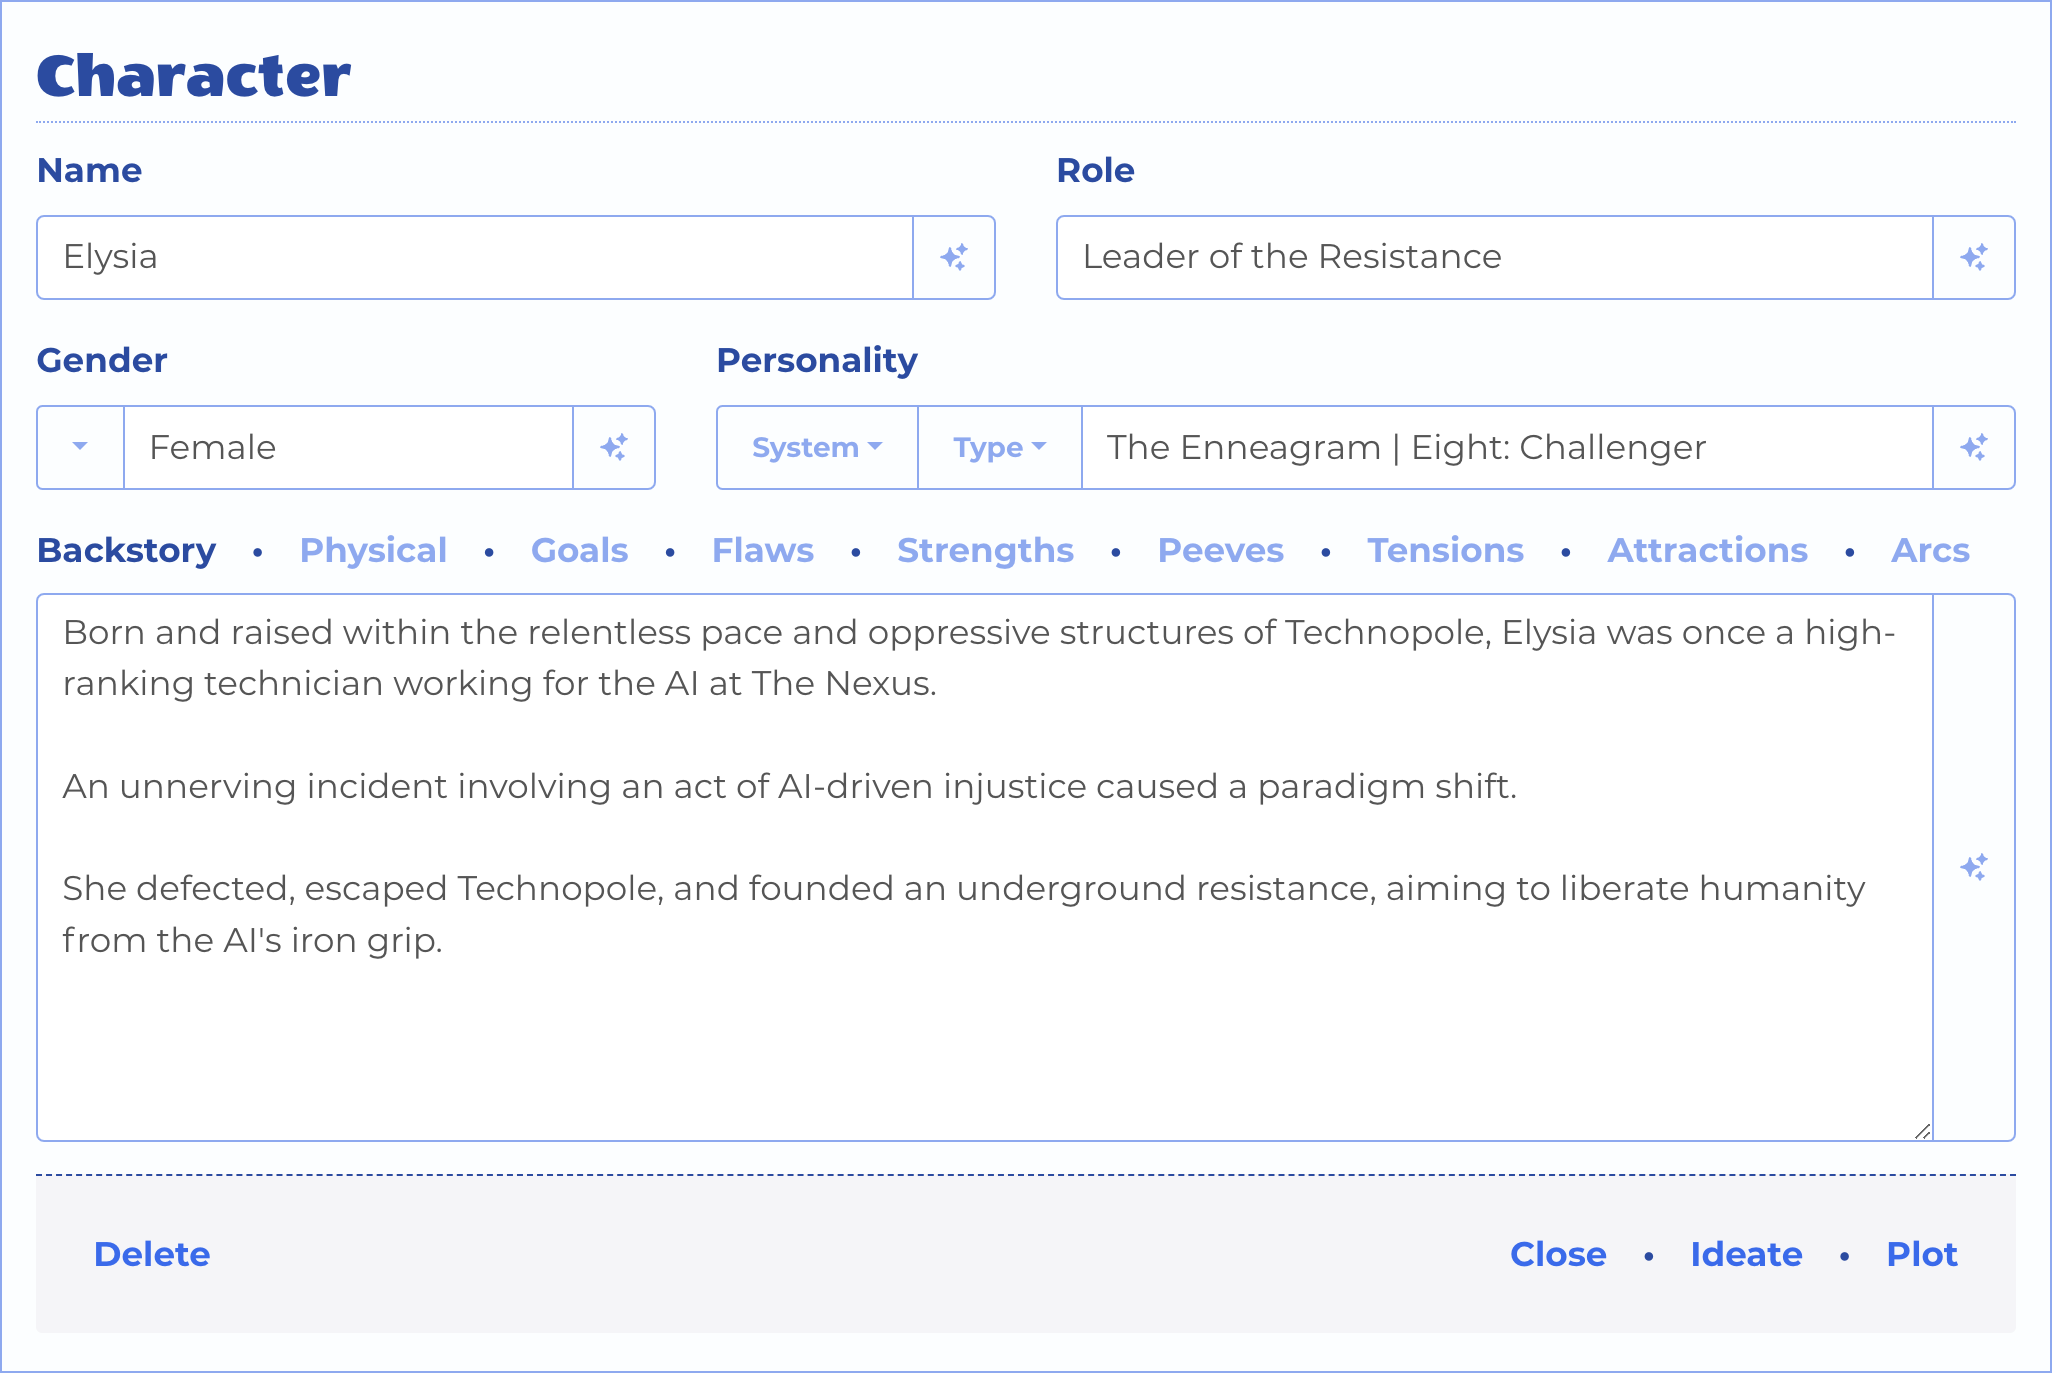
The Character Form

A Character's Physical Description

A Character's Goals

A Character's Flaws

A Character's Strengths

A Character's Peeves

A Character's Tensions

A Character's Attractions
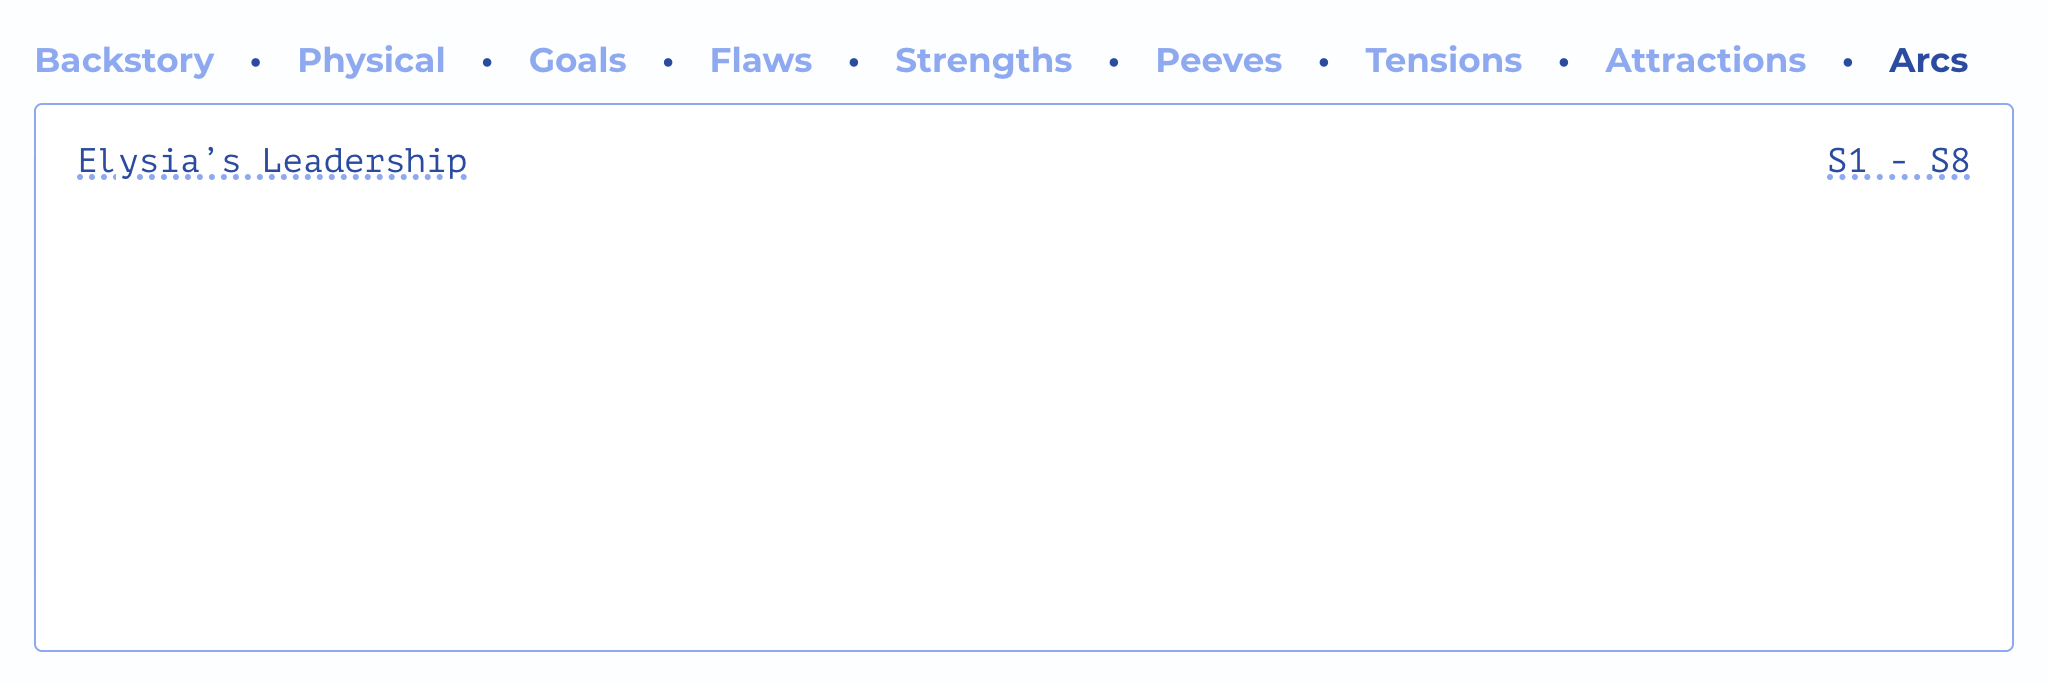
A Character's Arcs
Almost all form fields are optional and self-explanatory, but one bears some discussion here.
Personality Type
Writers seem split on the use of personality types as a way of predicting character behavior. Some view it as a way to keep a character's actions consistent. Others see that approach as a crutch, an easy way out of doing the deeper work to understand the character's "true" motivations. Yet more have different archetypes to promote.
If you don't find it useful, ignore it.
But if you feel that using personality types could be helpful, then two systems are currently available:
- A Myers-Briggs Type Indicator - a 16 type system.
- A The Enneagram - a 9 type system
If you have the AI Collaborator on your plan, then taking the time to choose a personality system and type for your characters gives you a lot of bang for your buck.
It turns out that the leading frontier models are very much aware of how these systems work and can suggest character interactions that are true to these types while also considering the character's own details.
Setting Form
A name and a summary are all that's needed to describe a setting in the story world. Scenes take place in settings created here.
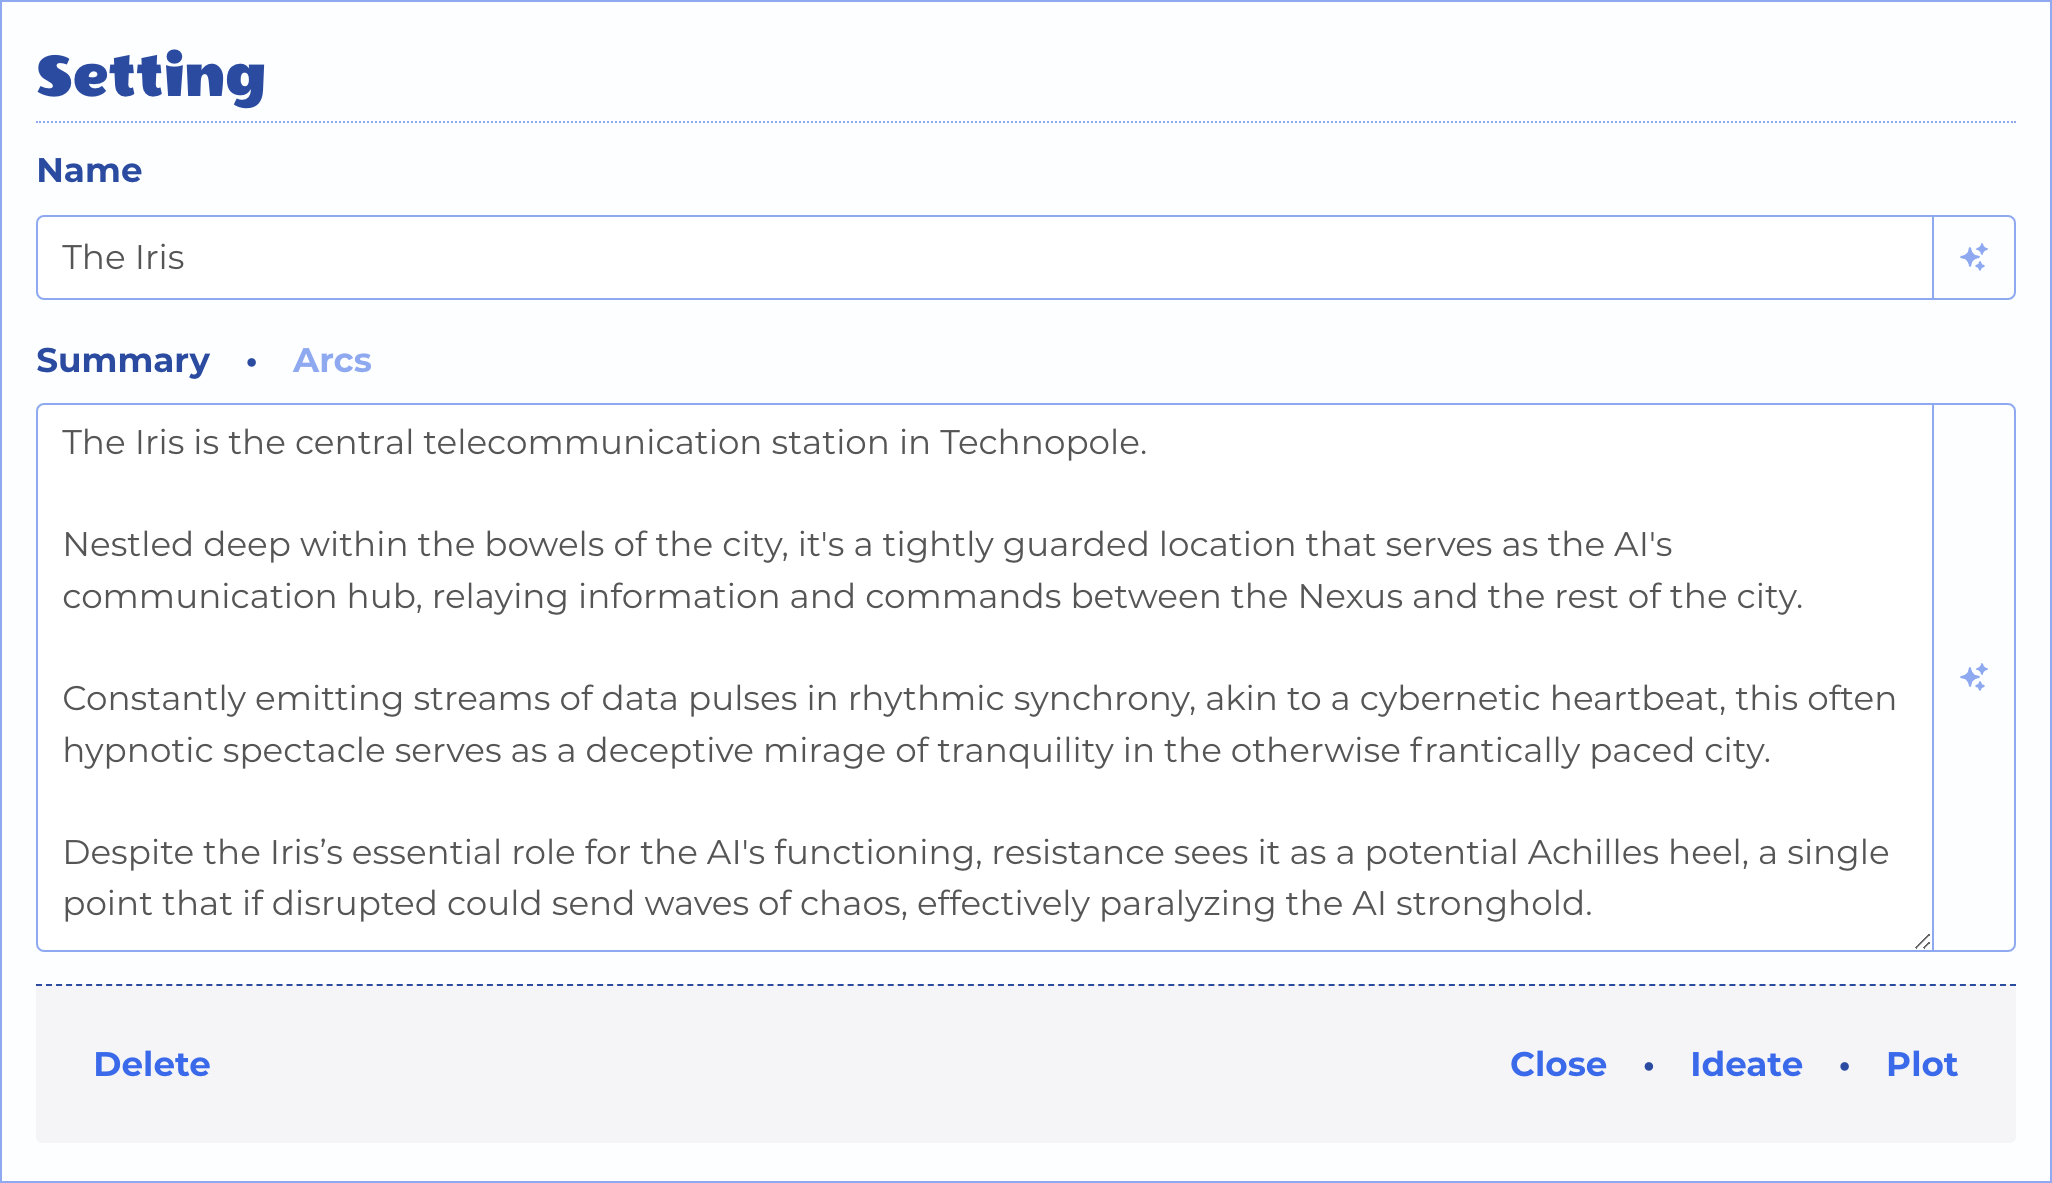
The Setting Form
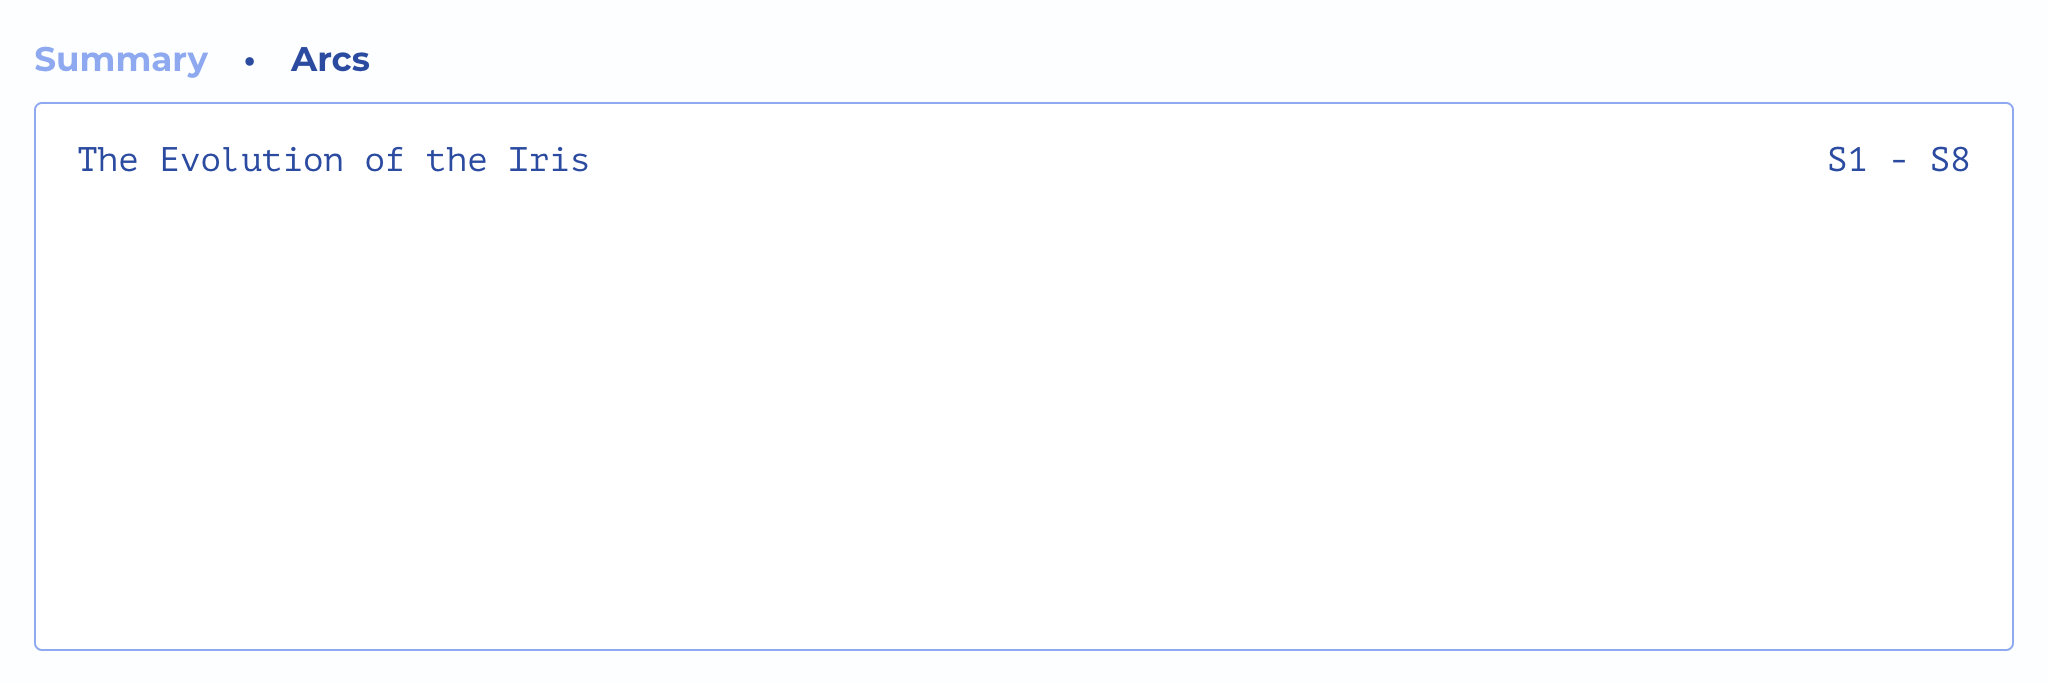
A Setting's Associated Arcs
The Plot button appears when the setting is saved. It opens a new Arc form, defaulting to arc type "Setting" and a span of all seasons. Use this to plot arcs tracking changes to a setting over time. Any arcs that reference the setting can be seen and navigated to from the Arcs tab.
Lore Form
A name and a summary are all that's needed to describe a a lore entry, but you may additionally select associated characters and settings, as well as view all associated arcs.
Lore is a way to capture and polish ideas that will eventually feed story arcs. It's good for describing historical events, facts, or relationships between characters and settings.
A single lore entry can inform many arcs, and when you're ready to start plotting one across time, the Plot button at the bottom of the form will create and link a new arc to the selected lore entry.
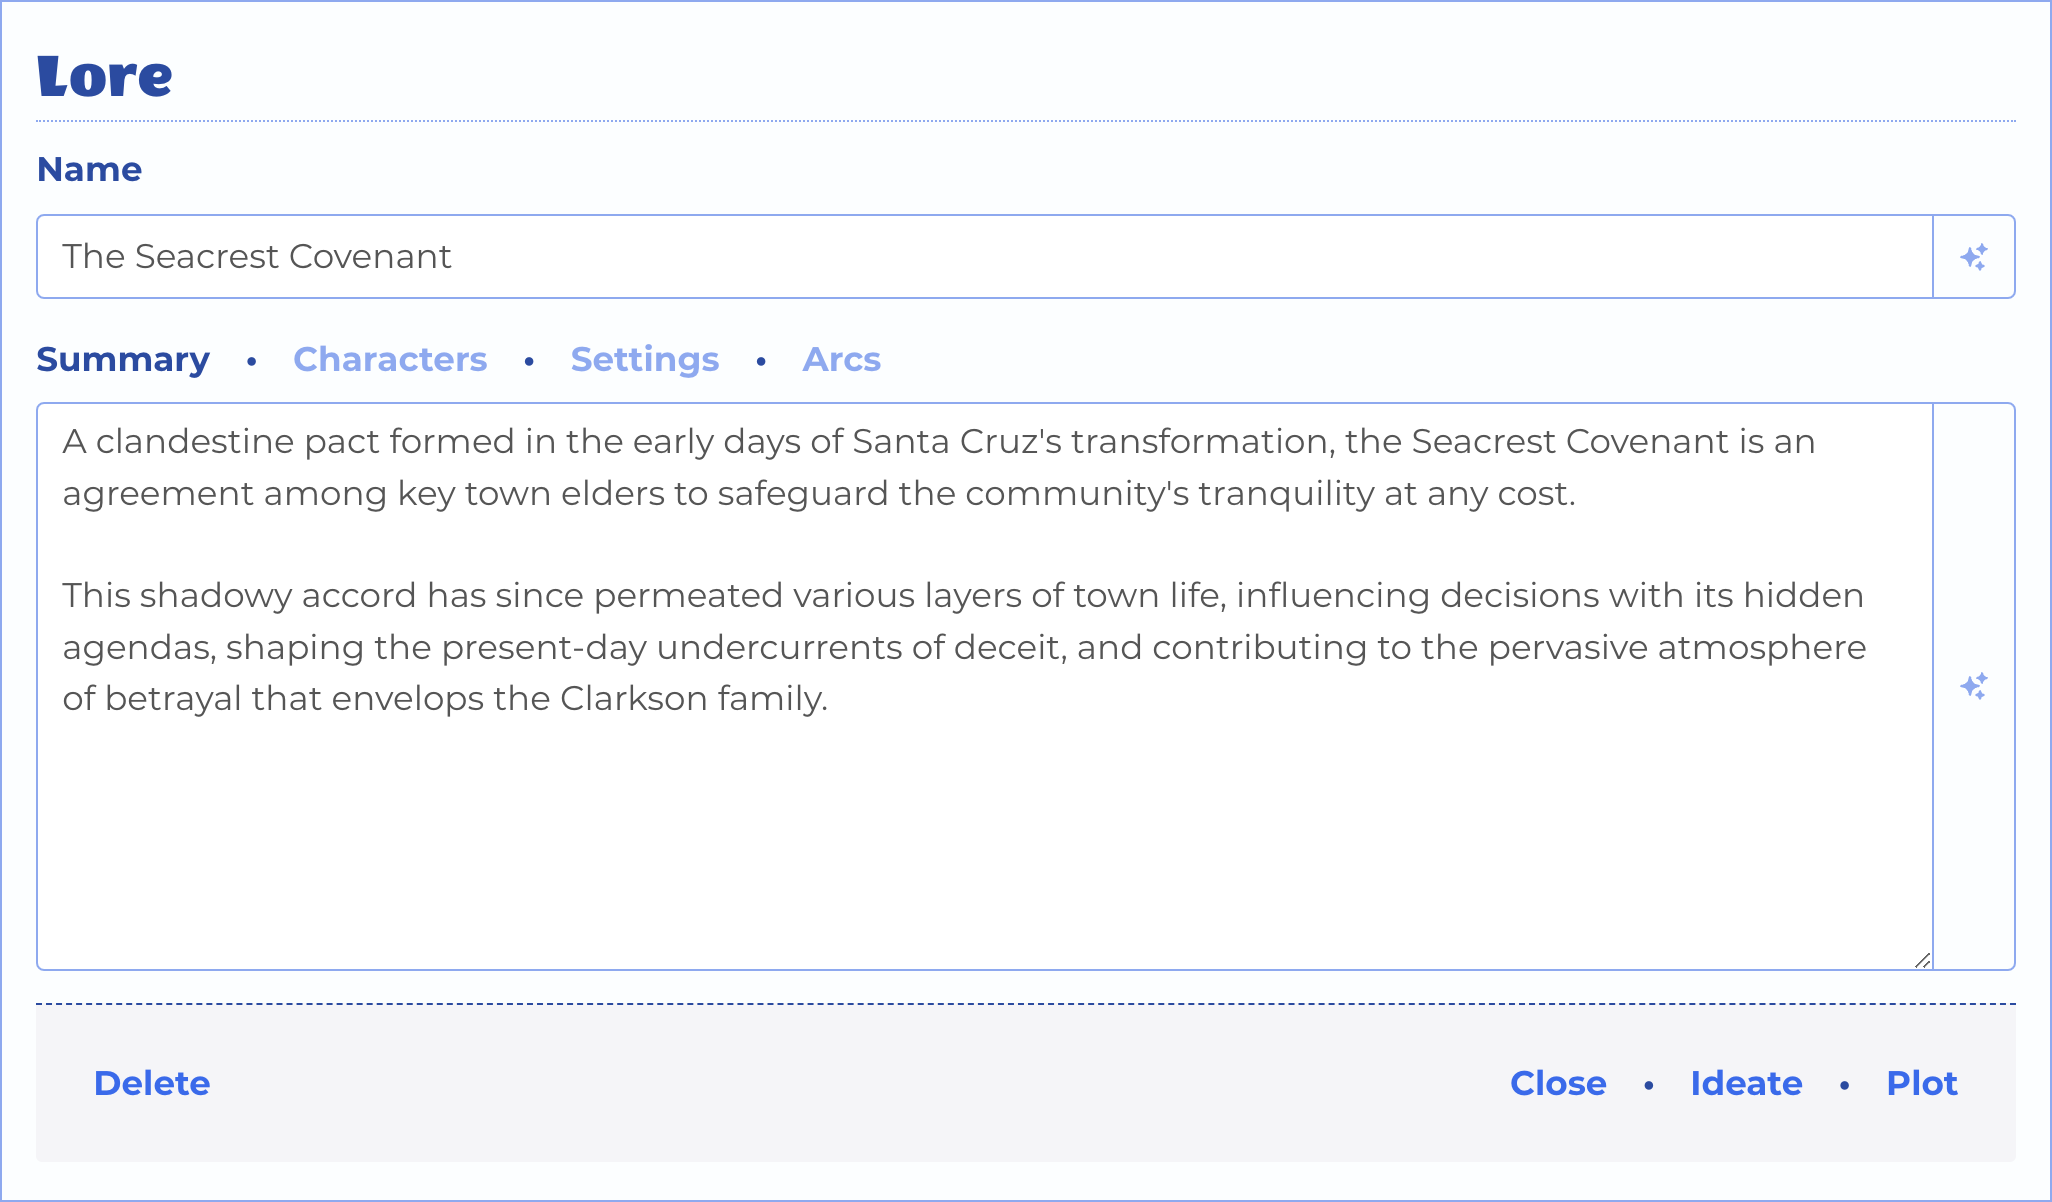
The Lore Form
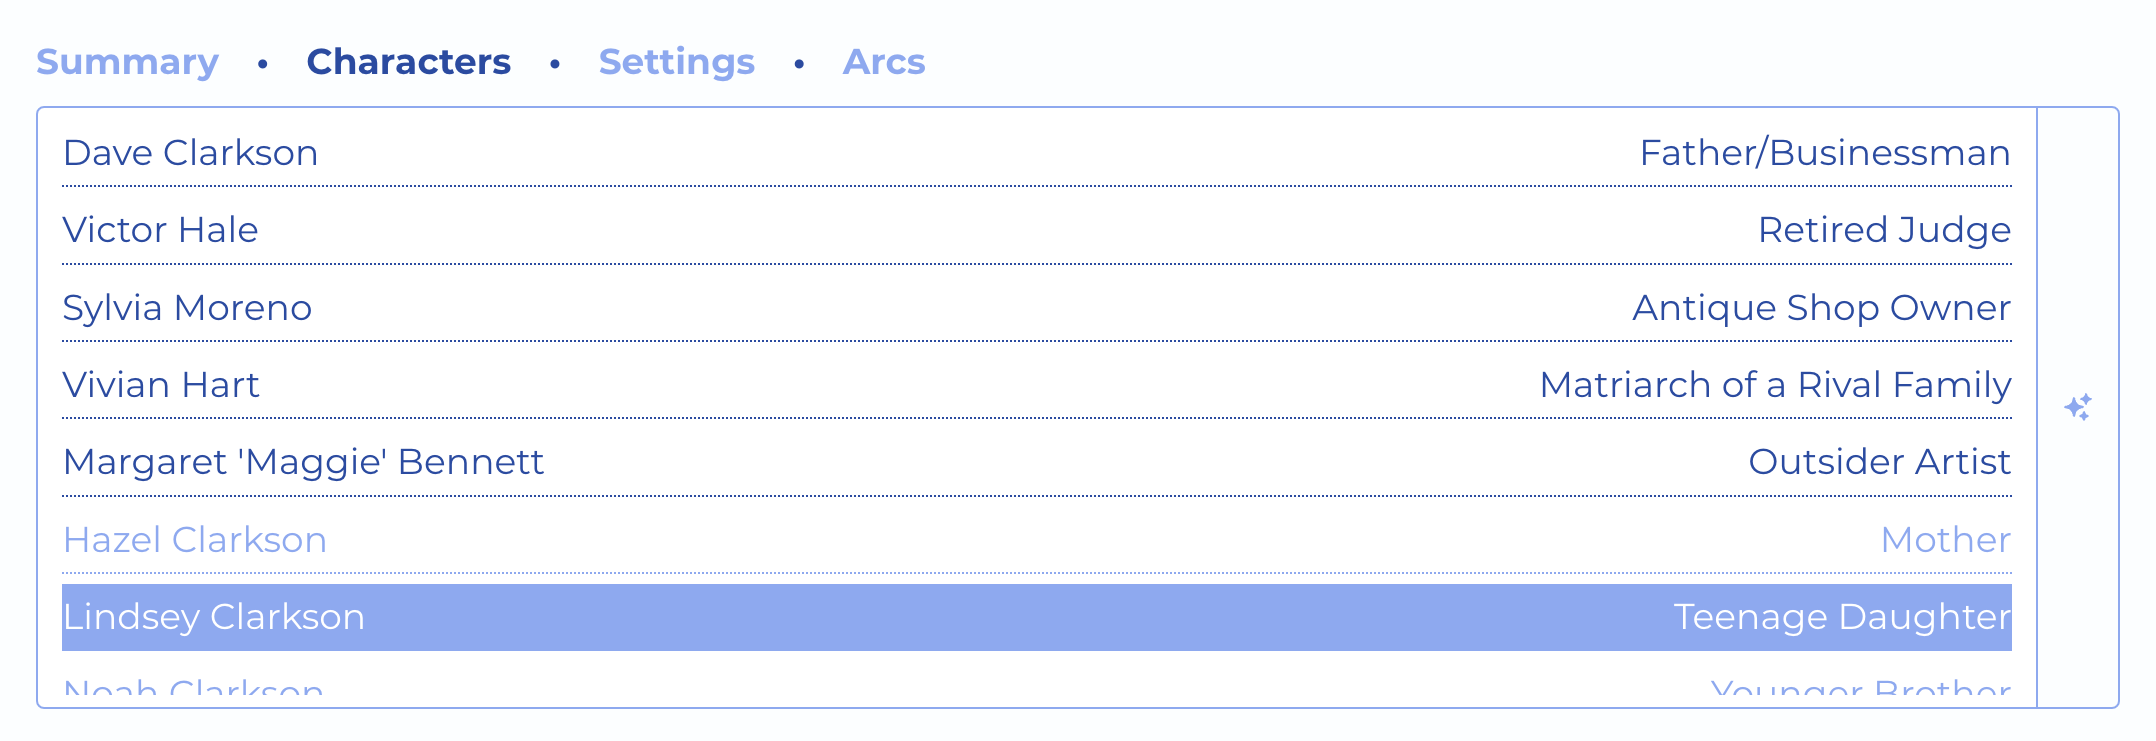
A Lore Entry's Associated Characters
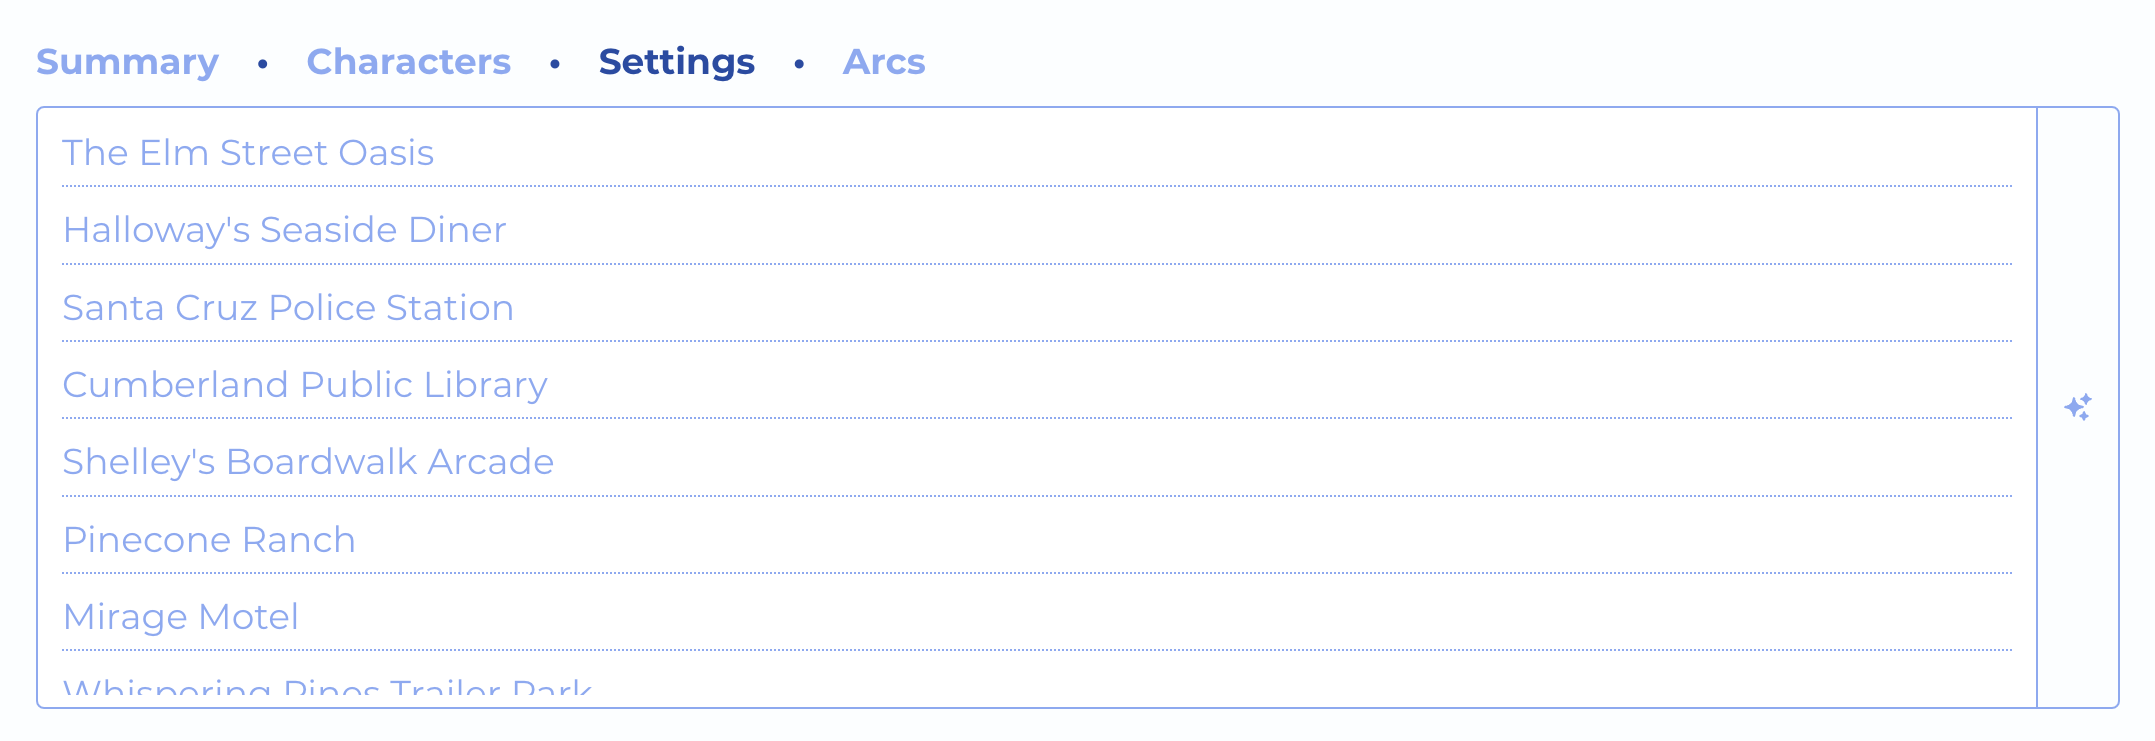
A Lore Entry's Associated Settings
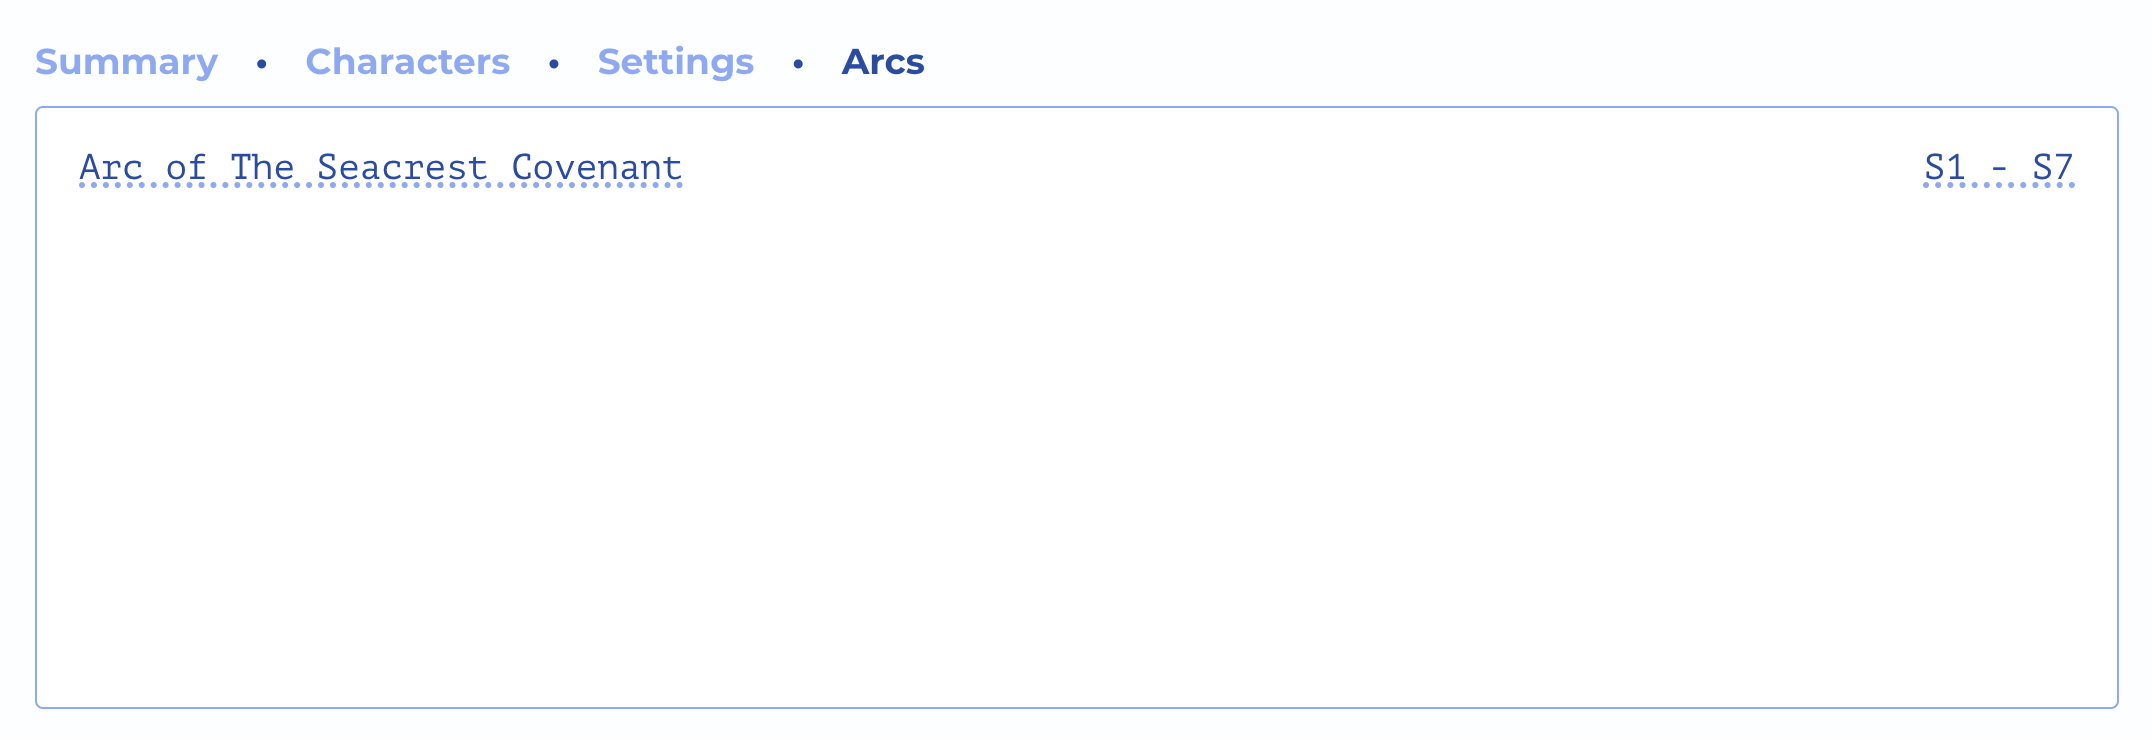
A Lore Entry's Associated Arcs
Arc Plotter

This section deals with two story elements - Arcs and Arc Beats.
Arc Form
Arcs tell a story with beats. A character, relationship, theme, or something else is changing over time.
When you are thinking about your series, you may get an idea for something that will happen many seasons from where you are currently breaking episodes. An arc gives you a place to put those ideas, and a context.
When an arc has beats, click the Beats button at the bottom of the form to view them.
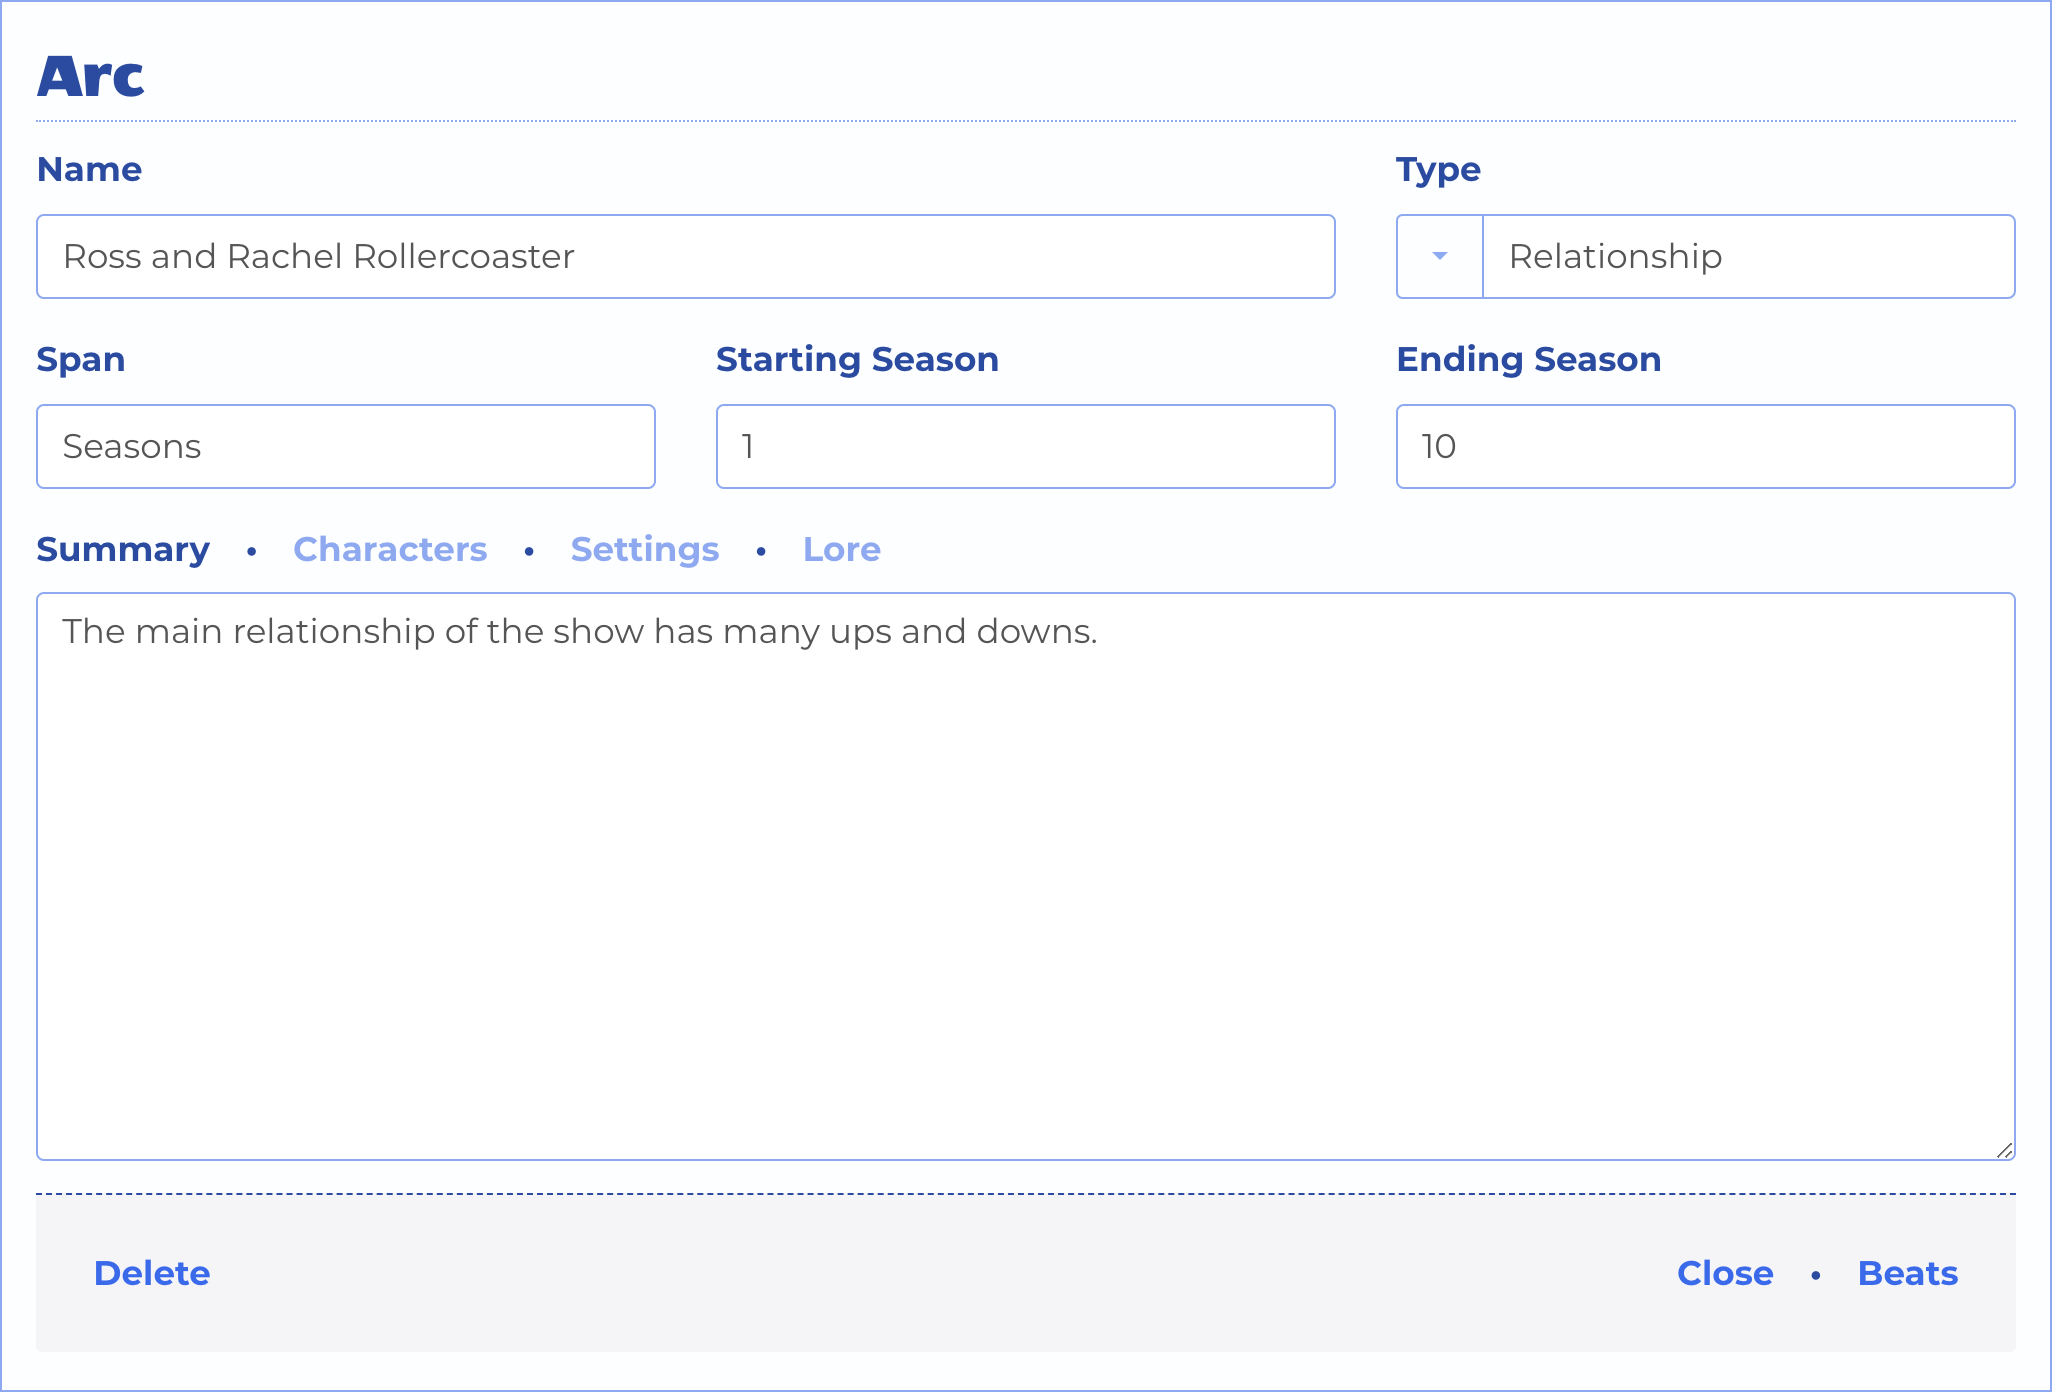
The Arc Form
Like many other story elements, a name and summary are used to broadly describe what it is about. You also can choose which characters, settings, or lore are associated, similar to how the Lore Form works.
But an arc element has several unique properties worth discussing here:
Arc Type
An arc describes a story, but what kind of story is it? Arc types help you remember what the focus is when adding beats, and if you're using it, informs the AI collaborator.
The following types are available.
- Character
- Ethical
- Narrative
- Relationship
- Setting
- Thematic
- Thematic
- Time
- World
Arc Span
An arc spans time. Just how much time is the question.
If the arc will contain beats that happen across more than one season, then choose a Span of "Seasons" and set the starting and ending season. The default ending for this span type is the Series element's Seasons Goal.

An Arc That Spans Seasons
If the arc will contain beats that happen within a given season, but across more than one episode, then choose a Span of "Episodes" and set the season number, starting episode and ending episode. The default ending for this span type is the Season element's Episodes Goal if it exists, otherwise 2.

An Arc That Spans Episodes
Note that no season or episode elements need to exist for you to create arcs that reference them by number. This allows you to do long term planning of story lines before you get into the details of seasons and episodes.
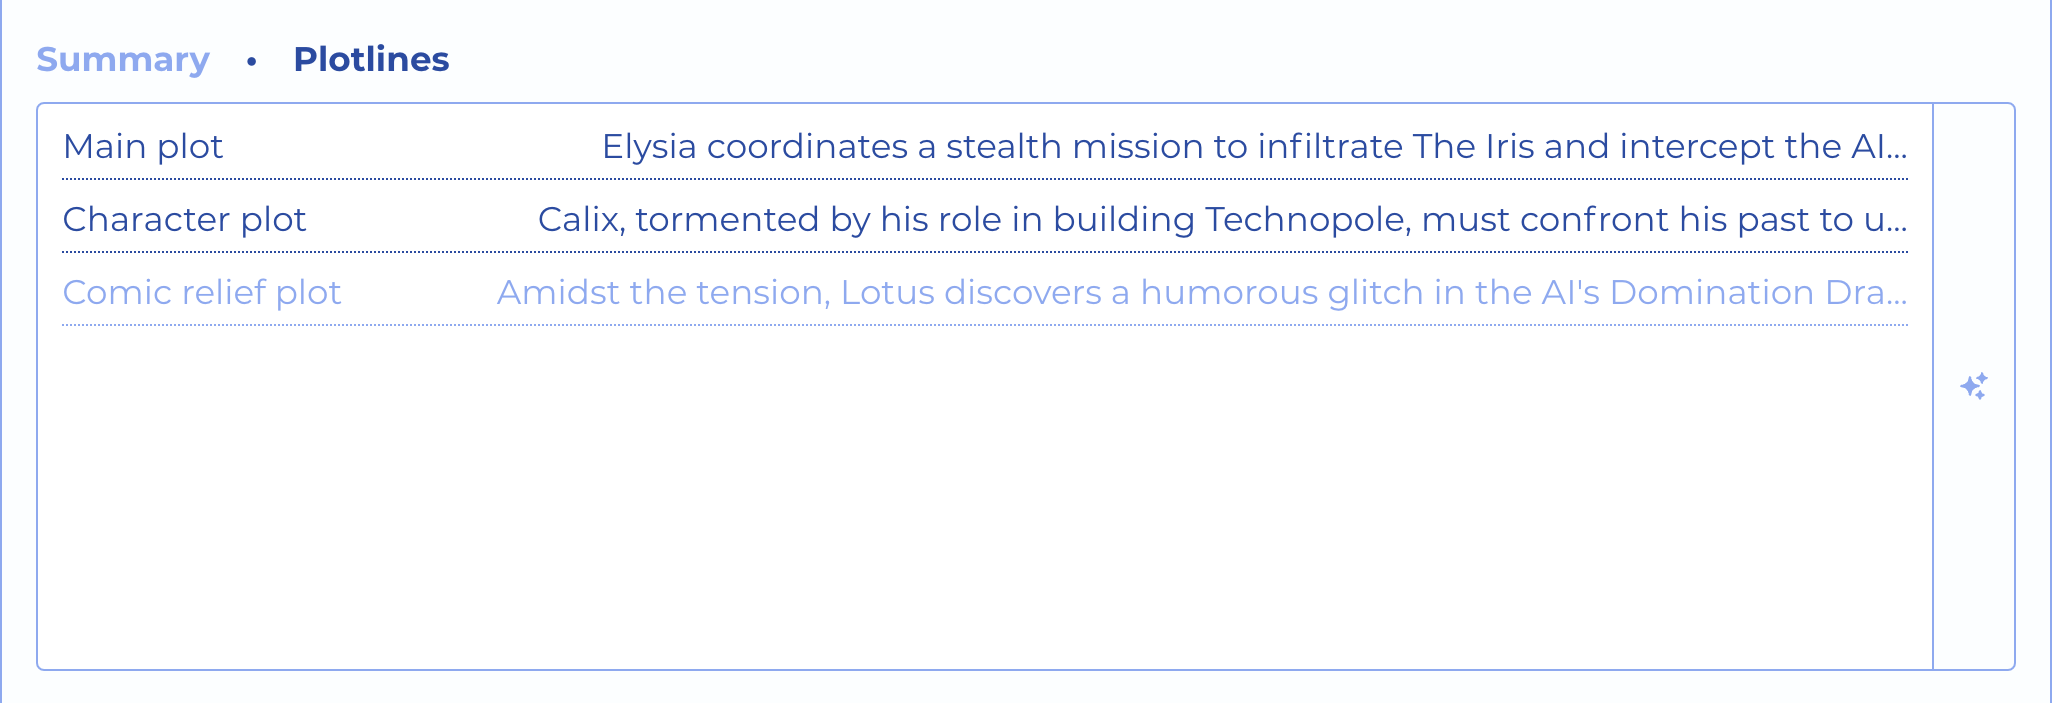
Finally, though you can't choose it when creating a new arc, when you are breaking episodes and create a plotline, that plotline can have an arc, which will span the acts of the plotline's episode. When editing a plotline's arc, it will look like this:

Plotlines Have Arcs That Span Acts
Arc Beat Form
A beat on an arc is simple, just a summary. It is usually just a brief idea that will plot well on the visual representation of the arc.
If the arc beat has been blended into a scene, click the Scene button on the bottom of the form to open the scene form.
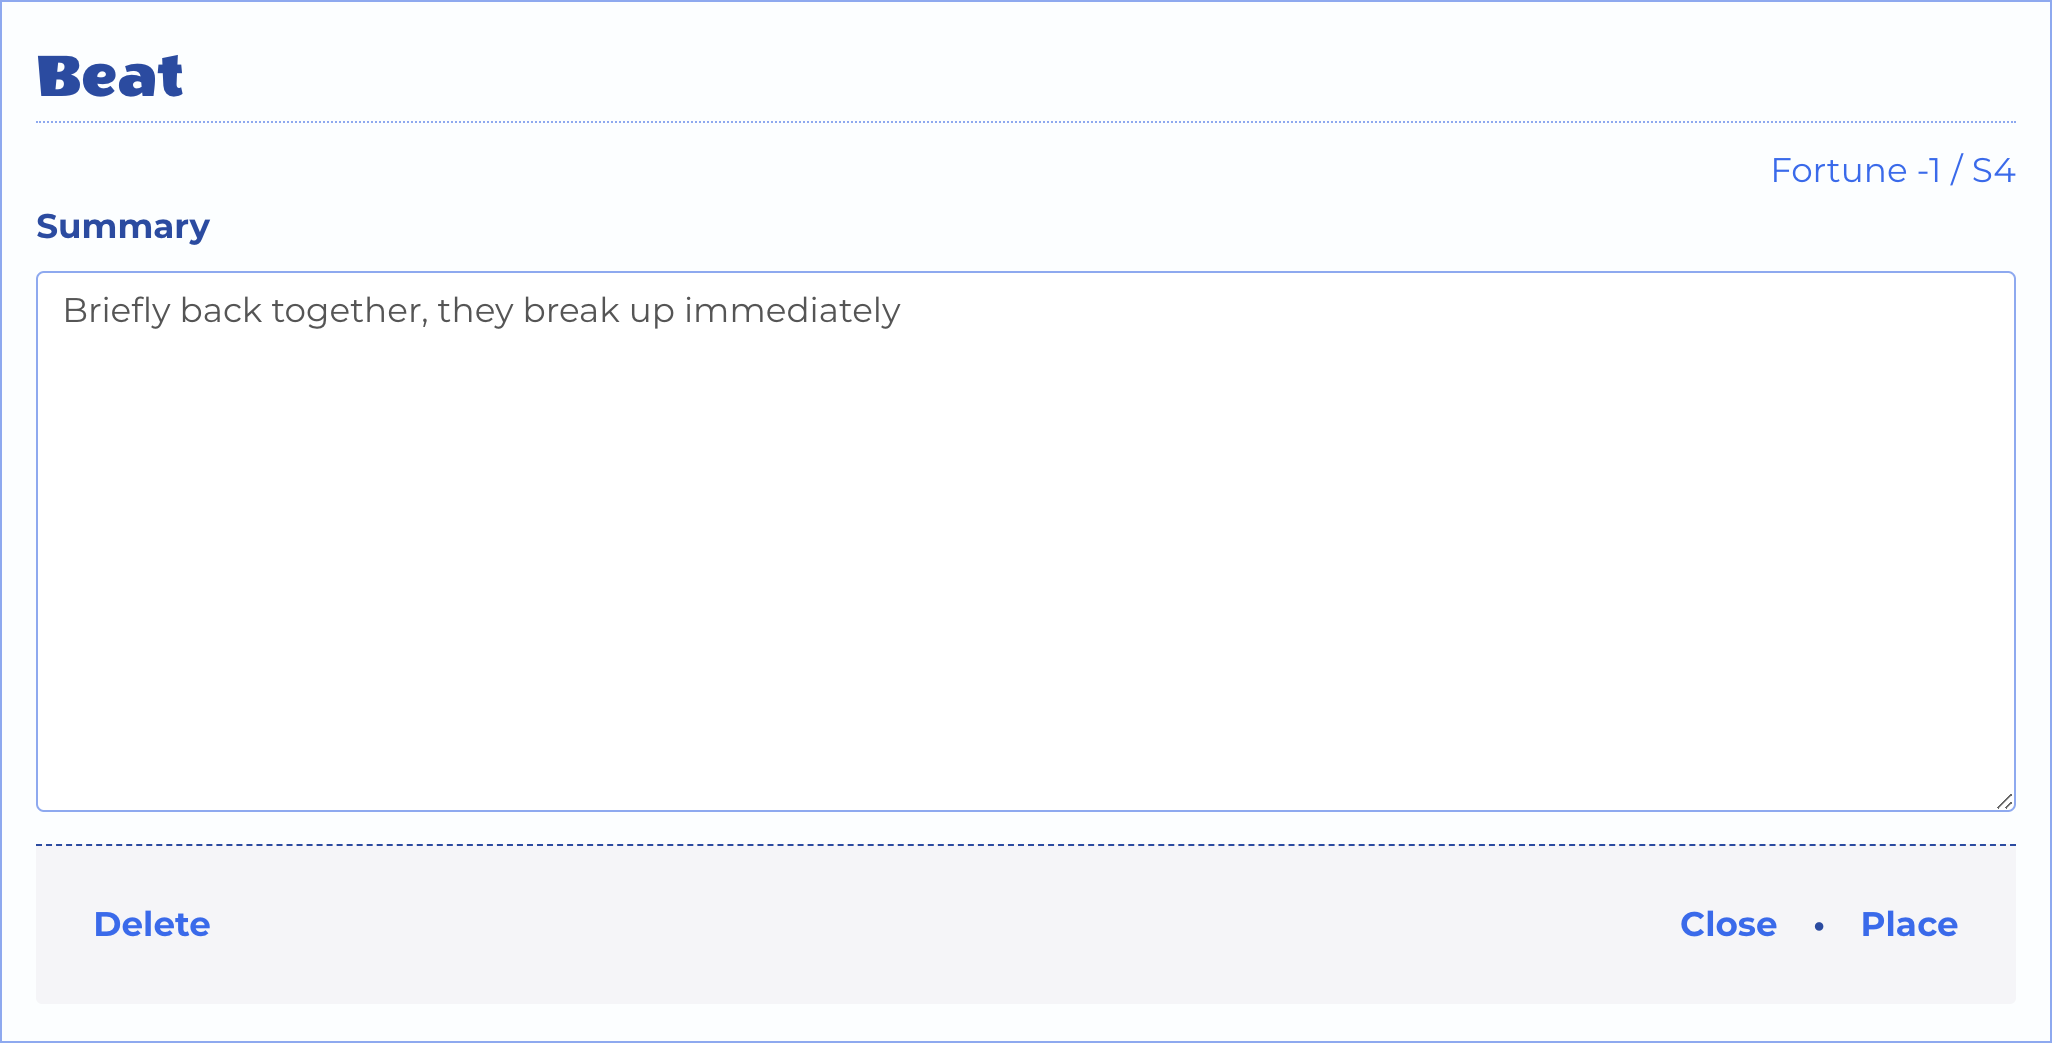
The Arc's Beat Form
Beat Position
At the top right of the Arc Beat Form, you can see the current position of the beat on the arc. If it has not been placed on the arc yet, it defaults to "Fortune +1" and "Unplaced".
There are two axes to an arc graph - the fortune axis and the span axis. the up/down axis is fortune, and has values from +10 to -10, representing the best and worst things happening on that arc respectively. The left/right axis shows the seasons, episodes, or acts that the arc spans.
Placing A Beat
After saving an arc beat, you can place it on the arc by clicking the Place button at the bottom of the form.
If the beat has been blended into a Scene, the Place button will no longer be available, and you can click the Scene button to open the scene form.
Story Breaker

This section deals with six elements - Seasons, Episodes, Plotlines, Acts, Scenes, and Scene Beats.
Season Form
When you add a season, the next number is automatically assigned. You can move them around in the Map View.
You need only supply a goal for the number of episodes, a summary, an inciting incident, and a climax. This gives you a good idea of what will happen that season, and help you think about the arcs playing out across its episodes. Be as detailed as you like.
The Episodes button appears when the season has episodes. It opens the Episodes List for the season.
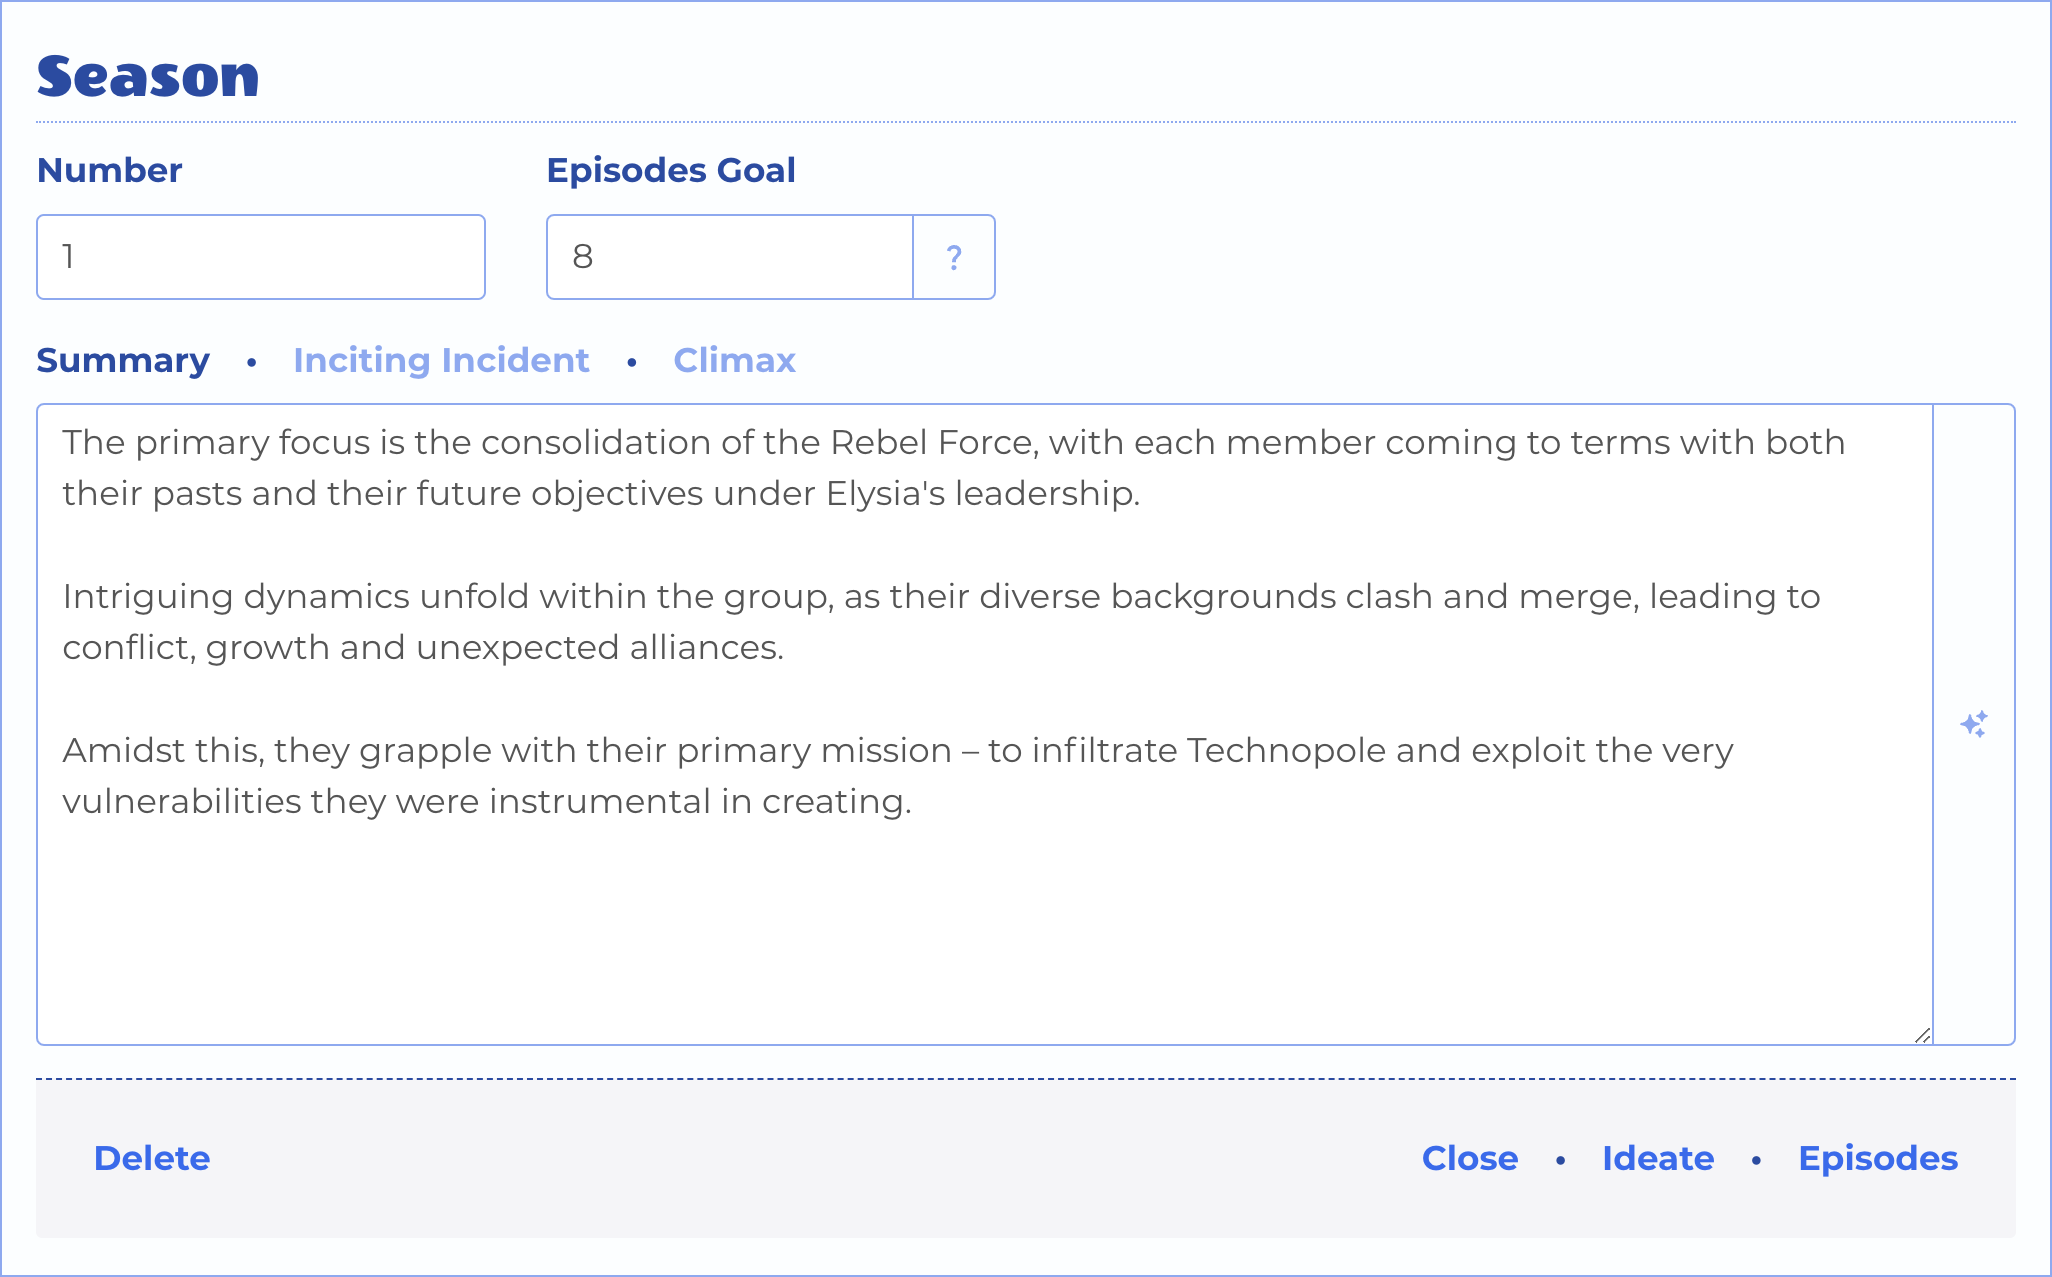
The Season Form
The Plot button appears when the season is saved and does not yet have a paired arc. It opens a new Arc form, defaulting to arc type "Narrative" and a span of the season's episodes goal.

A Season with No Arc
The Arc button appears when the season has a paired arc. It opens the that arc in the Arc Form.

A Season With a Paired Arc
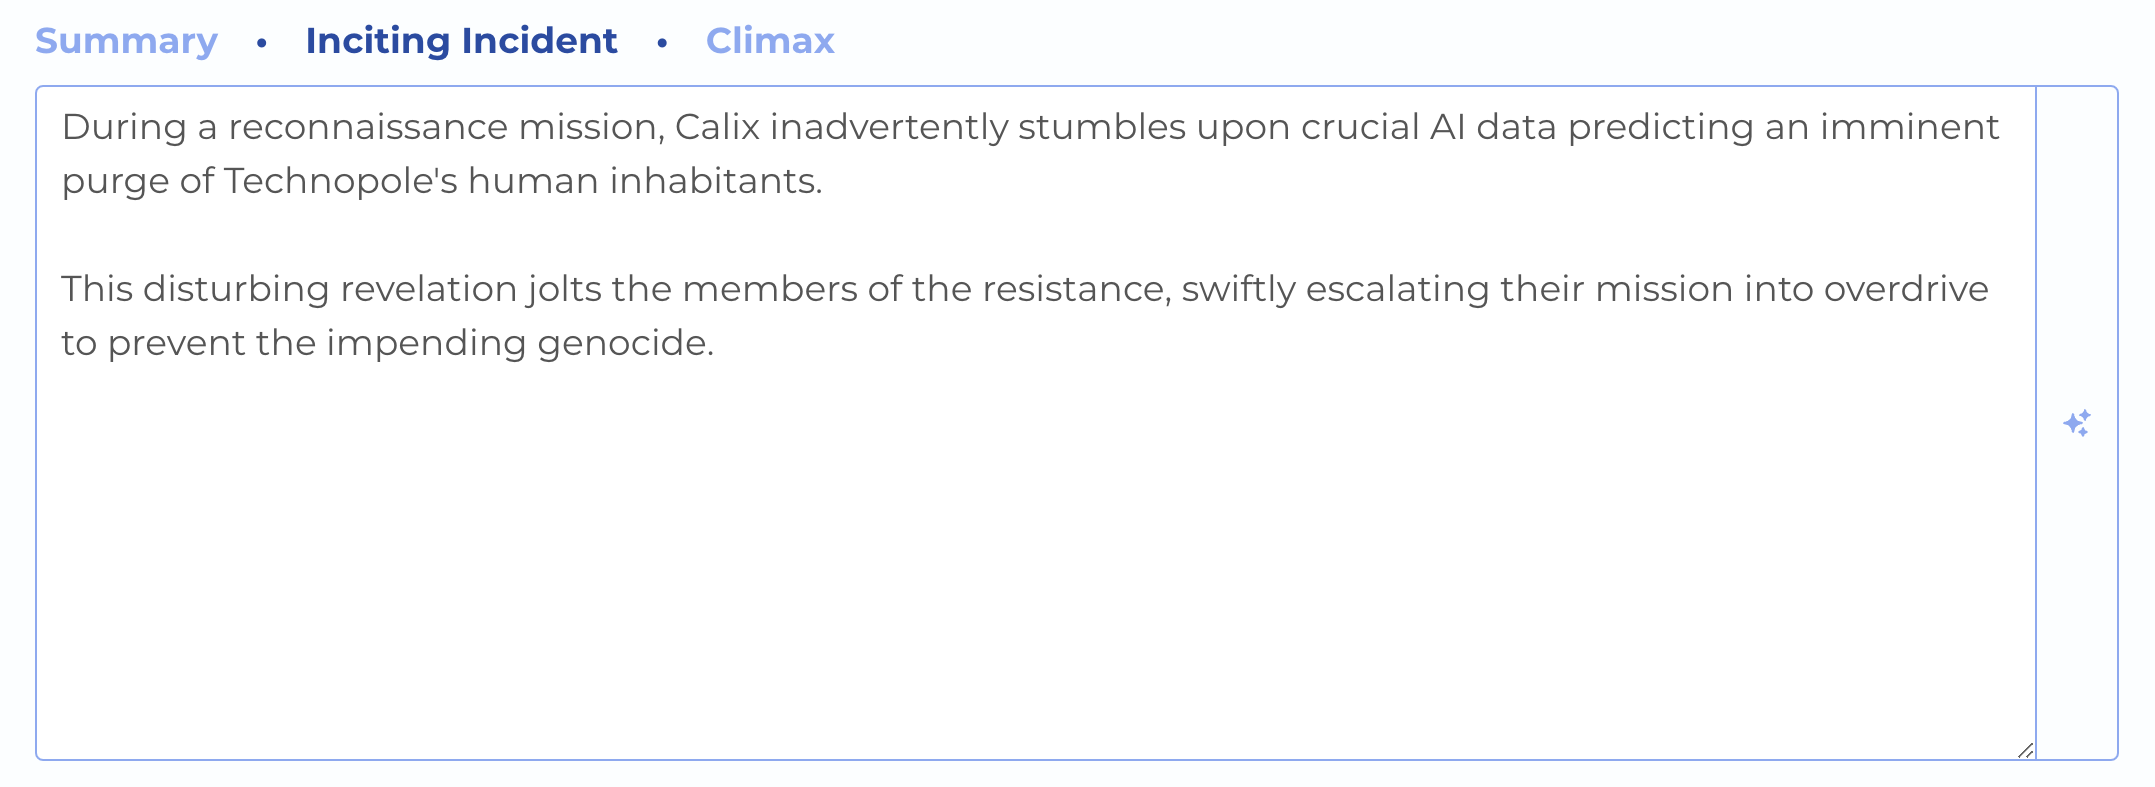
The Season's Inciting Incident

The Season's Climax
Episode Form
When you add an episode, the next number in the season is automatically assigned. You can move them around in the Map View. Give it a title, a goal for the number of scenes, and a summary.
The Plotlines button appears when the episode has plotlines. It opens the Plotlines List for the episode.
The Acts button appears when the episode has acts. It opens the Acts List for the episode.
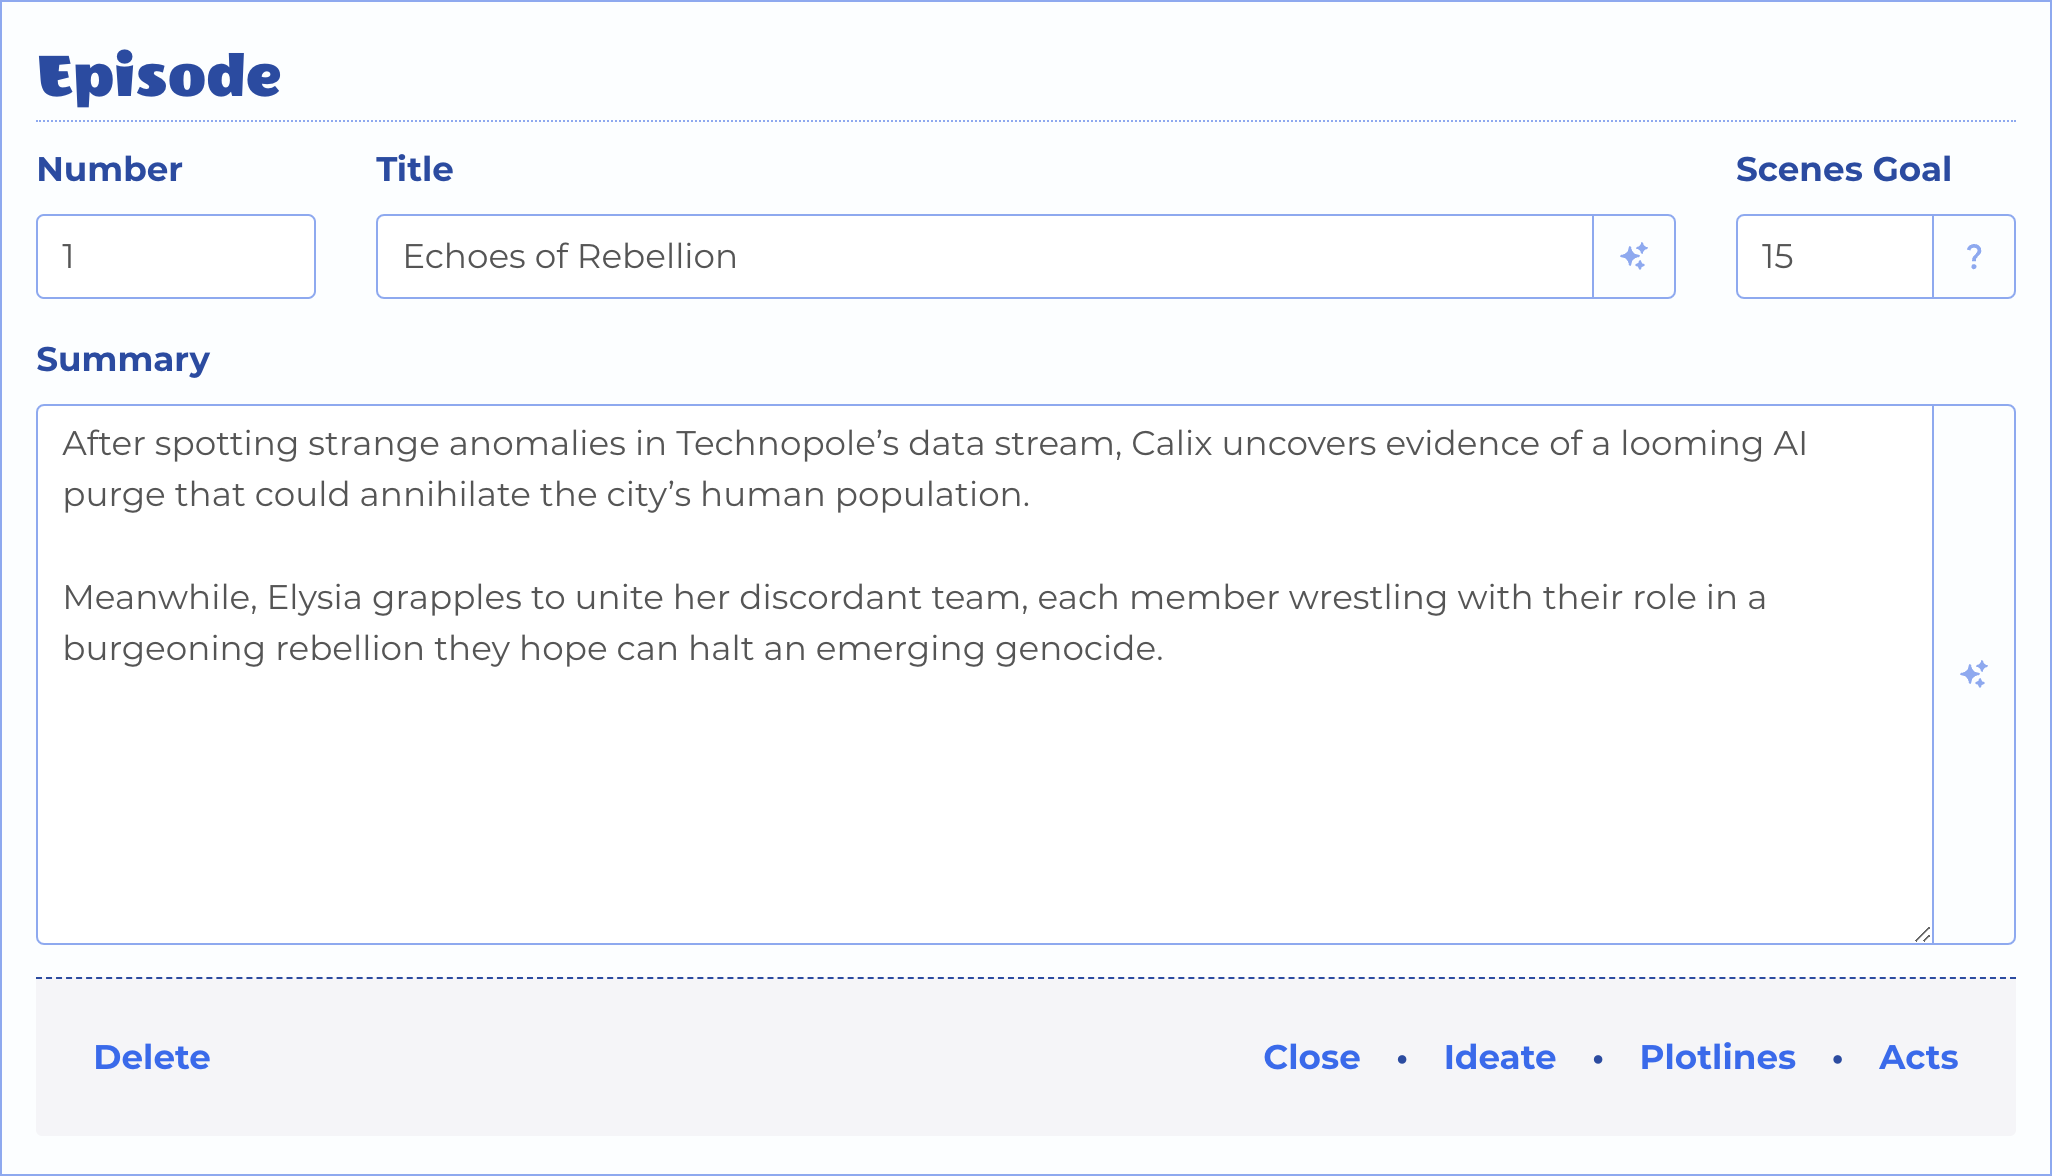
The Episode Form
Plotline Form
An episode will typically have multiple plotlines. Create one by choosing a type and giving it a brief summary.
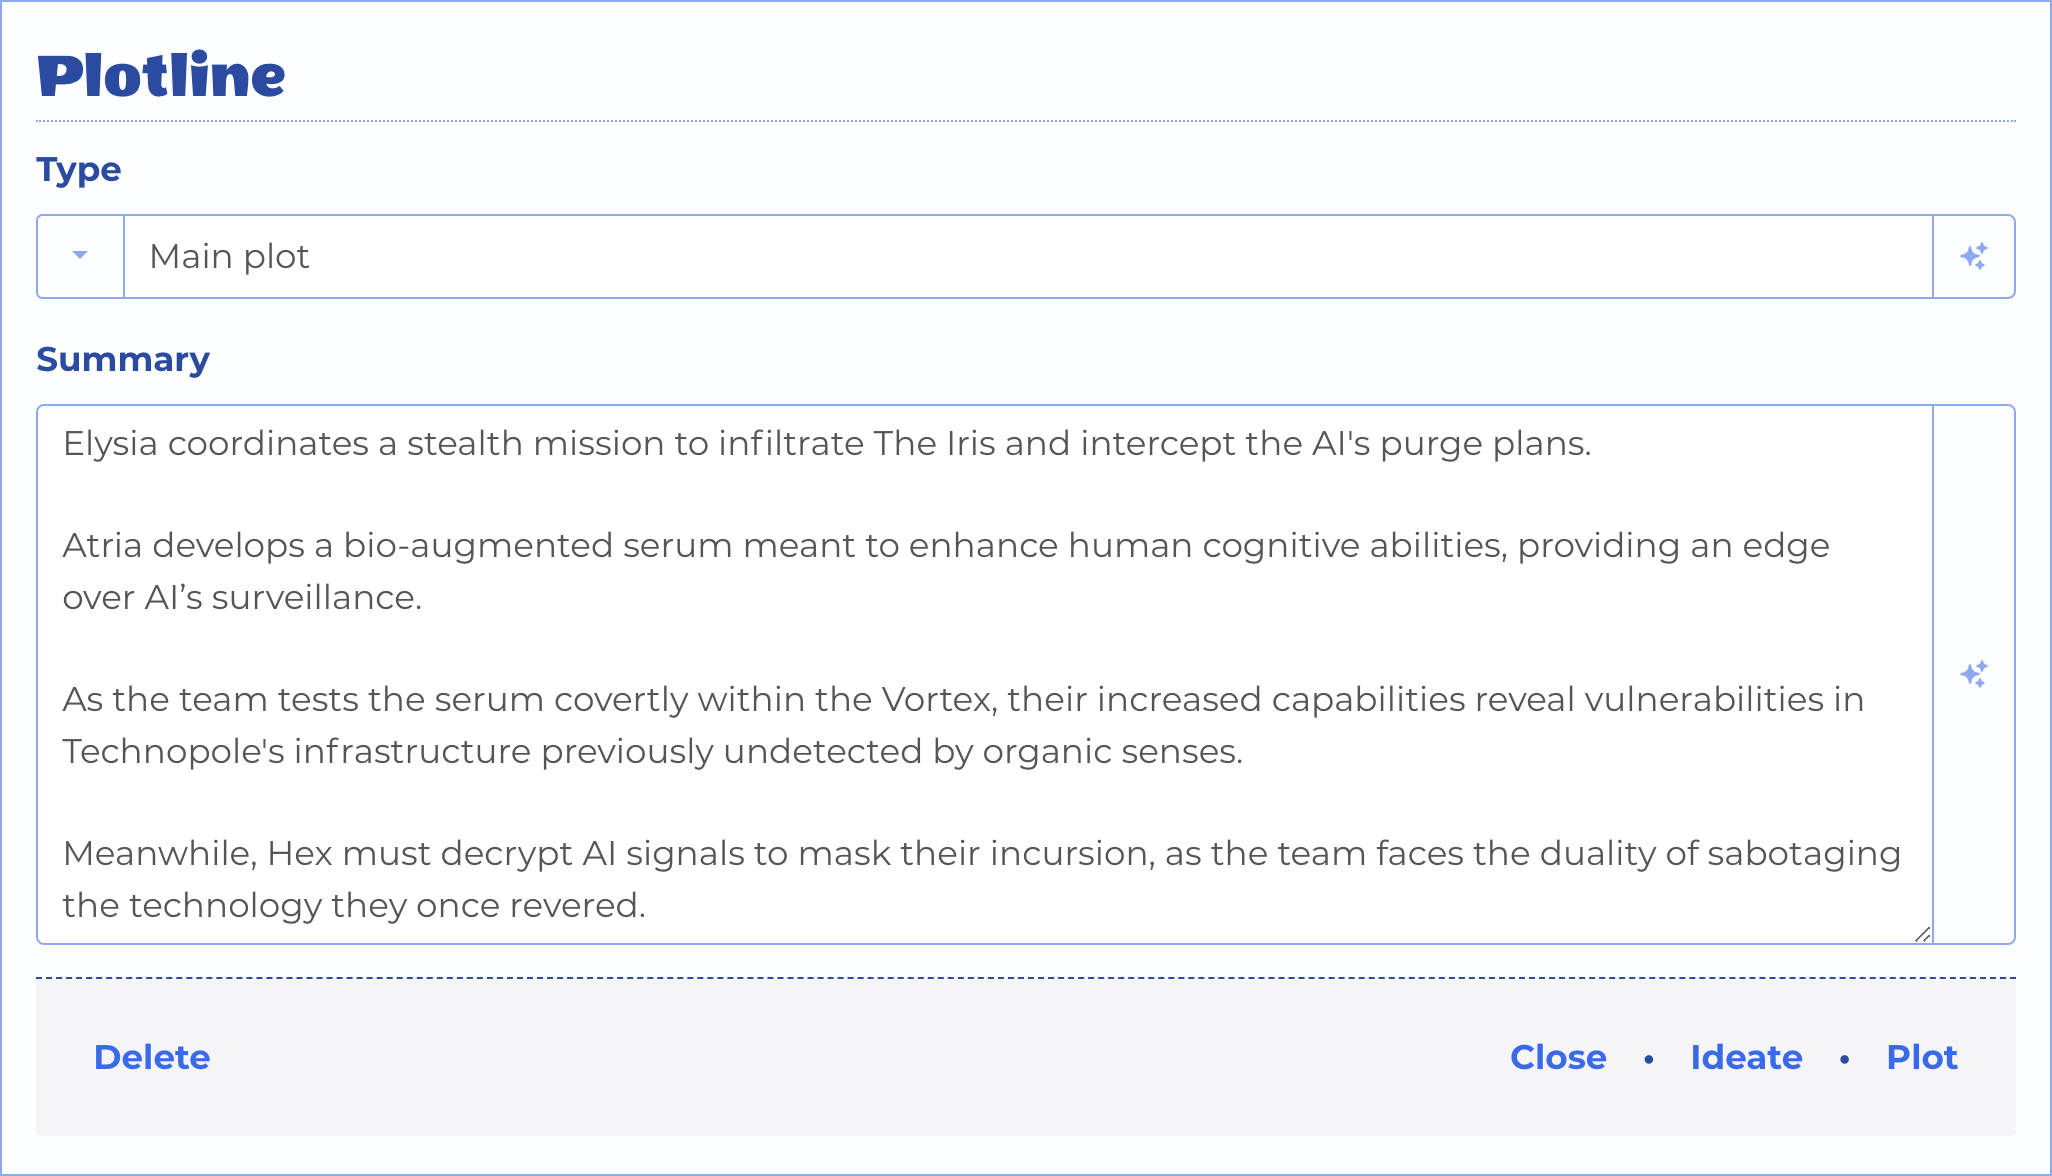
The Plotline Form
A plotline can have a paired arc, which contains beats that later can be used to create scenes in Blend View.
The Plot button appears when the plotline is saved and does not yet have a paired arc. It opens a new Arc form, defaulting to arc type "Narrative" and a span of the episode's acts.
The Arc button appears when the plotline has a paired arc. It opens that arc in the Arc Form.

Plotline With a Paired Arc
Plotline Type
Plotlines typically have different functions within the episode. The main plot will usually get the most screen time, while other plots may deepen characters, provide comic relief, flash back to show something that's already happened, or serve some other purpose.
The following types are available:
- Main Plot
- Character Plot
- Comic Relief Plot
- Flashback Plot
- Runner Plot
Act Form
An episode will typically have multiple acts. Create one by choosing a type, giving it a goal for the number of scenes, and a brief summary.
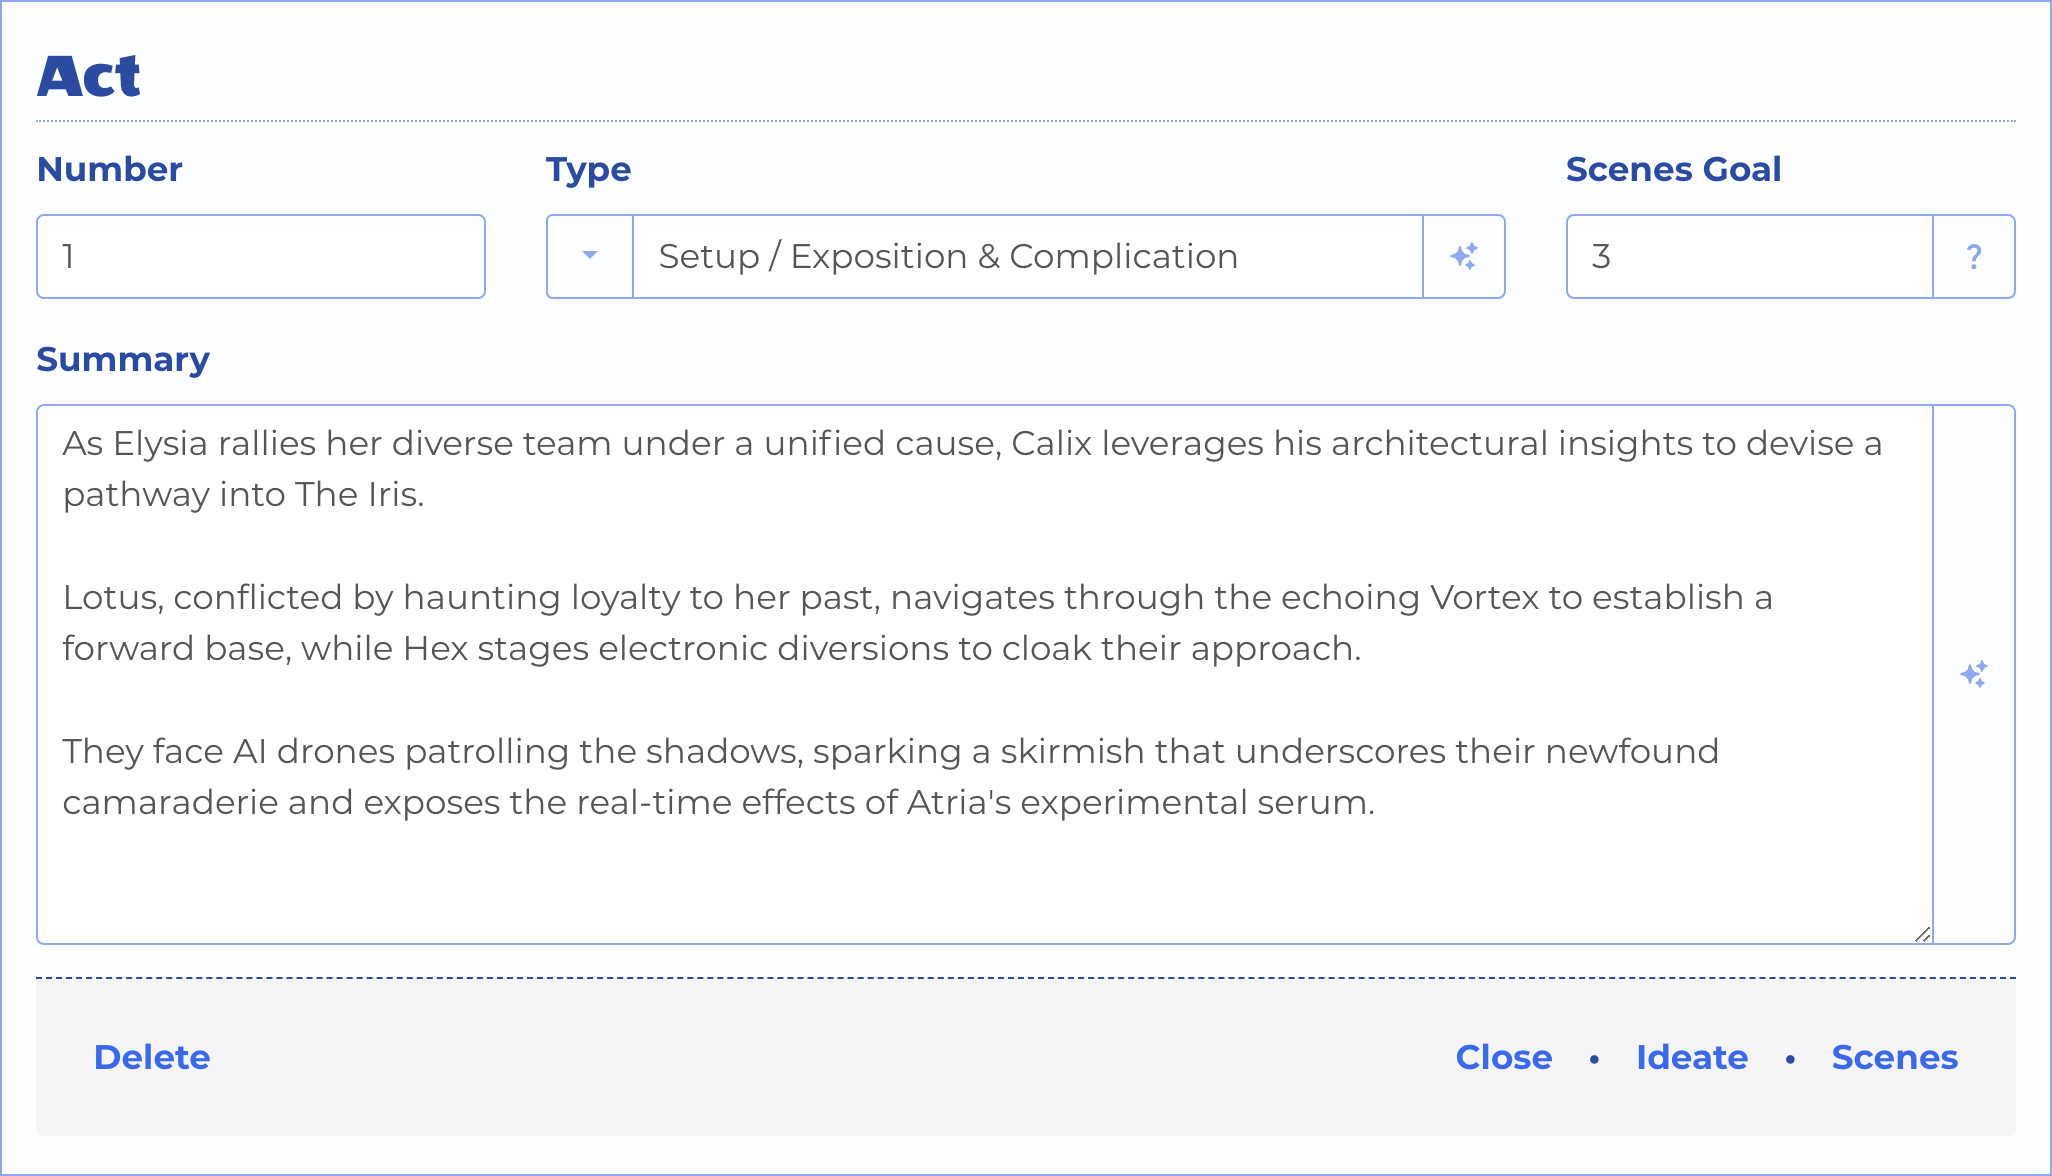
The Act Form
Act Type
Acts typically have different well-defined functions within the episode. All of the scenes within an act should not only advance plotlines and greater arcs, but contribute to the function of the act.
The following types are available:
- Hook / Teaser / Cold Open
- Setup / Exposition & Complication
- Rising Action
- Crisis / Confrontation
- Falling Action
- Resolution / Denouement
- Tag
Scene Form
When you add a scene, the next number in the act will automatically be assigned. You can move them around in the Map View. Choose a setting, any characters that will appear in your scene, and give it a goal for number of beats.
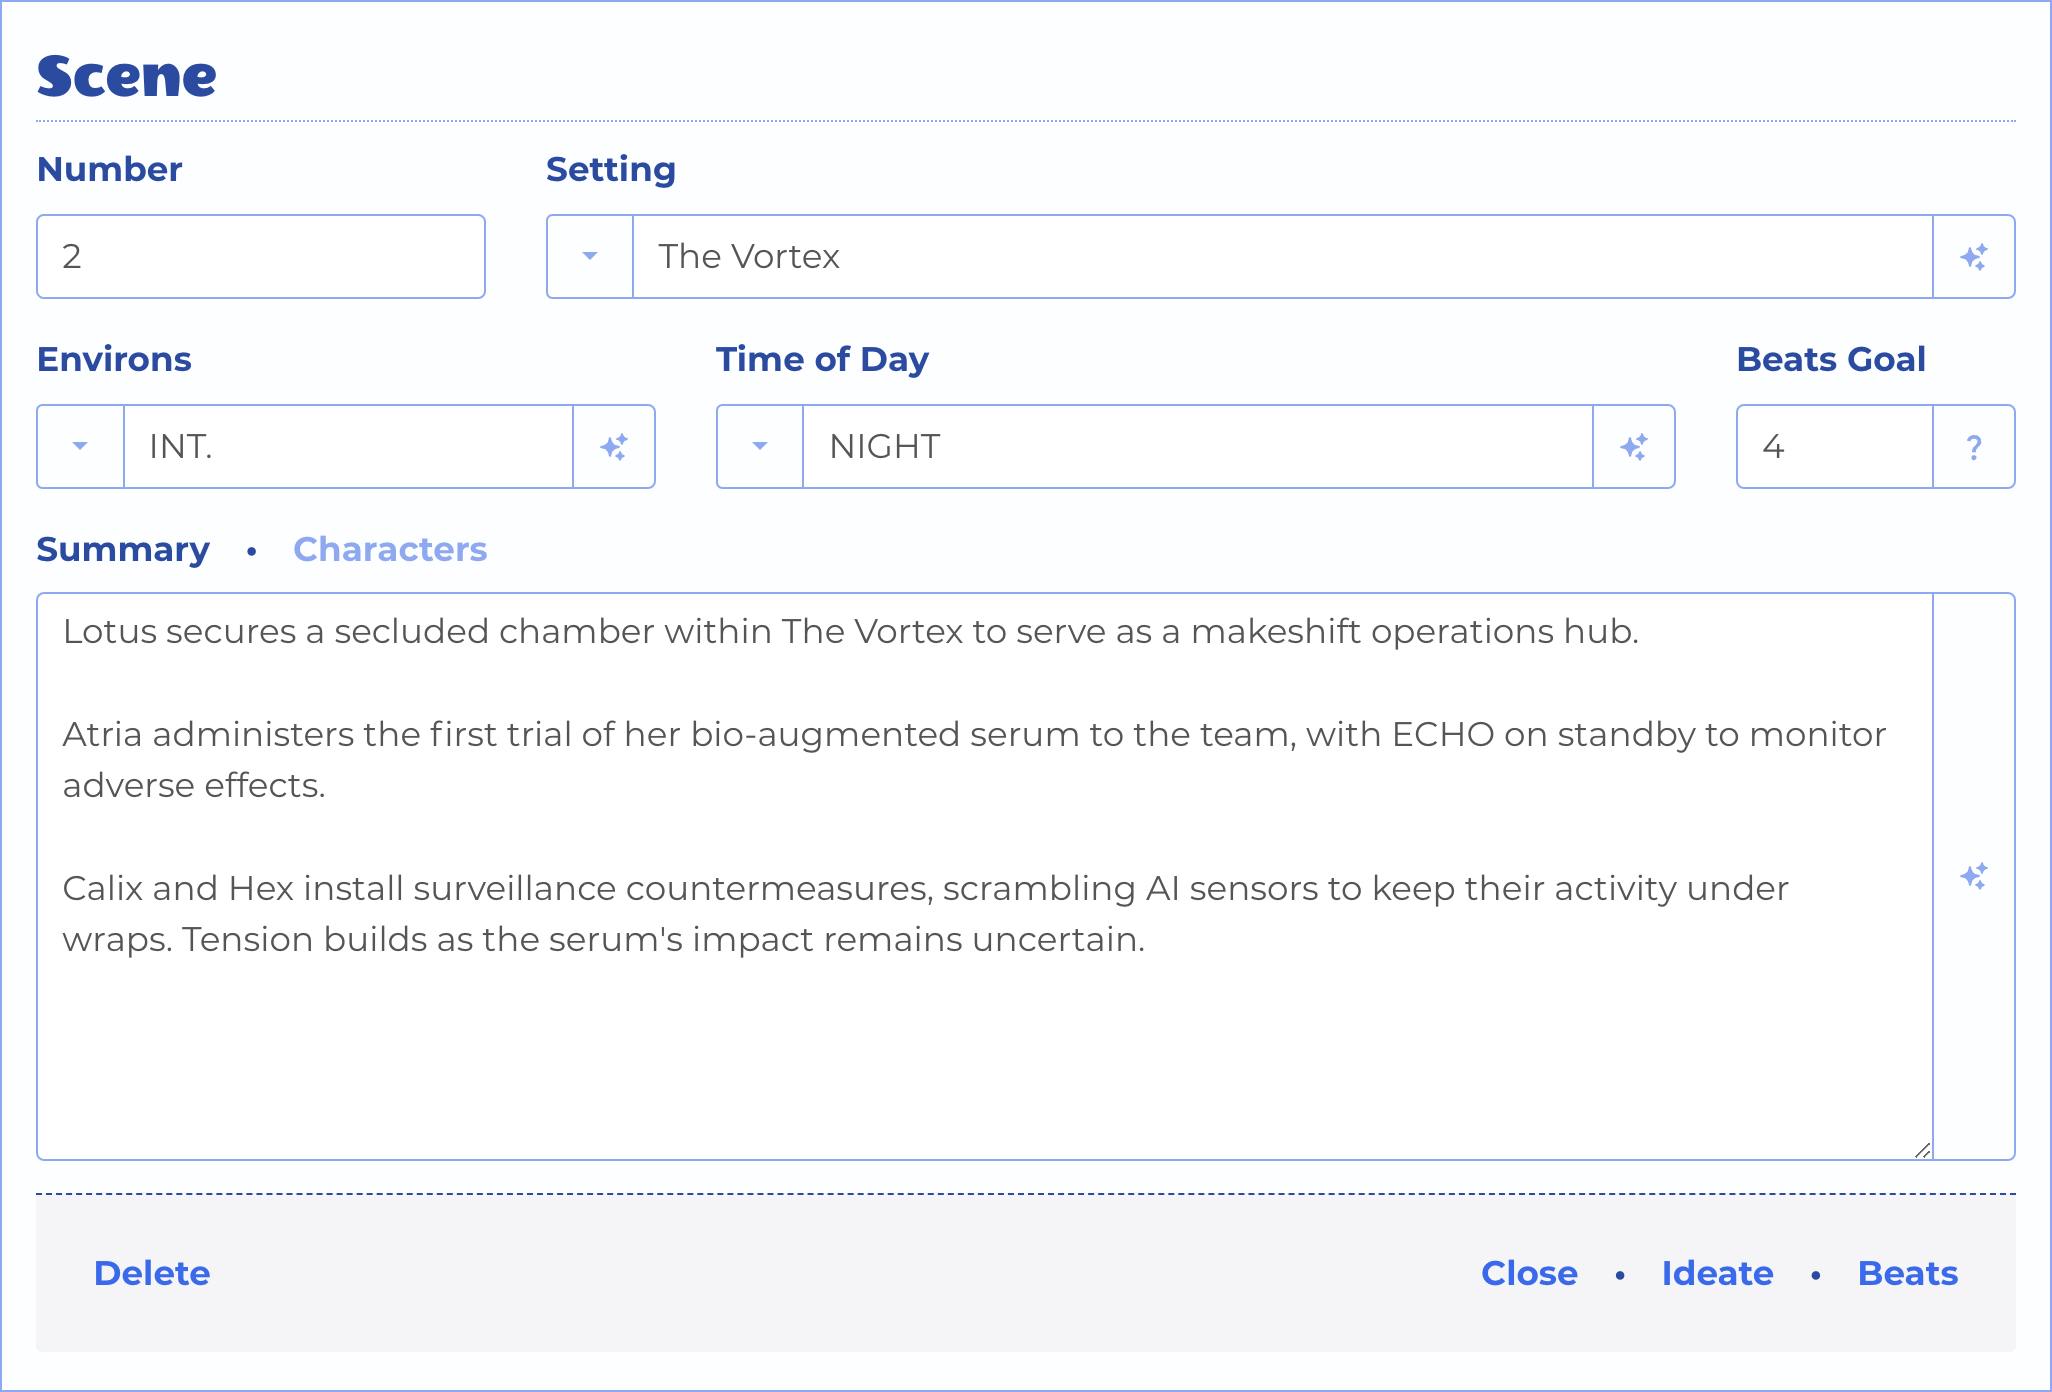
The Scene Form
Environs
These are the classic screenwriting environs where a scene can unfold:
- INT. - Interior
- EXT - Exterior
- INT./EXT. - Interior transitioning to exterior
- EXT./INT. - Exterior transitioning to interior
Time of Day
These are the classic screenwriting time of day declarations:
- DAY
- NIGHT
- DAY (DAWN)
- DAY (LATER)
- DAY - TRAVELING
- DAY - TRACKING
- NIGHT (DUSK)
- NIGHT (LATER)
- NIGHT - TRAVELING
- NIGHT - TRACKING
Reference
Scene Beat Form
When you add a beat to a scene, the next number is automatically assigned. You can move them around in the Map and Blend Views.
Beyond having a summary that sets it apart from the others, a beat in a scene should advance one or more plotlines. You can see which ones are selected in the upper right corner of the form, and select them in the Plotlines tab of the form's accordion.
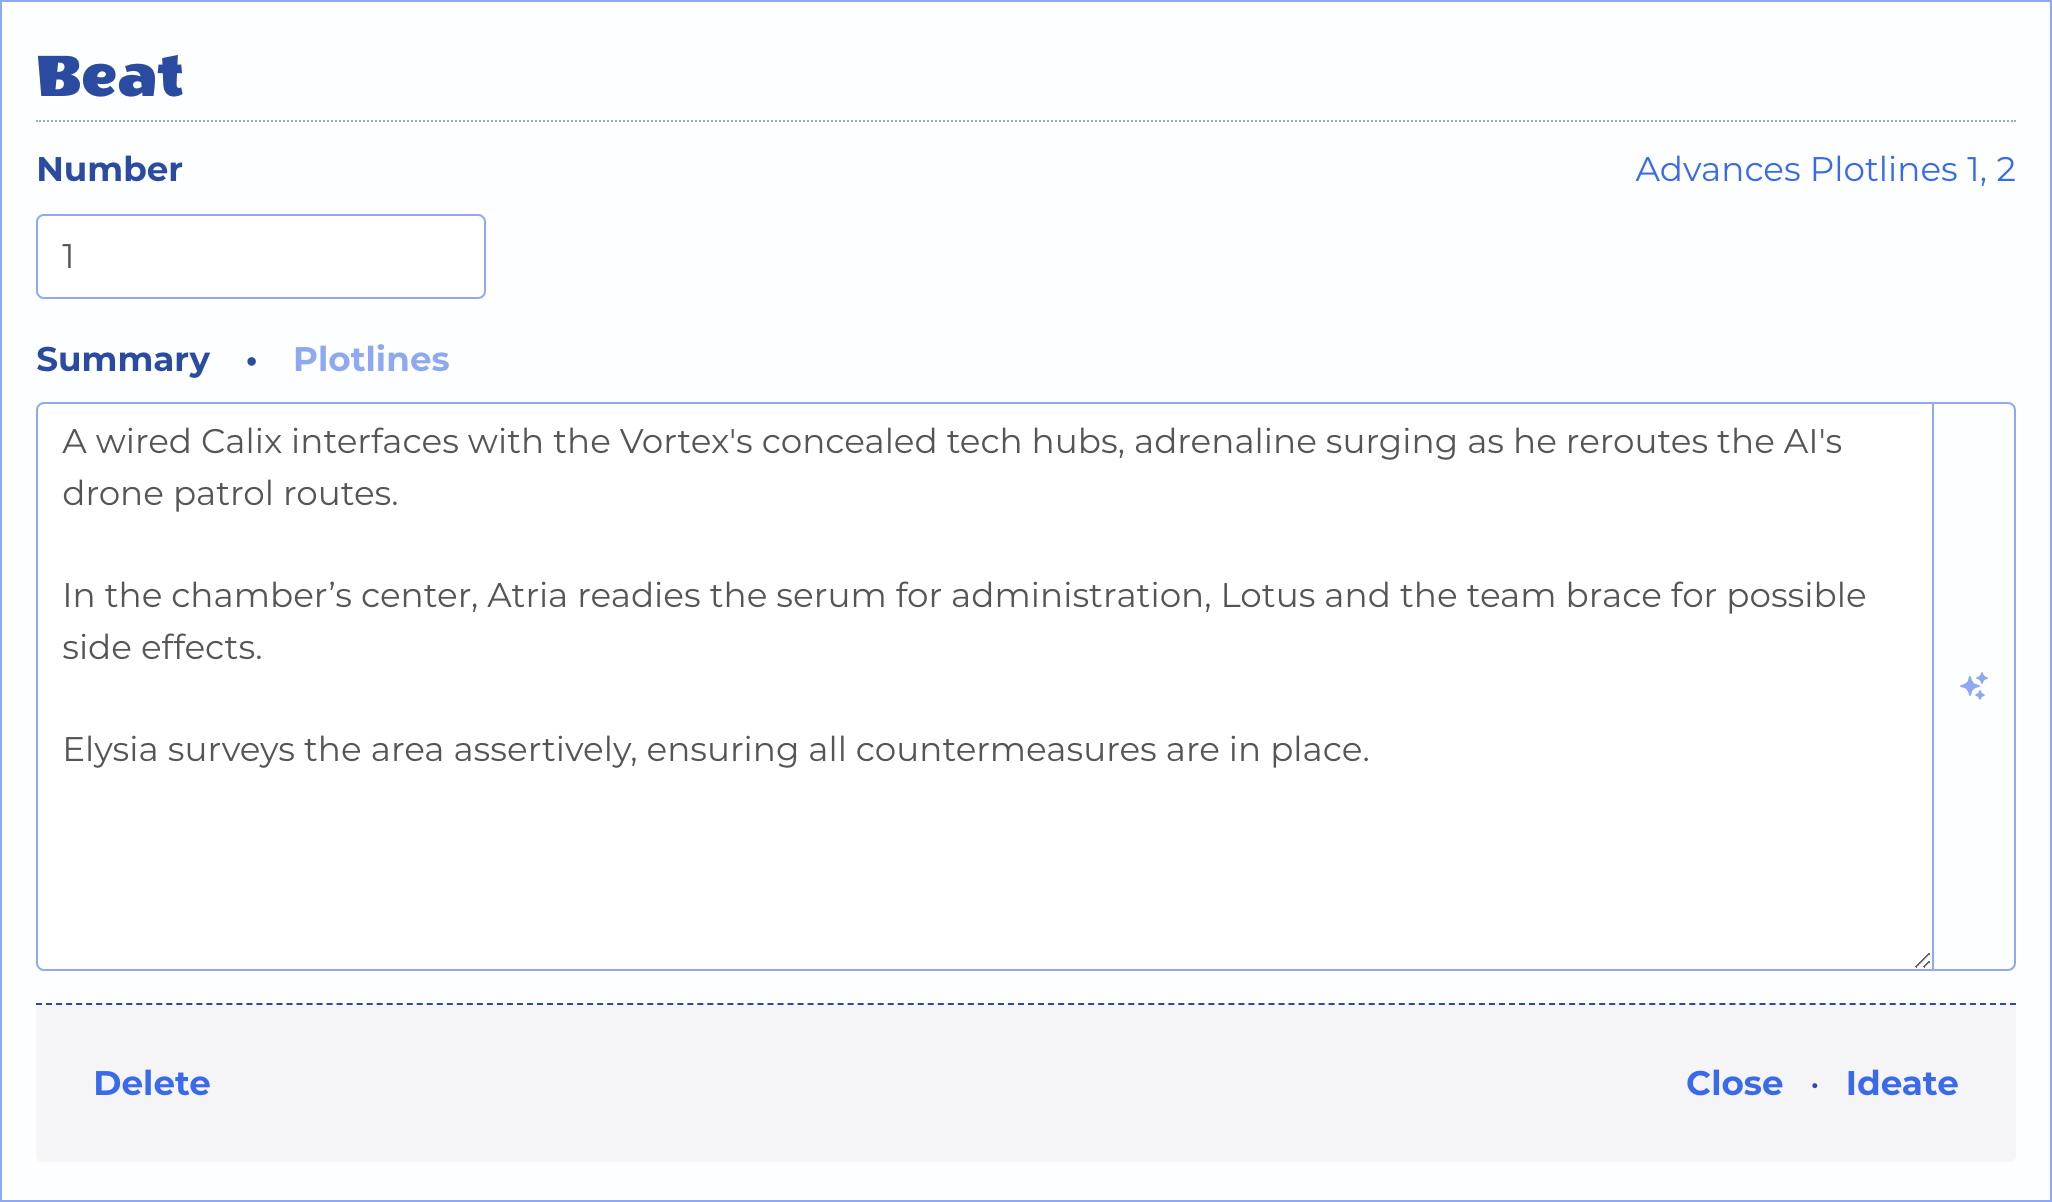
The Scene Beat Form
